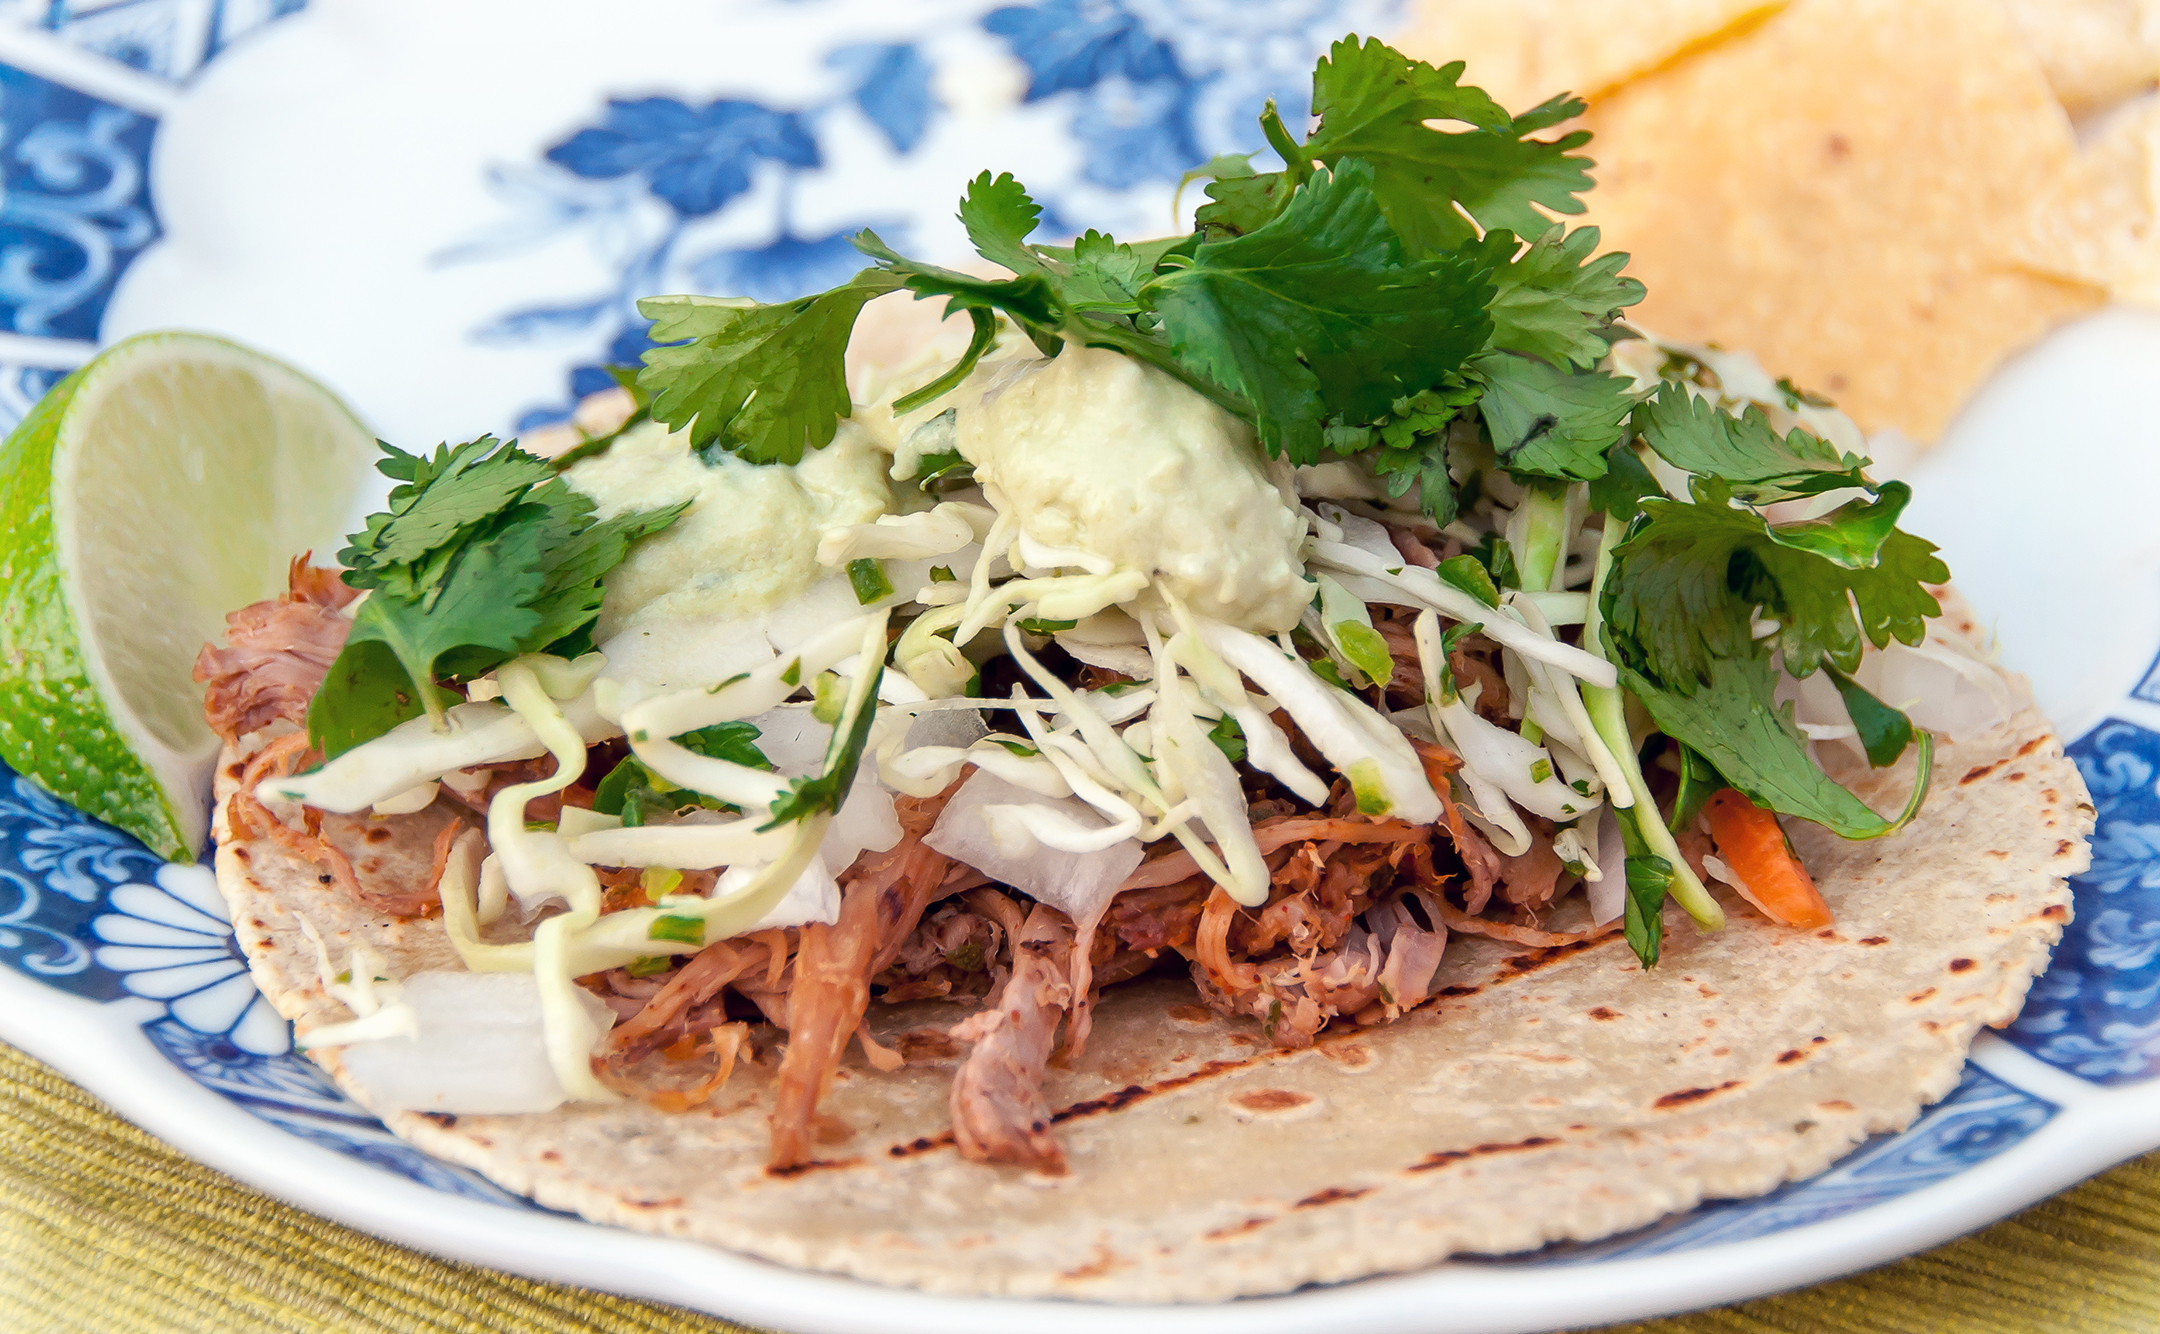
A few weeks ago we made delicious pork carnitas tacos during our Engagement Photo Session. To make those carnitas, we slow-cooked a bone-in 4 lb. pork butt for 8-10 hours and then shredded it and seasoned it once it was fully cooked. That recipe turned out great but we decided to try a (slightly) quicker version of these tasty pork bites just to see how they would differ. In this latest version, the pork is cut up into 1 1/2 inch cubes before cooking, then slow-cooked with an array of seasoning for just 6 hours.

The resulting pork was tender and juicy and quite different in flavor and texture than our first take on carnitas. I think that I maybe liked these a little better, but they also required more prep work so it’s really a toss up depending on how much time you have! We used our carnitas to build Mexican tostadas… towers of beans, pork, cheese, salsa, and sour cream atop crispy, fried corn tortillas. Yum!
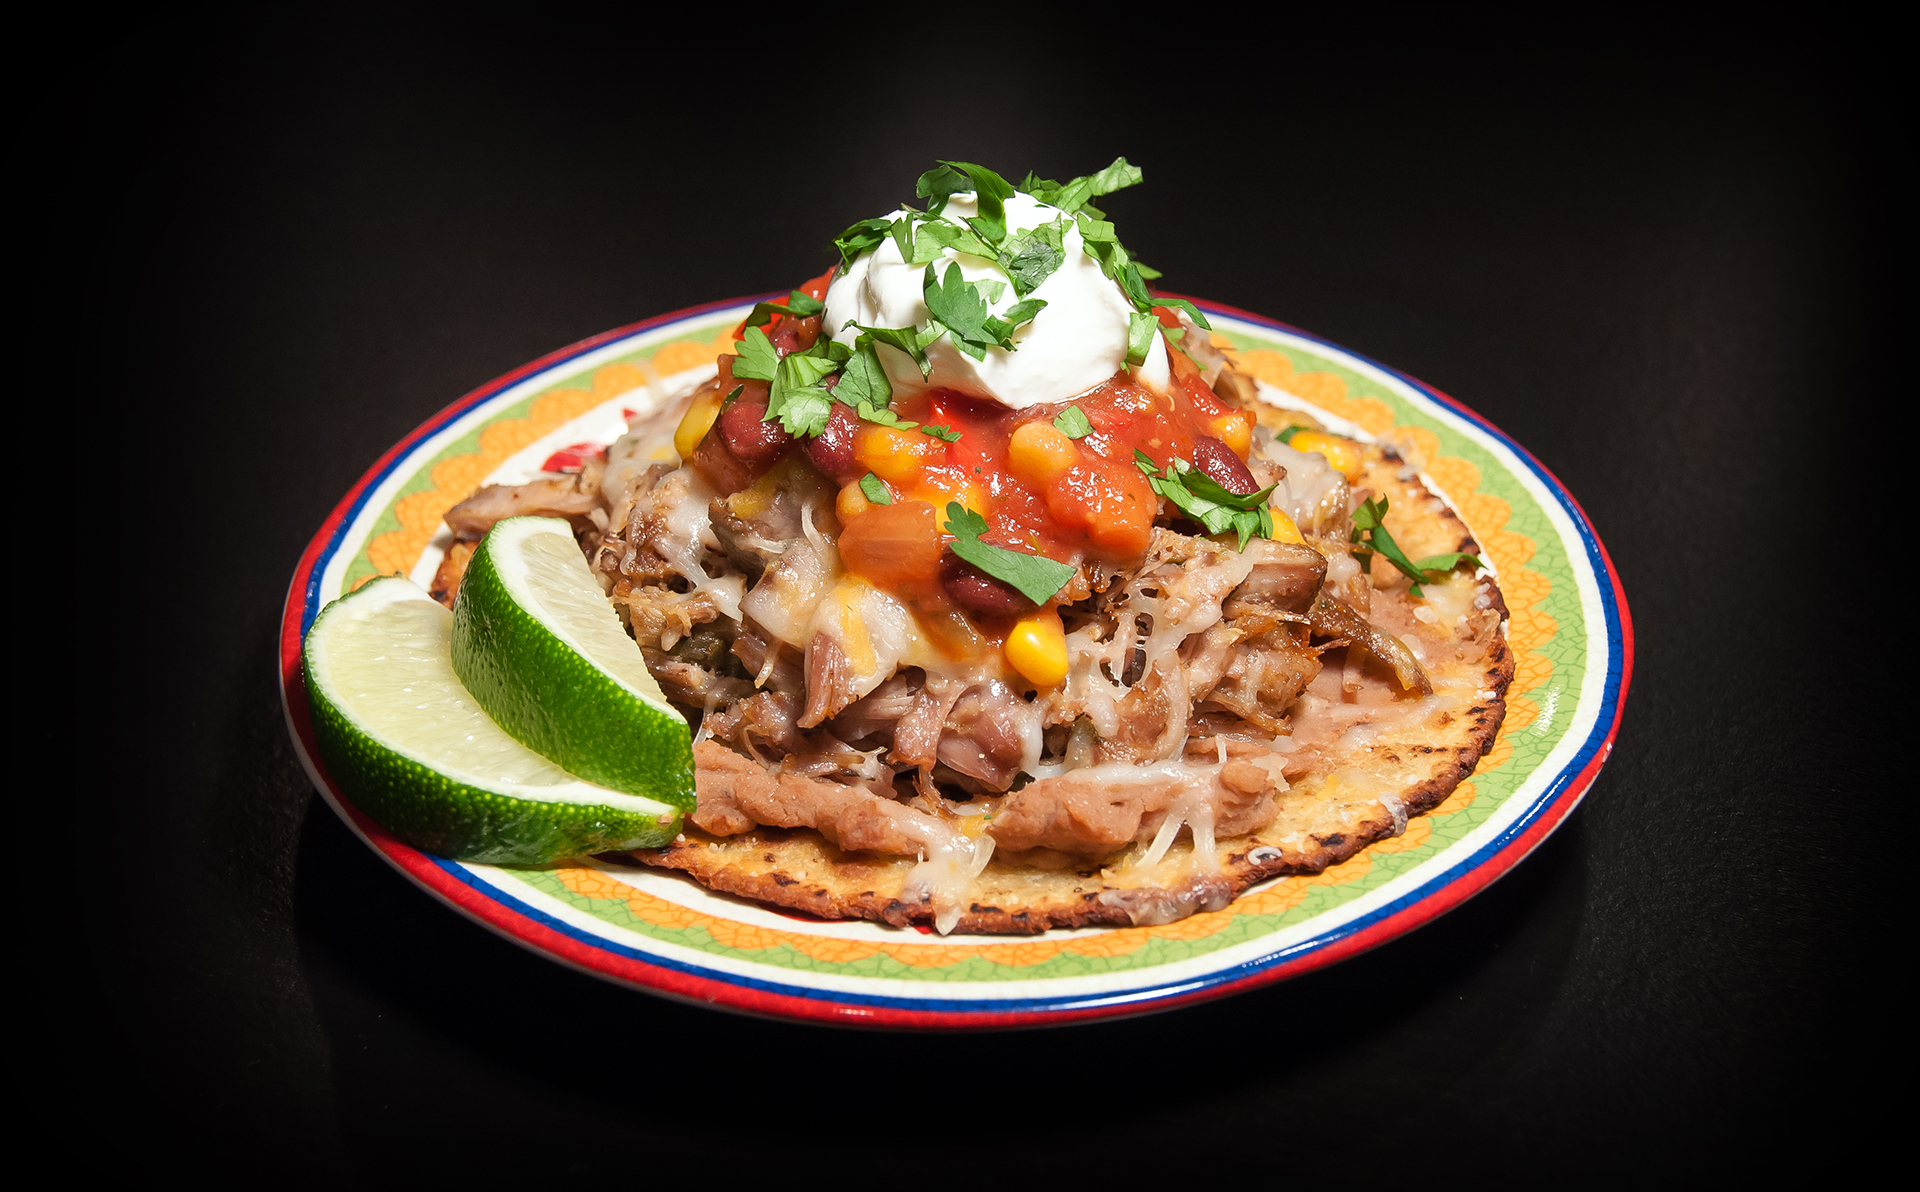
Pork Carnitas Tostadas
Ingredients for the Pork Carnitas:
(Carnitas recipe from Williams-Sonoma’s The New Slow Cooker Cookbook)
2 lb. Boneless Pork Shoulder, trimmed of excess fat and cut into 1 1/2 inch cubes
3 cloves Garlic, minced
2 teaspoons Dried Mexican Oregano
1 teaspoon Cumin
1 tablespoon Sherry Vinegar (we substituted in 2 tsp Apple Cider Vinegar & 1 tsp Sherry)
Salt and Pepper
1 Yellow Onion, quartered
3 Bay Leaves
1/4 teaspoon Cayenne Pepper
1/2 teaspoon Chile Powder
Ingredients for the Tostadas:
1 – 15 oz. can Refried Beans
1/2 Jalapeño Pepper, finely chopped
Peanut Oil
6 Corn Tortillas
Shredded Cheese (we used a mix of Mozzarella and Mexican blend)
Salsa
Sour Cream
Chopped Cilantro, for garnish
Lime wedges, for garnish
Directions:
To make the pork carnitas, mix together the first six ingredients (pork thru salt & pepper) in a slow cooker. Add in the onion and bay leaves, then cover and cook the pork on low for 6 hours. When cooking is complete, use a slotted spoon to transfer the pork to a plate or bowl. Skim the fat off of the cooking liquid and remove and discard the onion piece and bay leaves. Pull the pork apart using two forks, then season with the cayenne pepper and chile powder (to taste) and add in several spoonfuls of the cooking liquid until the pork reaches your desired level of juiciness.
To make the tostadas, start by combining the refried beans and chopped jalapeño in a microwaveable bowl. Heat the beans in the microwave on high for 2 minutes and stir well.
Meanwhile, coat the bottom of a small frying pan with peanut oil (enough to just allow a tortilla to float on the oil but not enough to submerge it completely). Heat the oil over high heat and then, using tongs, carefully place one tortilla in the oil. The oil around the edge of the tortilla will boil rapidly. (If it doesn’t bubble, increase the heat until it does.) Allow the tortilla to fry in the oil until the bottom side turns golden brown, then use your tongs to flip the tortilla over and fry until that side is golden brown as well. Transfer the tortilla to a paper towel-lined plate, then repeat this frying process with the remaining tortillas.
To assemble your tostadas, cover one side of each tortilla with a liberal amount of the bean mixture. Top with a few spoonfuls of the pork carnitas, then sprinkle a handful of shredded cheese on top. Broil the tostadas for 2-3 minutes or until the cheese is melted. Top with spoonfuls of salsa and sour cream and garnish with cilantro and lime juice. Serve with a cold beer and enjoy!


")