Panzanella: A Blog-Worthy Salad

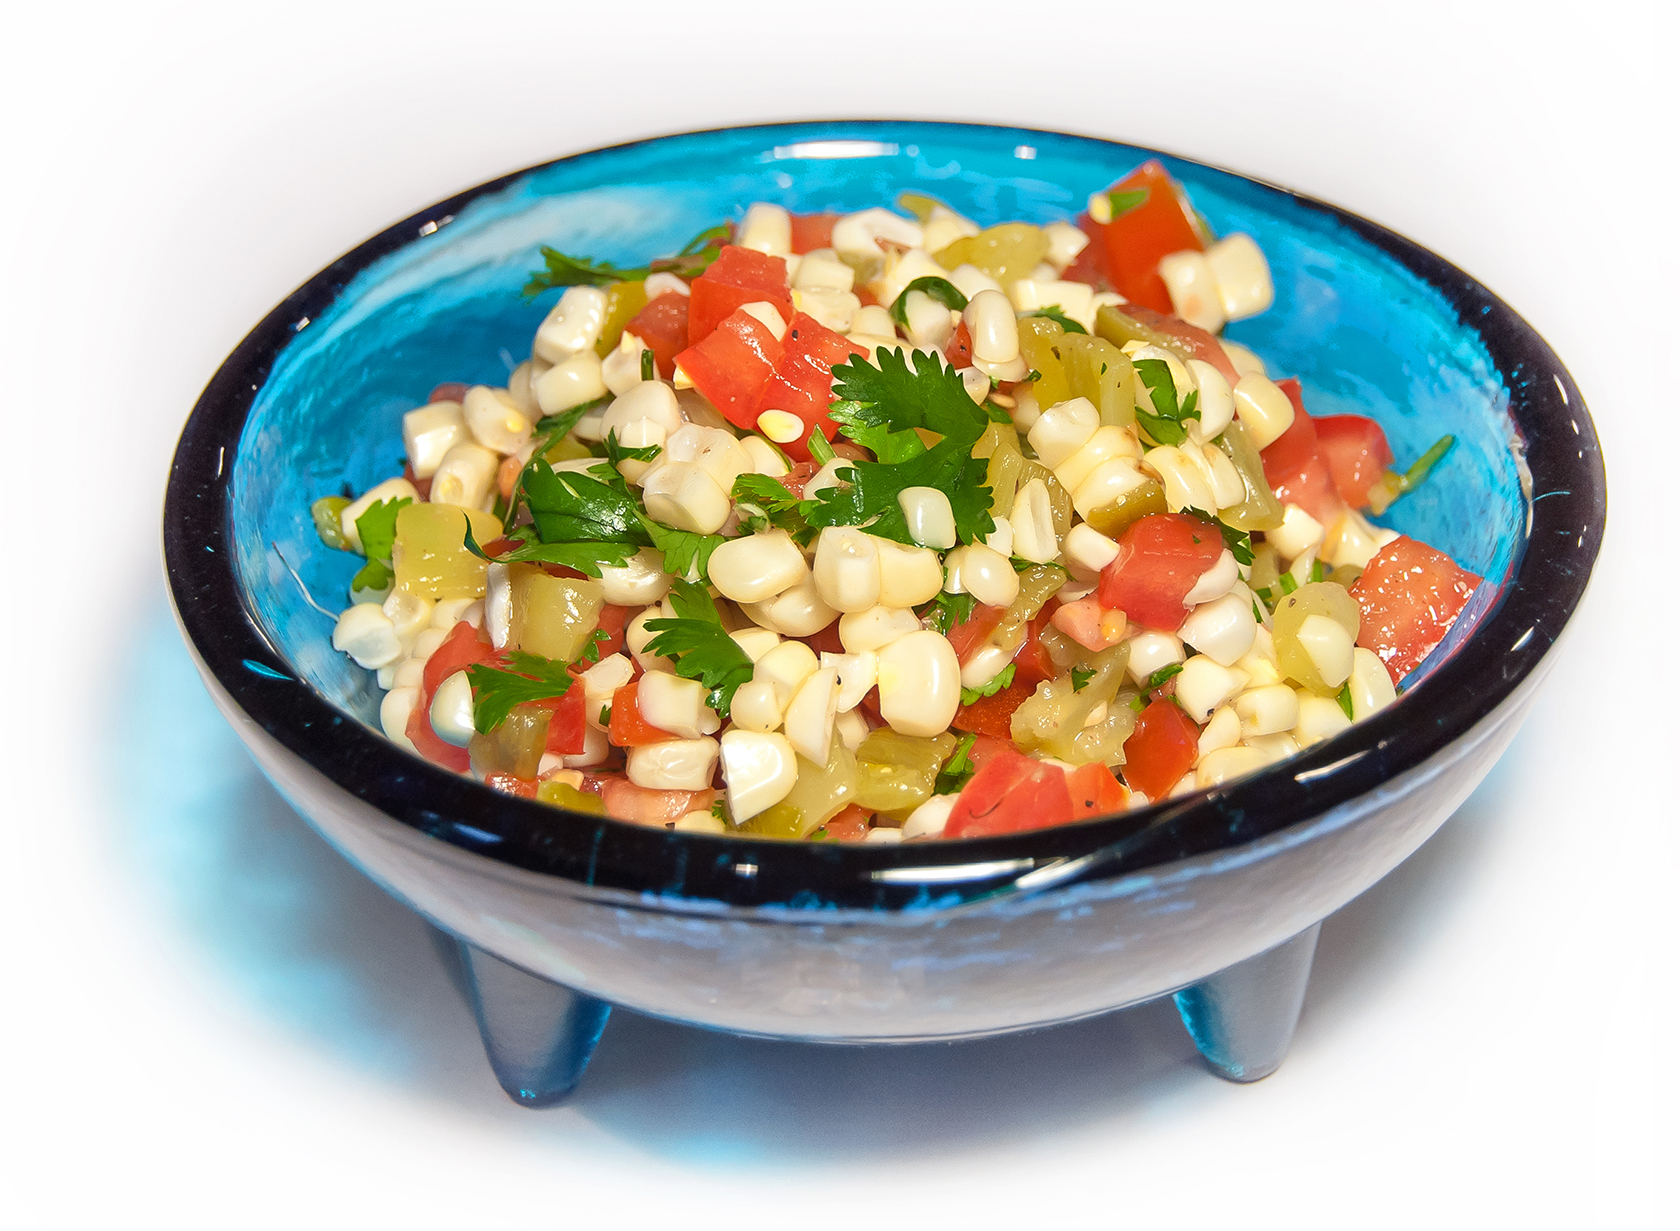
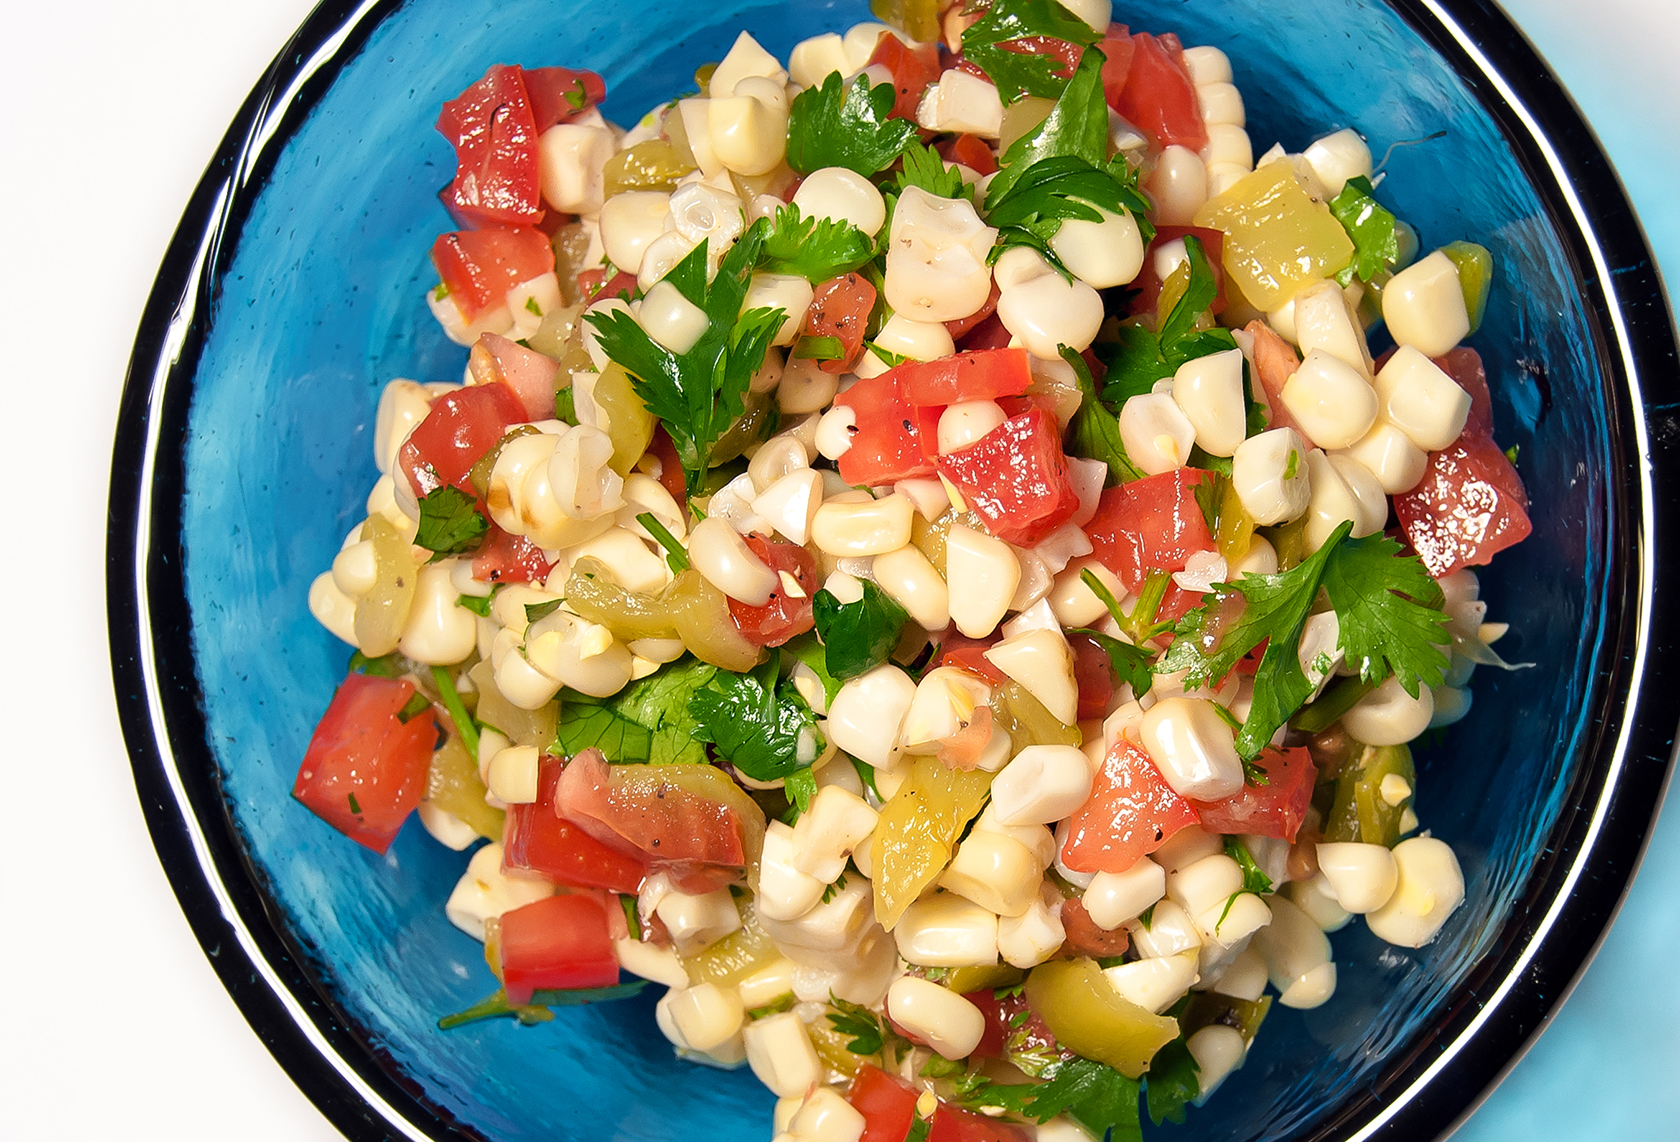
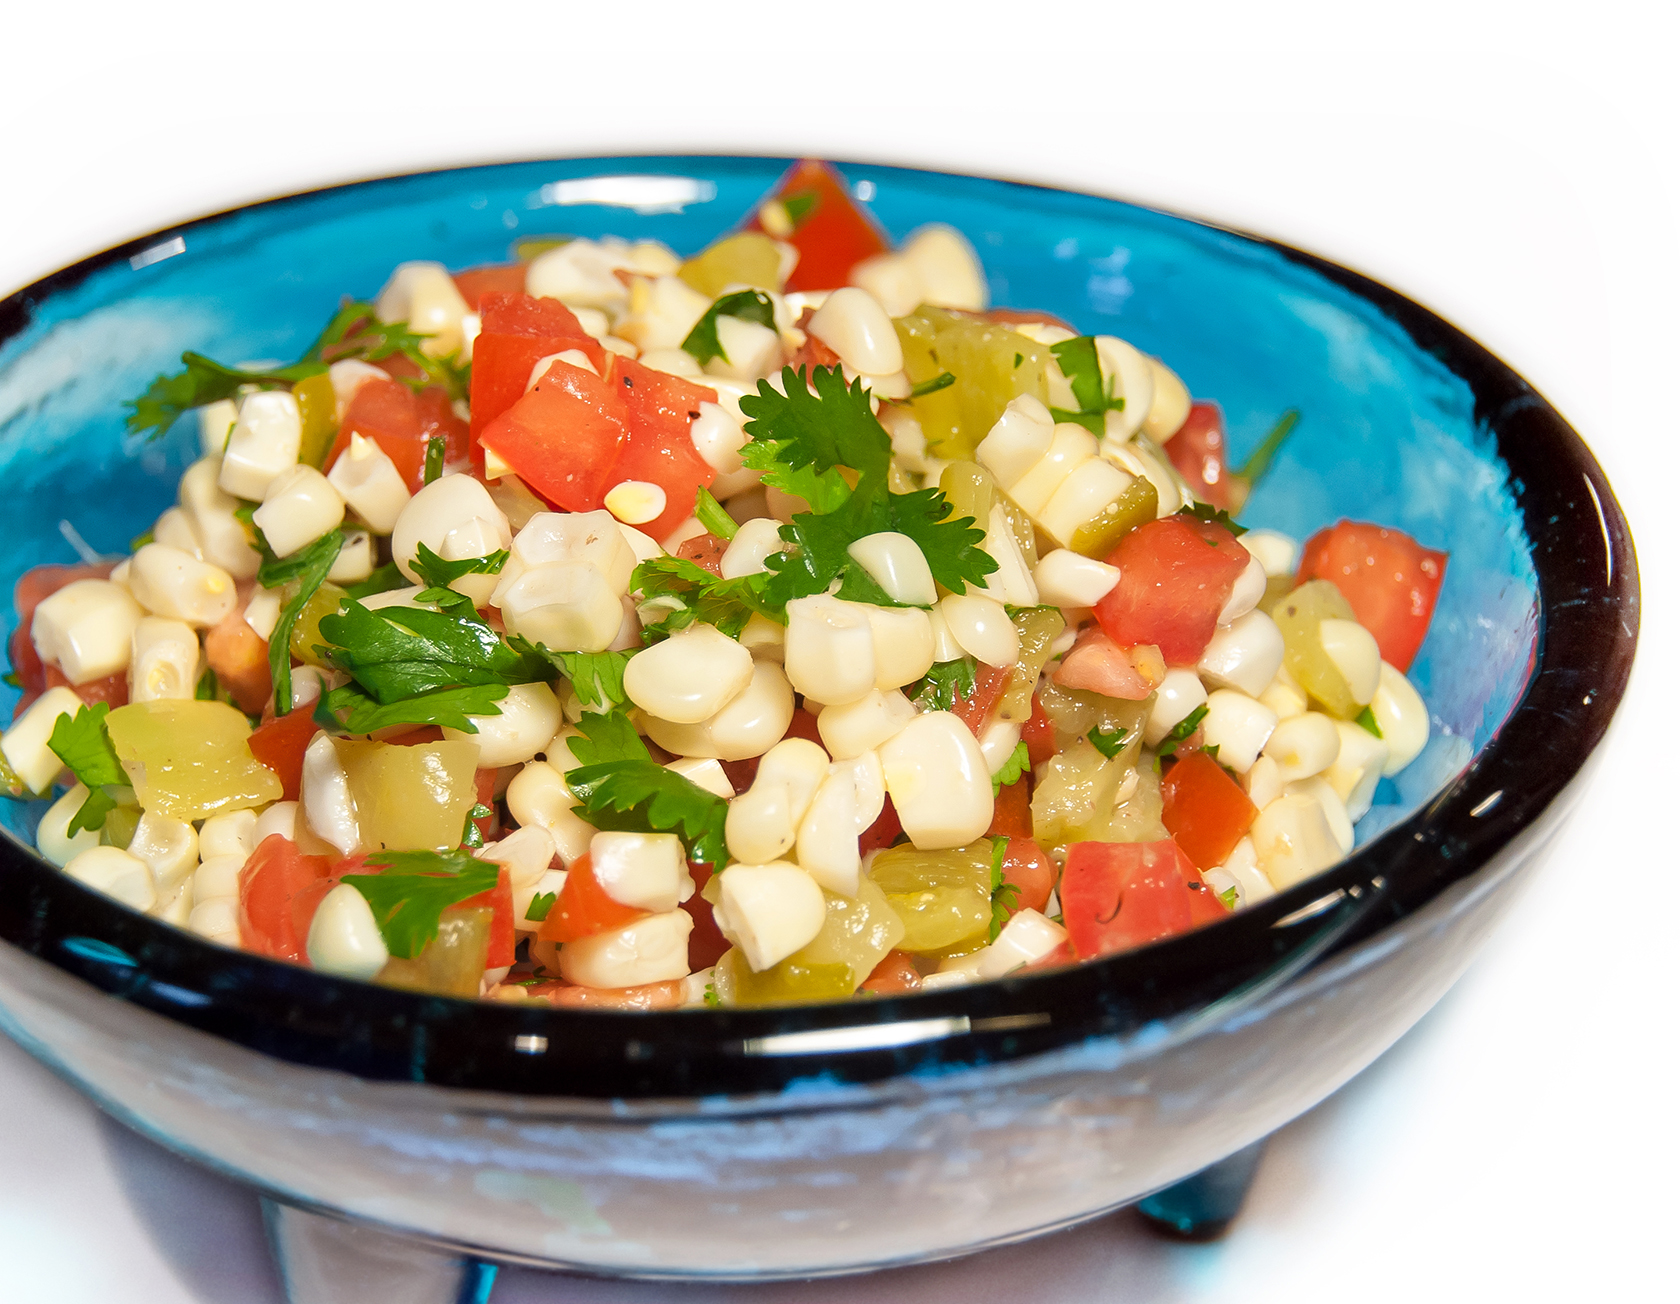
I made the same recipe two times this weekend and still found myself excited to serve up seconds on Sunday evening. That definitely makes this recipe for a Panzanella “bread salad” qualify as blog-worthy, don’t you think?? 😀

632 Panzanella Salad

According to Wikipedia, “Panzanella is a Tuscan salad of bread and tomatoes that’s popular in the summer. It includes chunks of soaked stale bread and tomatoes, sometimes also onions and basil, dressed with olive oil and vinegar.” According to my extended family, Panzanella is a tasty excuse to call toasted Italian bread soaked in dijon vinaigrette a “salad” and feel good about eating it. Just kidding… sort of. This bread salad is delicious, colorful, and easy to make and I have a feeling that we’re going to get many more requests for it at future family dinners!

When I bring Panzanella to a dinner party I do almost all of the work in advance. The vinaigrette can be made 1-2 days ahead of time and refrigerated in an airtight container, the veggies can be chopped and tossed together a few hours in advance, and the bread can be toasted 1-2 hours before dinner and stored in a ziploc bag. Making the salad then becomes a simple matter of tossing together the vinaigrette, veggies and bread about 20 minutes before dinner.

637 Panzanella Salad

Panzanella (from Ina Garten; serves 8-10)

Vinaigrette Ingredients
1/2 cup Extra Virgin Olive Oil
3 tablespoons Champagne Vinegar
1-2 teaspoons Minced Garlic
1/2 teaspoon Dijon Mustard
1/2 teaspoon Salt
1/4 teaspoon Ground Black Pepper

Salad Ingredients
1 Red Bell Pepper, seeded and cut into 1″ pieces
1 Yellow Bell Pepper, seeded and cut into 1″ pieces
1 Hothouse Cucumber, halved lengthwise, seeds removed and cut into 1/2″ slices
1/2 Red Onion, halved and cut into thin slices
3-4 Plum or Campari-sized Tomatoes, cut into 1″ pieces
3 tablespoons Capers, drained
20 Basil Leaves, sliced into 1/2″ strips
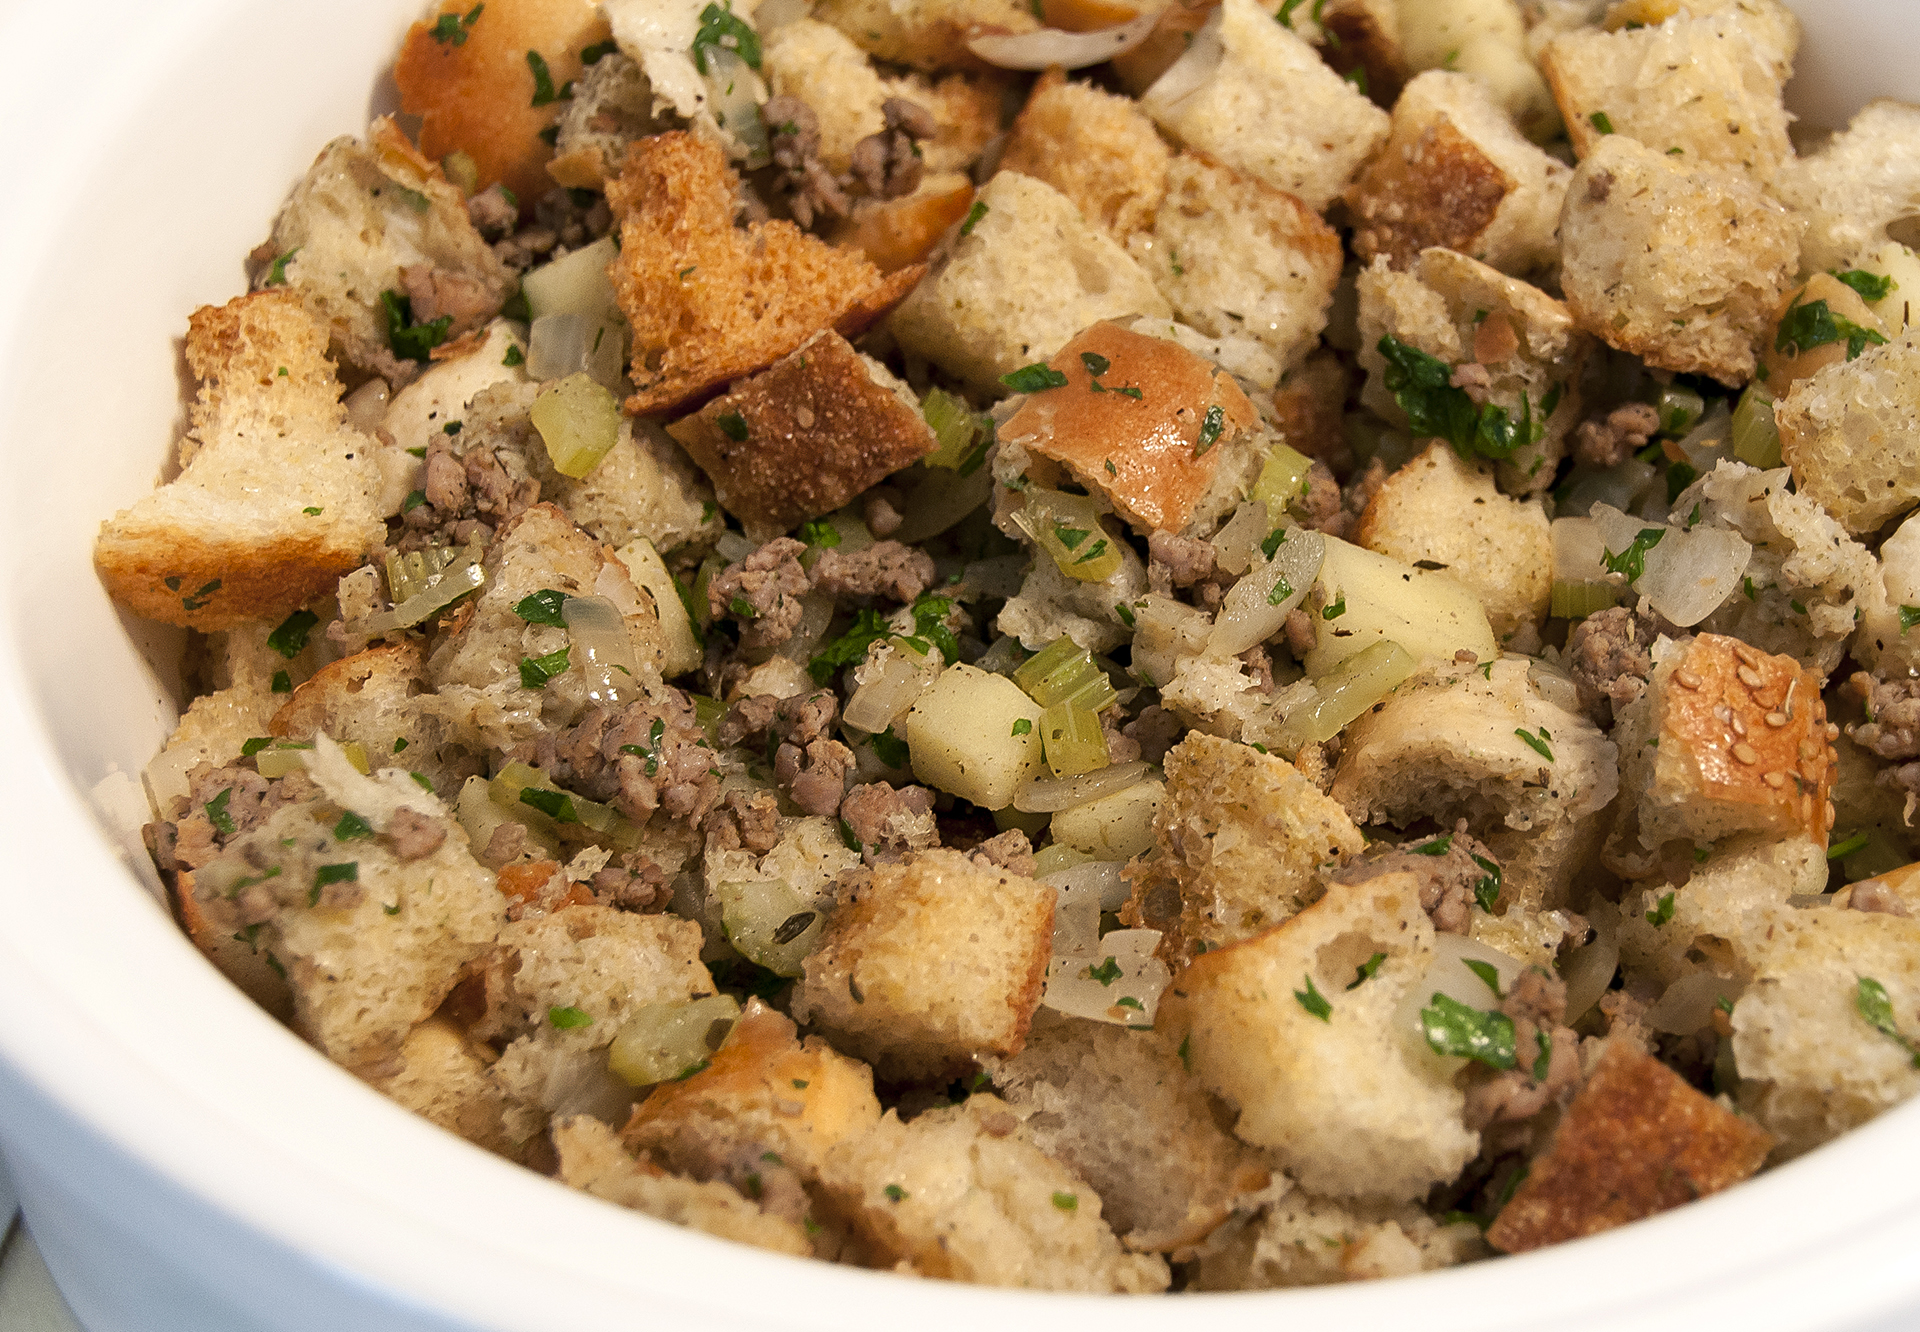
1 large Loaf of French or Italian Bread, cut into 1″ pieces
Olive Oil
Salt

Directions:
To make the vinaigrette, whisk all ingredients together in a bowl. Alternatively, combine all ingredients in a ball jar and shake vigorously. The vinaigrette can now be easily refrigerated or transported until it’s time to combine the salad.

Combine the peppers, cucumber, onion, tomatoes, capers and basil together in a large bowl.

Heat 1-2 tablespoons of olive oil in large saute pan over medium heat. Add half the bread and approximately 1/2 teaspoon salt. Cook the bread cubes, stirring and flipping occasionally, until the bread begins to toast and turn golden brown. Transfer the toasted bread to a plate to cool and repeat the cooking process with the remaining bread cubes.

To assemble the salad, combine the vinaigrette, vegetables, and toasted bread in a large serving bowl. Season with salt and pepper to taste. For best flavor, allow the finished salad to sit for approximately 20 minutes before serving… that will give the vinaigrette time to soak into the bread. 😀 Enjoy!

630 Panzanella Salad

Roasted Corn Salsa

Last night I made my third batch of Roasted Corn Salsa in less than a month which can only mean two things…  One, this salsa is awesome and two, it’s high time it makes an appearance on the blog!!

Roasted Corn Relish 1

This bright, flavorful salsa features grilled corn, roasted peppers, fresh tomatoes, cilantro, and lime juice.  It pairs perfectly with grilled fish and grilled avocado (<– my new favorite way to eat avocados).  We’ve also tried the salsa on shrimp tacos and, although Matt thinks it’s a bit too lime-y for eating straight, I personally really enjoy eating it with tortilla chips.

Last night’s batch of salsa is being refrigerated until we have Matt’s parents over for dinner tomorrow night.  Making it ahead of time will save me prep time on Saturday and the extra hours in the fridge will allow the salsa flavors to fully combine.  I’ll post pictures of the final meal (grilled salmon!) next week.

Roasted Corn Relish 2

Roasted Corn Salsa  (adapted from MyRecipes.com; makes 6-8 servings) 

You will need…
Cooking Spray
4 ears Corn, husked
4 Anaheim Peppers or 4 Cubanelle Peppers (for less heat), or a combination of the 2 types
1 cup diced Tomatoes (from approx. 2-3 Roma Tomatoes)
6 tablespoons freshly squeezed Lime Juice (from approx. 3-4 limes)
1/4 cup chopped Cilantro
1/2 teaspoon Salt
1/4 teaspoon Ground Pepper

Directions:

Lightly coat the grates of a grill* set to medium heat with cooking spray.   Place the corn and peppers directly on the grill.  Allow the corn and peppers to cook, turning occasionally, until the corn kernels start to brown slightly and the peppers become soft and dark splotches start to form on the green skins.  Transfer the roasted corn to a plate to cool.  Place the roasted peppers in a large bowl and cover for 10-15 minutes.

Cut each corn ear in half, then place the flat end down on a cutting board and slice the kernels off of the cobs.  When the peppers are cool enough to handle, peel and discard the skins and remove the stems, seeds, and membranes.  Slice the peppers into 1/4″ pieces.

Combine the corn, peppers, tomatoes, lime juice, cilantro, salt and pepper in a large bowl.  Serve immediately or cover tightly and refrigerate up to 3 days to allow the flavors to intensify before serving.

Serving suggestions:

  • Serve over grilled salmon or another grilled fish (salmon recipe coming soon!)
  • Spoon over grilled avocado (slice avocado lengthwise & remove pit; brush grill with oil and place avocado halves directly on grates for 2-3 minutes until grill marks appear)
  • Serve as a fresh, citrus-y salsa with tortilla chips

Roasted Corn Relish 3

*If you don’t have a grill, use boiled corn on the cob or thawed frozen corn kernels.  The peppers can be roasted in an oven… here are some basic instructions on how to do this from Ina Garten.

Colcannon (Irish Mashed Potatoes with Kale, Leeks and Ham)

Happy St. Patrick’s Day!  Matt and I don’t have a specific Irish meal planned for this year but I’ve been saving a yummy Irish side dish from last year’s feast to share on the blog today.

Irish Colcannon

That’s Colcannon, or, as I like to think of it, Irish mashed potatoes with kale, leeks and ham.  Oh, and butter… lots of butter!  Last year this heaping plate of colcannon made the perfect side dish to the Beef and Guinness Pie that Matt and I ambitiously tried to make after work on a Monday (it took much longer to braise the beef than I anticipated!).  Luckily the colcannon came together very quickly so we were able to sneak bites of it while the pie baked.  Here’s a photo of my dinner plate from last year when we finally sat down to eat at 9PM:

Calcannon with Beef & Guinness Pie

YUM.  If you need a side dish for your St. Patrick’s Day dinner I would absolutely recommend colcannon.  And don’t be intimidated by the kale…  once it is steamed, chopped, and stirred into this creamy mixture of leeks, ham and potatoes you won’t even realize you’re eating super healthy leafy greens!

Irish Colcannon (Recipe from Nigel Slater at TheGuardian.com)

You will need…
2 lbs. Baking Potatoes, peeled and cut into large chunks
1 1/3 cup warm Milk (use whole milk for a creamer consistency)
4-5 tablespoons Butter
3/4 to 1 lb. Leeks, washed and chopped
4-5 handfuls of Kale leaves, washed, steamed, drained and chopped
3/4 to 1 lb. Cooked Thick-Cut Ham, chopped (we used a ham steak)
Salt and Pepper, to taste

Directions:
Place the potatoes in a large pot of water and bring to a boil.  Cover and boil for 20 minutes or until easily pierced by a fork.  Drain potatoes and return to pot.  Mash the potatoes with a potato masher until creamy, then add in the warm milk and butter and continue to mash until thoroughly mixed.  Fold in the chopped leeks, kale and ham and gently stir until combined.  Season to taste with salt and pepper and serve as part of a St. Patrick’s Day feast!

Colcannon

Are you making an Irish-themed dish for St. Patrick’s Day?  Maybe Bangers and Mash or Shepherd’s Pie?  Tell me about it in the comments! 🙂

Apple and Sausage Stuffing… Slow Cooker Style!

Stuffing is quite possible my favorite dish at Thanksgiving.  There’s just something about the combination of sausage, apple, bread, and spices that I find absolutely irresistible!  Last year I volunteered to make this classic side dish for my family’s Thanksgiving dinner but there was one problem… we had no oven space! Between the very large turkey, candied yams, green bean casserole, and cornbread there was not an inch of oven space to spare.  Therefore, I decided to make my stuffing in a slow cooker and it turned out great!

Slow Cooker Stuffing

Before I get to the stuffing recipe I want to share a link to another recipe from last year’s Thanksgiving feast that’s been getting a lot of Pinterest love lately… my Candied Yams.  Although these sweet potatoes with brown sugar and marshmallows will take up space in your oven for about 25 minutes they are super easy to make and those soft browned marshmallows are so delicious!!  Here’s the recipe.

Candied Yams!

Slow-Cooker Apple and Sausage Stuffing (recipe from A Year of Slow Cooking)

You will need…
12 cups of crusty bread, cut into 1/2 inch cubes
8-12 oz. Italian Sausage, crumbled and browned
3 tablespoons Butter, melted
2 Granny Smith Apples, peeled and chopped
2 Yellow Onions, chopped
1 1/2 cups Celery, diced
1 1/2 teaspoons Dried Sage
1 bunch Parsley, leaves finely chopped
1 teaspoon Salt plus more, to taste
1/2 teaspoon Ground Black Pepper
3/4 cup Chicken Broth, divided

Some of the stuffing ingredients (there was a lot more bread than pictured!)

Some of the stuffing ingredients (there was a lot more bread than pictured!)

Directions:
Spread the cubed bread onto a few large cookie sheets and bake in a preheated 350° oven for 20 minutes, stirring occasionally, until golden brown.  If desired, do this a day in advance and store the bread cubes in an airtight container overnight.

3-4 hours before you are going to eat, stir the bread cubes, sausage, and melted butter together in a large slow cooker.  My slow cooker was too small so I borrowed my mom’s and split the ingredients into two batches.  Add in the apples, vegetables and seasonings and stir until well mixed.  Pour in 1/2 cup of the chicken broth and stir again.  Cover and cook on high for approx. 3 hours or until the bread is browned and the vegetables are tender.  If the stuffing is too dry, stir in the remaining 1/4 cup chicken broth before serving.  Enjoy!

Oh, and Happy Thanksgiving!!  🙂

299 Turkey 2012

Thai Pumpkin Soup

Happy Autumn!  Last Sunday Matt and I celebrated the arrival of Fall by making pumpkin soup.  And this wasn’t just any pumpkin soup… it was THAI pumpkin soup with fresh ginger, coconut cream and jalapeños in it… yum!  We topped it off with a dash of hot Sriracha sauce, a few salty peanuts and some sprigs of fresh cilantro and it was delicious!!

Thai Pumpkin Soup

I discovered this recipe in the cook book that came with our glorious Vitamix blender.  The Vitamix (predictably) made quick work of pureeing the soft ingredients for this soup but you certainly don’t need a Vitamix to make this… I’m pretty sure that an immersion blender would allow you to whip up a pretty tasty Autumn soup as well.  🙂  Without further ado, here’s the recipe!

Thai Pumpkin Soup (adapted from the Vitamix ‘Create’ Recipe Book)

You will need…
Olive Oil
1 Onion, choppedThai Pumpkin Soup
1 tablespoon Tomato Paste
2  1/2 cups Canned Pumpkin
2 tablespoons fresh Ginger, chopped
1 clove Garlic, chopped
3 cups Chicken Broth (or vegetable broth, for vegetarian soup)
1 teaspoon Green Chiles, chopped (we used Jalapeños)
1 cup Lite Coconut Milk
1/2 cup Cream of Coconut
1 tablespoon Lemon Juice
Salt and Pepper, to taste

Optional Garnishes:
Chopped Peanuts
Cilantro
Sriracha
Sour Cream

Directions:
In a large pot, saute the onion in olive oil over medium-high heat until translucent.  Add the tomato paste, pumpkin, ginger, garlic and broth and stir well.  Bring the mixture to a slow simmer then remove from heat.

If using a VItamix or other high-powered blender, pour the pumpkin mixture into the blender and add in the green chiles, coconut milk, cream of coconut and lemon juice.  Blend on high power for 25-30 seconds, then season with salt and pepper to taste.

If using an immersion blender, add the green chiles, coconut milk, cream of coconut, and lemon juice to the warm pumpkin mixture.  Use the immersion blender to puree the mixture into a smooth soup.  (Note:  I did not use an immersion blender so I don’t know how long this will take, but I’m sure it’s doable!)

Transfer the pureed pumpkin soup into bowls and garnish.  Our favorite combination of garnishes was a dash of Sriracha with a sprinkling of peanuts and a few sprigs of cilantro.  The Vitamix book recommended a dollop of sour cream with peanuts and cilantro… choose whatever sounds good to you!

Thai Pumpkin Soup

Above: Our favorite garnish combination of Sriracha, peanuts and cilantro.
Below: Garnished according to the cook book with sour cream, peanuts and cilantro.

Thai Pumpkin Soup

What’s your favorite Fall pumpkin recipe?
Tell me about it in the comments or post a link!

Mediterranean Quinoa Salad

We are at the point in the wedding process where glorious wedding gifts are occasionally waiting for us by the garage when we get home from work.  (Thank you friends and family!!!)  One gift that’s had an immediate impact on our cooking habits is our amazing Zojirushi rice cooker.  This countertop gadget cooks every type of grain imaginable and it’s incredibly easy to use.  It’s also so satisfying to pop open the top at the end of the cook time and find perfectly cooked, fluffy, steaming hot rice.  Yum!

In addition to cooking the perfect pot of rice, the Zojirushi can cook quinoa, a protein-packed ‘superfood’ that, according to wikipedia, is actually more closely related to beets and spinach than grains.  Quinoa can easily be substituted in for grains in a well-rounded meal so, armed with our new rice cooker, Matt and I decided that we’d try our hand at a nice summery quinoa salad.  I found a great looking recipe on Garnish with Lemon and, after a few small tweaks (because I never follow recipes exactly), we ended up with a delicious, healthy salad that we’ll continue to enjoy all week for lunch.

Mediterranean Quinoa Salad

Mediterranean Quinoa Salad (adapted from Garnish With Lemon)

You will need…
1 1/2 cups raw Quinoa (or about 6 cups cooked Quinoa)
1/3-1/2 cup Red Wine Vinegar
1/2 cup Extra Virgin Olive Oil
1/2 Red Onion, finely chopped
1 Red Pepper, chopped
1 Cucumber, peeled and chopped
1 pint Cherry Tomatoes, quartered
1/2 cup Kalamata Olives, halved
1/2 – 1 cup Crumbled Feta Cheese
1 teaspoon Salt
1/2 teaspoon Pepper
Juice of 1/2 – 1 Lemon

Directions:
Cook the quinoa on the stovetop according to the package instructions or, if you have a rice cooker, cook it in the rice cooker on the normal white rice setting with a 2:1 water to quinoa ratio.  When cooking is complete, transfer the quinoa to a large bowl, cool for 5-10 minutes and stir in the vinegar and olive oil.

Allow the quinoa to cool completely to room temperature, then gently stir in the next 6 ingredients (onion thru feta).  Season with salt and pepper (add more to taste if needed).  If you have the patience, chill the salad for 2 hours (we ate it immediately and it was still good) and “garnish with lemon” just before serving.

Mediterranean Quinoa Salad 5

Candied Yams

Happy Thanksgiving!  Matt and I ate our Thanksgiving meals separately at our parents’ houses but we still got to do some cooking together before the big meal.  For the second year in a row we were responsible for making my mom’s traditional side dish of candied yams and, for the second year in a row, they were a hit!  We joke that this is a “healthy” vegetable side full of brown sugar, butter, and marshmallows but, like so many of the delicious foods that we eat during the holidays, the extra calories are totally worth it!  The brown sugar caramelizes between the layers of soft, moist sweet potato and the melted marshmallows form a crunchy, sugaring topping.  Yum!  Matt’s sister made a similar dish at his family’s dinner and he tells me that she added toasted slivered almonds to her marshmallow topping with delicious results… maybe we’ll have to try that next year!

Candied Yams!

Candied Yams (aka Sweet Potatoes with Brown Sugar and Marshmallows)

You will need…
7-9 Sweet Potatoes (Yams), washed
1/4 cup (1/2 stick) Butter
Approx. 1/2 cup Brown Sugar
Approx. 1 1/2 cups Miniature Marshmallows

Directions:
Place the potatoes in a large pot of water and bring to a boil.  Boil for 25-30 minutes until potatoes can be easily pierced with a fork.  Carefully remove the potatoes from the water and place in a colander.  (You can drain the entire pot into the colander but I used tongs to transfer the potatoes individually since the pot was so big.)  Allow the potatoes to cool before moving onto the next step.  If you are doing this step a day ahead of time like we did, transfer the cooling potatoes into large ziplock bags and store in the refrigerator overnight.

Layered Sweet Potatoes, Butter, and Brown Suger

Peel the cooked potatoes by cutting off 1/2 inch on each end and scoring each potato lengthwise.  The skin should peel off easily with your hands.  Slice each potato into 3/8 inch thick disks.  Grease the bottom and sides of a 9×13 casserole pan with butter and layer the potatoes in the pan.  Place a small amount of butter between and on top of every few potato slices and sprinkle the brown sugar over the potatoes as you go.

Candied Yams with Marshmallows before baking

Sprinkle the marshmallows on top of the layered potatoes and bake for 24 minutes in a preheated 390° oven.  Enjoy as part of a delicious holiday meal!

Baking with our other Thanksgiving sides

Roasted Tomatillo Salsa

I’ve been wanting to share this recipe for Roasted Tomatillo Salsa for quite some time since it is one of our all-time favorite salsas.  It is a great go-to recipe for summer barbecues and picnics and features a fresh flavor, beautiful green color, and just the right amount of kick.  The original recipe came from The Food Network’s Tyler Florence and can be viewed here.

We first made this salsa last Spring when our oven was broken.  Instead of roasting the tomatillos, peppers, onion, and garlic in the oven, we wrapped the bottom of our 13×9 glass pan in foil and roasted the veggies on our grill over indirect medium-high heat.  If you find yourself wanting to make this recipe during a heat wave, using the grill might be a good way to avoid heating up your kitchen!

Tomatillos look sort of like green tomatoes with protective husks.

Roasted Tomatillo Salsa 

You will need…
10-12 Tomatillos, husked and sliced in half
4 cloves Garlic, peeled
2 Jalapeño Peppers, whole
1 White Onion, sliced into 6-8 large wedges
Juice from 1/2 to 1 Lime (depending on how juicy your lime is!)
1 teaspoon Salt
2 teaspoons Cumin
1/2 cup Cilantro, loosely chopped
Tortilla Chips

Directions:
Place the tomatillos, garlic, peppers, and onion in a 13×9 glass pan and roast in a preheated 400° oven for 20 minutes until veggies have softened.  Switch the oven to broil and broil for 4-5 minutes until black spots start to form on the tomatillos and peppers.  Remove from oven and set aside to cool.

Tomatillos, Garlic, Jalapeños (from my garden!), and Onion ready to be roasted.

Meanwhile, place the lime juice, salt, cumin and cilantro in a blender.  When the tomatillo mixture is cool enough to handle safely, pour the roasted veggies and any accumulated juices into the blender.  Blend the mixture until it is fairly uniform (or to your desired salsa consistency) and serve with tortilla chips.

Corn and Black Bean Salad

This healthy, colorful salad is easy to make and the combination of rice vinegar, lime juice and cilantro give it a great, fresh flavor.  Because you can make it several hours ahead of time, this has been a go-to side dish for us when we’re having people over for dinner.  The leftovers (if there are any!) keep well and are delicious either alone or as a chunky salsa/dip with tortilla chips.  We found the original recipe on Whole Food’s blog.

Corn and Black Bean Salad

You will need…
2 – 15 oz. cans of Black Beans, drained and rinsed
15 oz. frozen Corn, rinsed (if using canned corn boil it for 1 minute and then drain)
1 small Red Onion, chopped and rinsed
1 Red Bell Pepper, chopped
2 tablespoons Rice Vinegar
1 tablespoon Extra Virgin Olive Oil
1 tablespoon Lime Juice
1/4 teaspoon Salt
1/2 teaspoon Ground Black Pepper
1/3 cup Cilantro, chopped

Directions:
Rinse the beans, corn and red onion in a large colander.  Allow to drain thoroughly, then add the red bell pepper.

Meanwhile, combine the rice vinegar, olive oil, lime juice, salt, and pepper in a large bowl.  Mix well, then add the bean, corn, onion, and pepper mixture from the colander.  Add the chopped cilantro.  Mix the entire salad well and then cover and place in the refrigerator for at least 1 hour to chill.  Stir again before serving.

Simple Grilled Zucchini

We’ve had a busy week!  It was Matt’s birthday yesterday so we’ve been going out to dinner a lot and haven’t cooked anything elaborate lately.  Despite our lack of exciting culinary exploits, I still wanted to share a recipe so here’s a very simple one for tonight: Grilled Zucchini.

Simple Grilled Zucchini

You will need…
2 small Zucchinis (or 1 large one)
Olive Oil
Salt and Pepper, to taste
Garlic Powder and/or Trader Joe’s 21 Seasoning Salute (optional)

Directions:
Slice the zucchinis in half lengthwise.  Pour a small amount of olive oil onto the cut side of the zucchini and season with salt and pepper.  You can add extra seasonings like garlic powder or Trader Joe’s 21 Seasoning Salute at this point as well.

Place the zucchini halves skin-side down over direct medium-high heat on a preheated grill.  Grill for approximately 5 minutes and then flip the zucchinis over so that they are face-down on the grill.  Grill for another 5-7 minutes (longer for a thicker zucchini) or until they are tender.  Remove from the grill and enjoy!