Homemade Moose Munch

237 Piper Claus

Merry Christmas! Matt and I spent four of the last six evenings with our families enjoying big, yummy dinners. Piper spent the week looking out the window for the UPS truck… it’s almost like she knows where presents really come from. Smart pup!!

Today we’re unwinding from the holidays with nothing to do except watch a few episodes of Sons of Anarchy and the Eagles game. Sounds like a good Saturday to me!! While the Eagles battle the Redskins on NBC I’m trying to catch up on some long overdue blog posts, starting with this one for a holiday treat that’s perfect for sharing.

052 Caramel Corn

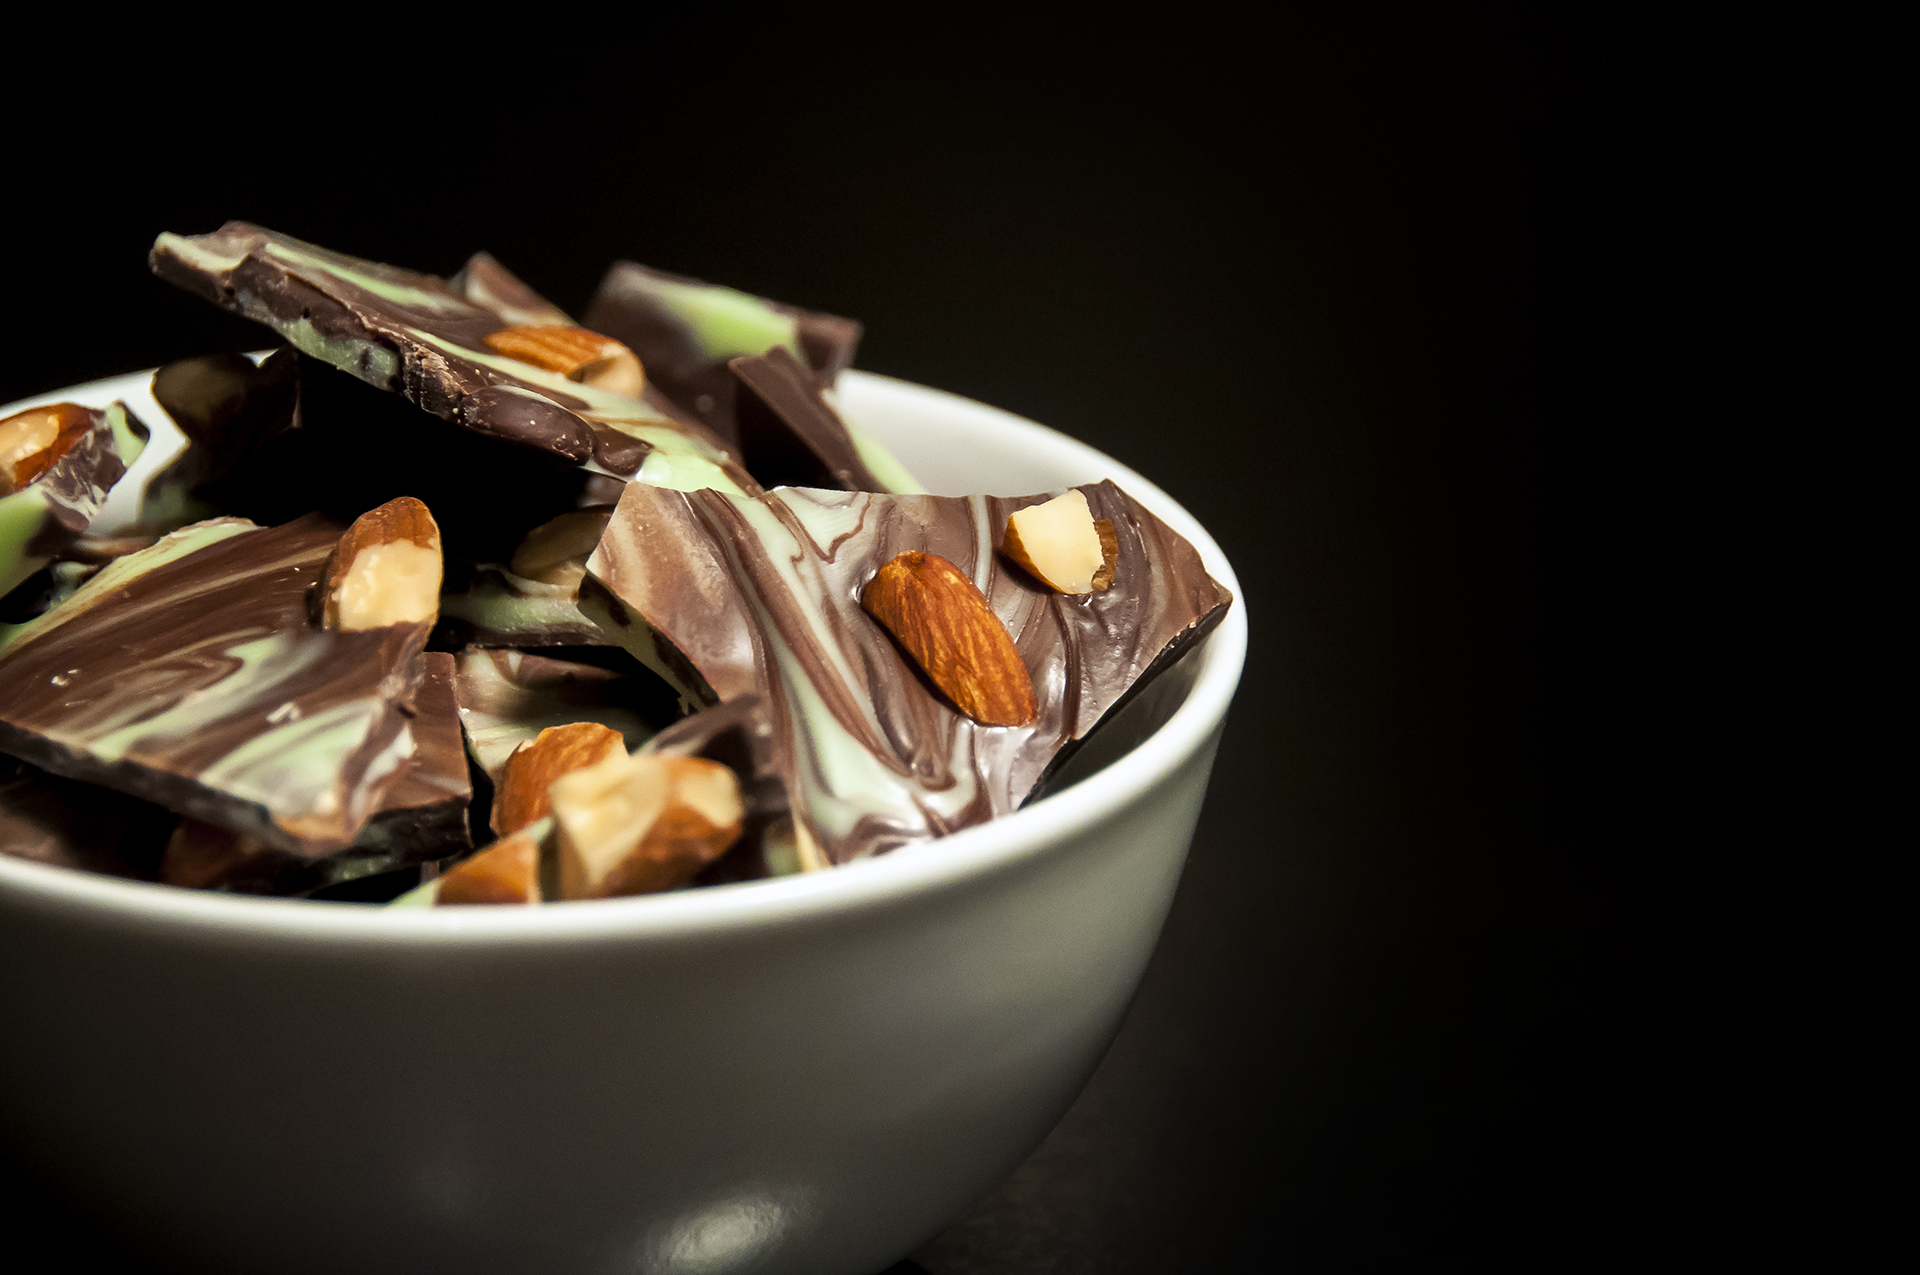
Every year Matt and I make some sort of home made treat for our families and neighbors.  Past holiday goodies include chocolate-dipped coconut cookies, candied nuts, and mint chocolate bark and this year we wanted to find a recipe for something similarly festive, delicious and easy to make in bulk.

After a little online research we settled on homemade “moose munch,” aka caramel corn covered in dark and white chocolate. Matt and I first made caramel corn a few years ago so we were already familiar with the basic concept: pop the corn, boil the caramel, toss with the popcorn and bake for an hour with regular stirring breaks.  Easy enough!

Moose Munch (Chocolate-Drizzled Caramel Corn)
(Adapted from Brownie Bites)

Ingredients:
18 cups popped popcorn (3 bags of light butter “healthy” microwaved popcorn)
2 cups mixed pecans and peanuts; roughly chop larger nuts if desired
3 cups Brown Sugar, firmly packed
2 1/4 cups Butter (4 1/2 sticks)
1 1/2 cups Light Corn Syrup
1 tablespoon Baking Soda
12 oz. Dark Chocolate Melting Wafers (we used Ghirardelli)
8 oz. White Chocolate Melting Wafers (again, Ghirardelli worked well!)

Directions:
Preheat oven to 250°F. Spread the popped popcorn out on several rimmed baking sheets and/or casserole dishes. The more shallow the layers the better, so try to use the maximum number of trays for your available oven space. Sprinkle the nuts throughout the popcorn.

In a large saucepan, combine the brown sugar, butter, and corn syrup. Melt the butter and bring the mixture to a boil. Boil for 2 minutes, then remove from heat and stir in the baking soda.  (Warning: baking soda causes the mixture to expand, so make sure you’re using a large saucepan!)

Pour the warm caramel over the popcorn, distributing evenly between the multiple pans. Use tongs or a spatula to toss the popcorn well until it is evenly coated in caramel. Bake the popcorn for 60 minutes, pausing every 15 minutes to stir each tray.

When the caramel corn has finished cooking, spread the hot popcorn in a single layer on parchment paper. Allow to cool for at least 30 minutes before proceeding with the chocolate.

044 Caramel Corn

Melt the dark chocolate wafers in a double boiler. Drizzle the melted chocolate over the cooled caramel corn with a spoon or fork. Wait 10-15 minutes for the dark chocolate to set, then repeat this process with the white chocolate wafers. Allow the finished moose munch to cool completely, then break into chunks and transfer to gift boxes, bags, or a cookie tin. Save a little for yourself and share the rest with your friends and family!

079 Caramel Corn

…and here’s one more gratuitous Piper pic to finish off the post. I took several photos of her in front of the tree and now that Christmas is over I’m looking for any chance I can get to share them!! 😄

115 Christmas Piper

Magic Mint Chocolate Bark

Peppermint Bark was one of the first recipes that Matt and I ever made together.  I remember the experience clearly… we were home from college on winter break in my mom’s kitchen and we slaved away over a double-boiler for what seemed like hours until our dark chocolate and white chocolate mixtures reached the perfect level of melted-ness.  Then we layered the chocolates (making sure to give the dark chocolate time to set before adding the white) and topped our masterpiece with crushed candy canes.  The resulting bark was decadent and well worth our time, but it was not easy to make!

Fast forward to present day…  It’s now quite common for Matt and me to spend an hour or two in the kitchen making dinner on a weeknight so that peppermint bark no longer seems like such a daunting task.  Nevertheless, we still jump at the chance to make easy recipes every now and then.  That’s where this Magic Mint Chocolate Bark comes in.  This delicious, fancy-looking bark literally took about 6 minutes to make and no double boilers required!

Magic Mint Chocolate Bark

I first saw this recipe when Anne from UniHomeaker.com posted it a few weeks ago.  I immediately decided that we had to make this mint chocolate bark ASAP.  Check out Anne’s post on this chocolately treat… she used crushed pretzels in her bark and it looks delicious!

Magic Mint Chocolate Bark

** Magic Mint Chocolate Bark **

(recipe from the back of the Nestle Toll House Dark Chocolate and Mint Morsel bag)

You will need…
Two 10 oz. bags Nestle Toll House Dark Chocolate and Mint Morsels
1 handful Roasted, Salted Almonds, roughly chopped

Directions:
Line a jelly roll pan with parchment paper and pour all of the chocolate and mint morsels onto it.  Spread the morsels so they are all touching and arranged in a single layer.  Place the pan in a preheated 325°F oven for 2-3 minutes or until the morsels look wet and shiny.  Remove the pan from the oven and immediately swirl the chips together using the end of a butter knife.

Distribute the almonds evenly over the swirled chocolate.  To help the almonds sink into the bark, raise the pan about 3″ above the counter and drop it back onto the counter.  Repeat this process a few more times.  Refrigerate the bark for an hour or until completely cooled.  Break into pieces and store in an airtight container in the fridge.  Enjoy!

Magic Mint Chocolate Bark

Shrimp with Penne in Herbed Cream Sauce

For some reason our families make nearly identical holiday meals, usually featuring a juicy filet roast, twice-baked potatoes and green beans.  Matt and I love this dinner (and in fact got to enjoy it twice this month – once at my mom’s and again with Matt’s family!) but when it came time for us to host Christmas Eve dinner at our house we decided to do something completely different.

After an online search we settled on Shrimp and Penne in Herbed Cream Sauce and it was perfect!  The shrimp were tender and the combination of white wine, garlic, parsley and basil made the whole kitchen smell wonderful.  The pasta was nicely coated in a light cream sauce and the red pepper flakes provided just the right amount of heat.  To streamline the cooking process I prepped the herbs, tomatoes and cheese ahead of time so assembling this dish was actually pretty easy once our guests arrived.

In addition to the shrimp and penne we served fresh bruschetta, a tossed salad with Matt’s mom’s balsamic vinaigrette, and wedges of rosemary-studded Italian bread with butter.  We finished off the meal with a tray of Christmas cookies, chocolate-dipped coconut sticks, and white chocolate holiday bark.  Yum!

Shrimp and Penne in Herbed Cream Sauce (iPhone photo)

Shrimp with Penne in Herbed Cream Sauce  (from Giada De Laurentiis)
serves 4-5; we doubled this to serve 7 and had enough leftovers for dinner a few days later

You will need…
1 pound Penne Pasta
1/4 cup Extra Virgin Olive Oil
1 pound medium Shrimp, peeled and deveined
4 cloves Garlic, pressed through a garlic press
1/2 teaspoon Salt
1/2 teaspoon Pepper
1 – 15 oz. can Whole Tomatoes, drained and roughly chopped
1/2 cup Basil Leaves, chopped
1/2 cup Flat-Leaf Parsley, chopped
1/4 teaspoon Red Pepper Flakes
1 cup White Wine (we used a Chardonnay)
1/3 cup Clam Juice
3/4 cup Heavy Whipping Cream
1/2 cup Parmesan, freshly grated

Directions:
Cook the pasta in a large pot of boiling water then drain and set aside.  Meanwhile, heat the olive oil in a large skillet over medium-high heat.  Add the shrimp, garlic, 1/2 teaspoon of the salt and 1/2 teaspoon of the pepper.  Cook the shrimp for about 3 minutes until they are pink and cooked through.  Remove the shrimp with a slotted spoon and set aside.

Add the tomatoes, 1/4 cup basil, 1/4 cup parsley and the red pepper flakes to the skillet.  Cook for 2 minutes while stirring constantly, then add the wine, clam juice and cream.  Bring to a boil then reduce the heat and simmer for 7-8 minutes until the sauce thickens.  Add about half of the Parmesan along with the shrimp, pasta and remaining basil and parsley.  Mix well until the pasta is coated and season to taste with salt and pepper.

Transfer the pasta to a serving dish and top with the remaining freshly grated Parmesan.  Serve with a wedge of Italian bread and a glass of white wine.

Shrimp with Penne in Herbed Cream Sauce

25 Days of Christmas: Days 22-25

This is the last installation of my 25 Days of Christmas challenge!  The last four topics are cookies, sparkle, Christmas eve, and unwrapped:

Day 22 – Cookies – Matt’s mom bakes a huge assortment of sugar and gingerbread cookies and his family gathers before Christmas to frost and decorate them.  Matt frosted this ornament cookie.

Day 23 – Sparkle – One of our sparkly snowflake ornaments.

Day 24 – Christmas Eve – We had our parents over for Christmas Eve dinner last night.  We made bruschetta and Giada’s Penne with Shrimp in Herbed Cream Sauce… yum!

Day 25 – Unwrapped – I’m cheating and using two photos for this final topic…  The top photo shows pile of unwrapped wrapping paper on Matt’s new step stool and the bottom photo shows Bailey with her freshly-unwrapped bone!

25 Day Photo Challenge

Would you like to see more 25 Days of Christmas fun?  Visti Pa-BLAM to see Pami’s days 22-25 post and visit Katie at Kitchen Notes and Other Sundries to see her challenge photos.

Related Posts:

Chocolate-Dipped Coconut Cookie Sticks

Merry Christmas Eve Eve!  🙂  Matt and I kicked off our holiday cooking last week by baking dozens of Chocolate-Dipped Coconut Cookie Sticks.  We chose coconut cookies because I have fond memories of making a similar cookie with my mom years ago so I thought it would be fun to recreate them this year.  I don’t have my mom’s original recipe so I used this recipe from Vesta Vamps and it was perfect!  The cookies turned out buttery, crisp and chocolatey and they looked great “wrapped” in mason jars with red bows.  We shared several jars with friends and family and still have a couple dozen left over for ourselves.

Chocolate-Dipped Coconut Sticks

Chocolate-Dipped Coconut Cookie Sticks (from Vesta Vamps)

You will need…
1 pound (4 sticks) Butter, at room temperature
1 1/3 cups Sugar
3/4 teaspoon Salt
3 Egg Yolks
2 teaspoons Vanilla
4 2/3 cups All-Purpose Flour
1 bag (approx. 5 1/2 cups) Sweeted Coconut Flakes
16 oz. Semisweet Chocolate, roughly chopped

Directions:
In a stand mixer beat together the butter, sugar and salt until light a fluffy, approximately 3-4 minutes.  Beat in the egg yolks, one at a time and add the vanilla.  Beat until smooth, then add in the flour in small increments and mix until combined.  Scoop the dough out of the bowl with your hands and form into two dough balls.

Row after row of cooling cookies

Meanwhile, empty the bag of coconut out onto a large rimmed cookie sheet and place in a preheated 350° oven.  Toast the coconut for 15-18 minutes until golden brown, stirring frequently.  Remove the toasted coconut from the oven and allow to cool.

Place one of the dough balls and half of the toasted coconut into the mixer bowl.  Mix until combined and then remove the dough from the bowl and divide in half.  Use your hands to form each dough half into rectangles that measure approximately 18 in. long by 5 in. wide and 1/2-3/4 in. tall.  Place the dough rectangles onto parchment paper and allow to chill in the refrigerator for at least 30 minutes.  Repeat this step with the second half of the dough; you should end up with 4 chilled rectangles.

Slicing the dough into sticks

Cut the chilled dough into cookie sticks that are approximately 1/2 inch wide.  Roll the dough slightly between your palms to create a round cookie (or leave it flat to create more of a biscotti-type shape) and place the dough sticks onto a non-stick cookie sheet.  Bake each batch of sticks in a preheated 350° oven for 12-14 minutes until golden brown.  Allow the cookies to cool on the tray for 5 minutes and then carefully transfer them to cooling racks until they cool completely.

Cooling cookies

Place the chopped chocolate in a double boiler bowl over simmering water and stir until it melts.  Dip the end of each cookie into the chocolate mixture, scrape any excess chocolate off on the side of the bowl, and place each of the cookies on parchment paper to cool.

This makes about 120 cookies and they are perfect to share with friends and family around the holidays!

These cookies make great gifts!

25 Days of Christmas: Days 15-21

This week’s 25 Days of Christmas topics are warmth, ornaments, wreath, giving, reindeer, memories, and bells:

Day 15 – Warmth – Our wonderful, warm, easy-to-use propane stove!

Day 16 – Ornaments – Our tree doesn’t have a specific theme, but I’ve noticed that we seem to gravitate towards animal ornaments and apparently we have a thing for squirrels! Next year we really need to get a black squirrel ornament.

Day 17 – Wreath – We have a double front door which means that we need these double wreathes!

Day 18 – Giving – These chocolate-dipped coconut stick cookies are all packed up and ready to give to friends and family. I’ll post the recipe soon!

Day 19 – Reindeer – This reindeer pulling Santa’s sleigh was always one of my favorite Christmas decorations growing up.

Day 20 – Memories – My dad passed away in 2005 but I fondly remember him always sitting in this chair on Christmas morning while we opened presents. We’d have to wait for what seemed like hours until we were allowed to come downstairs and see what Santa had brought for us!

Day 21 – Bells – This ornate bell is part of an indoor display at Longwood Gardens in Kennett Square, PA. Longwood is a great place to visit at Christmas time!

25 Day Photo Challenge

Would you like to see more 25 Days of Christmas fun? Visit Pami at Pa-BLAM and Katie at Kitchen Notes and Other Sundries to see their photos!

Related Posts:

25 Days of Christmas: Days 8-14

It’s time for another installation of my 25 Days of Christmas challenge!

Day 8 – Tree – This was an easy one because I love our tree this year! As usual, we picked it out at Linvilla Orchards the Sunday after Thanksgiving. You’ll get to see some of the ornaments on Day 16…

Day 9 – Treats – OK, not a Christmas photo per se, but to me this photo screams “treat.” We taught Bailey this trick a few years ago but juding by the look on her face I don’t think that she likes it very much!

Day 10 – Joy – This photo is from Christmas morning last year. It was our first Christmas in our new house and Bailey was having fun trying to lick our faces mid-photo.

Day 11 – Carols – This is my mom’s piano with “Rudolph the Red-Nosed Reindeer” ready to be played by someone (not me!). I spent countless hours of my childhood sitting in front of this piano. Now I’m glad just to photograph it and move on!

Day 12 – Vintage – I don’t know what year this Santa is from, but he’s been around since as long as I can remember so that makes him vintage as far as I’m concerned!

Day 13 – Festive – A nice holiday beverage with an orange peel “twist.” We made these last year for New Year’s Eve.

Day 14 – Glitter – These glittery candles belonged to my wonderful grandma, “Mimi Betty.” Mimi passed away a few years ago but my mom and I each have several of her Christmas decorations and I often think about her at this time of year. Mimi was fond of – no, obsessed with! – the color gold and had dozens of glittery ornaments and candles including these lovely Christmas trees.

25 Day Photo Challenge

Would you like to see more 25 Days of Christmas fun? Visit Pami at Pa-BLAM and Katie at Kitchen Notes and Other Sundries to see their photos!

25 Days of Christmas: Days 1-7

Here are my photos for Days 1-7 of the 25 Days of Christmas Challenge!

Day 1 – Lights – Looking up through a light tree at Longwood Gardens
Day 2 – Decorations – I know, more lights! But this is how we have decorated our house this year.  Icicle lights all around!
Day 3 – Gifts – We haven’t wrapped any presents yet this year so these are some gifts from two years ago.
Day 4 – Tradition – This is our advent calendar!  We stash candy and goodies behind each little door for each other.  Matt gets the odd days and I get the even!
Day 5 – Santa – Our snazzy, sparkly Santa ornament.
Day 6 – Stockings – We don’t have stockings but we do have these awesome red boots!
Day 7 – Snow – I couldn’t decide on this so I chose two.  One shows Bailey on a huge snow drift during the winter of 2010 and the other is a road that we take on our drive to work.

Craving more 25 Days of Christmas fun?  Go visit Pami at Pa-BLAM and Katie at Kitchen Notes and Other Sundries… they are doing the 25 Days of Christmas Challenge, too!

25 Day Photo Challenge