Yesterday Matt and I had our Engagement Photo Session with our wonderful wedding photographer, Melissa Hassey. Prior to the shoot Melissa suggested that Matt and I just relax and do what we normally would be doing on a Tuesday afternoon so we embraced that advice and decided to cook a big meal. That’s pretty much a typical weeknight, after all!

Corn Tortillas, fresh off the grill!

Pork Carnitas

Mojito Limeade

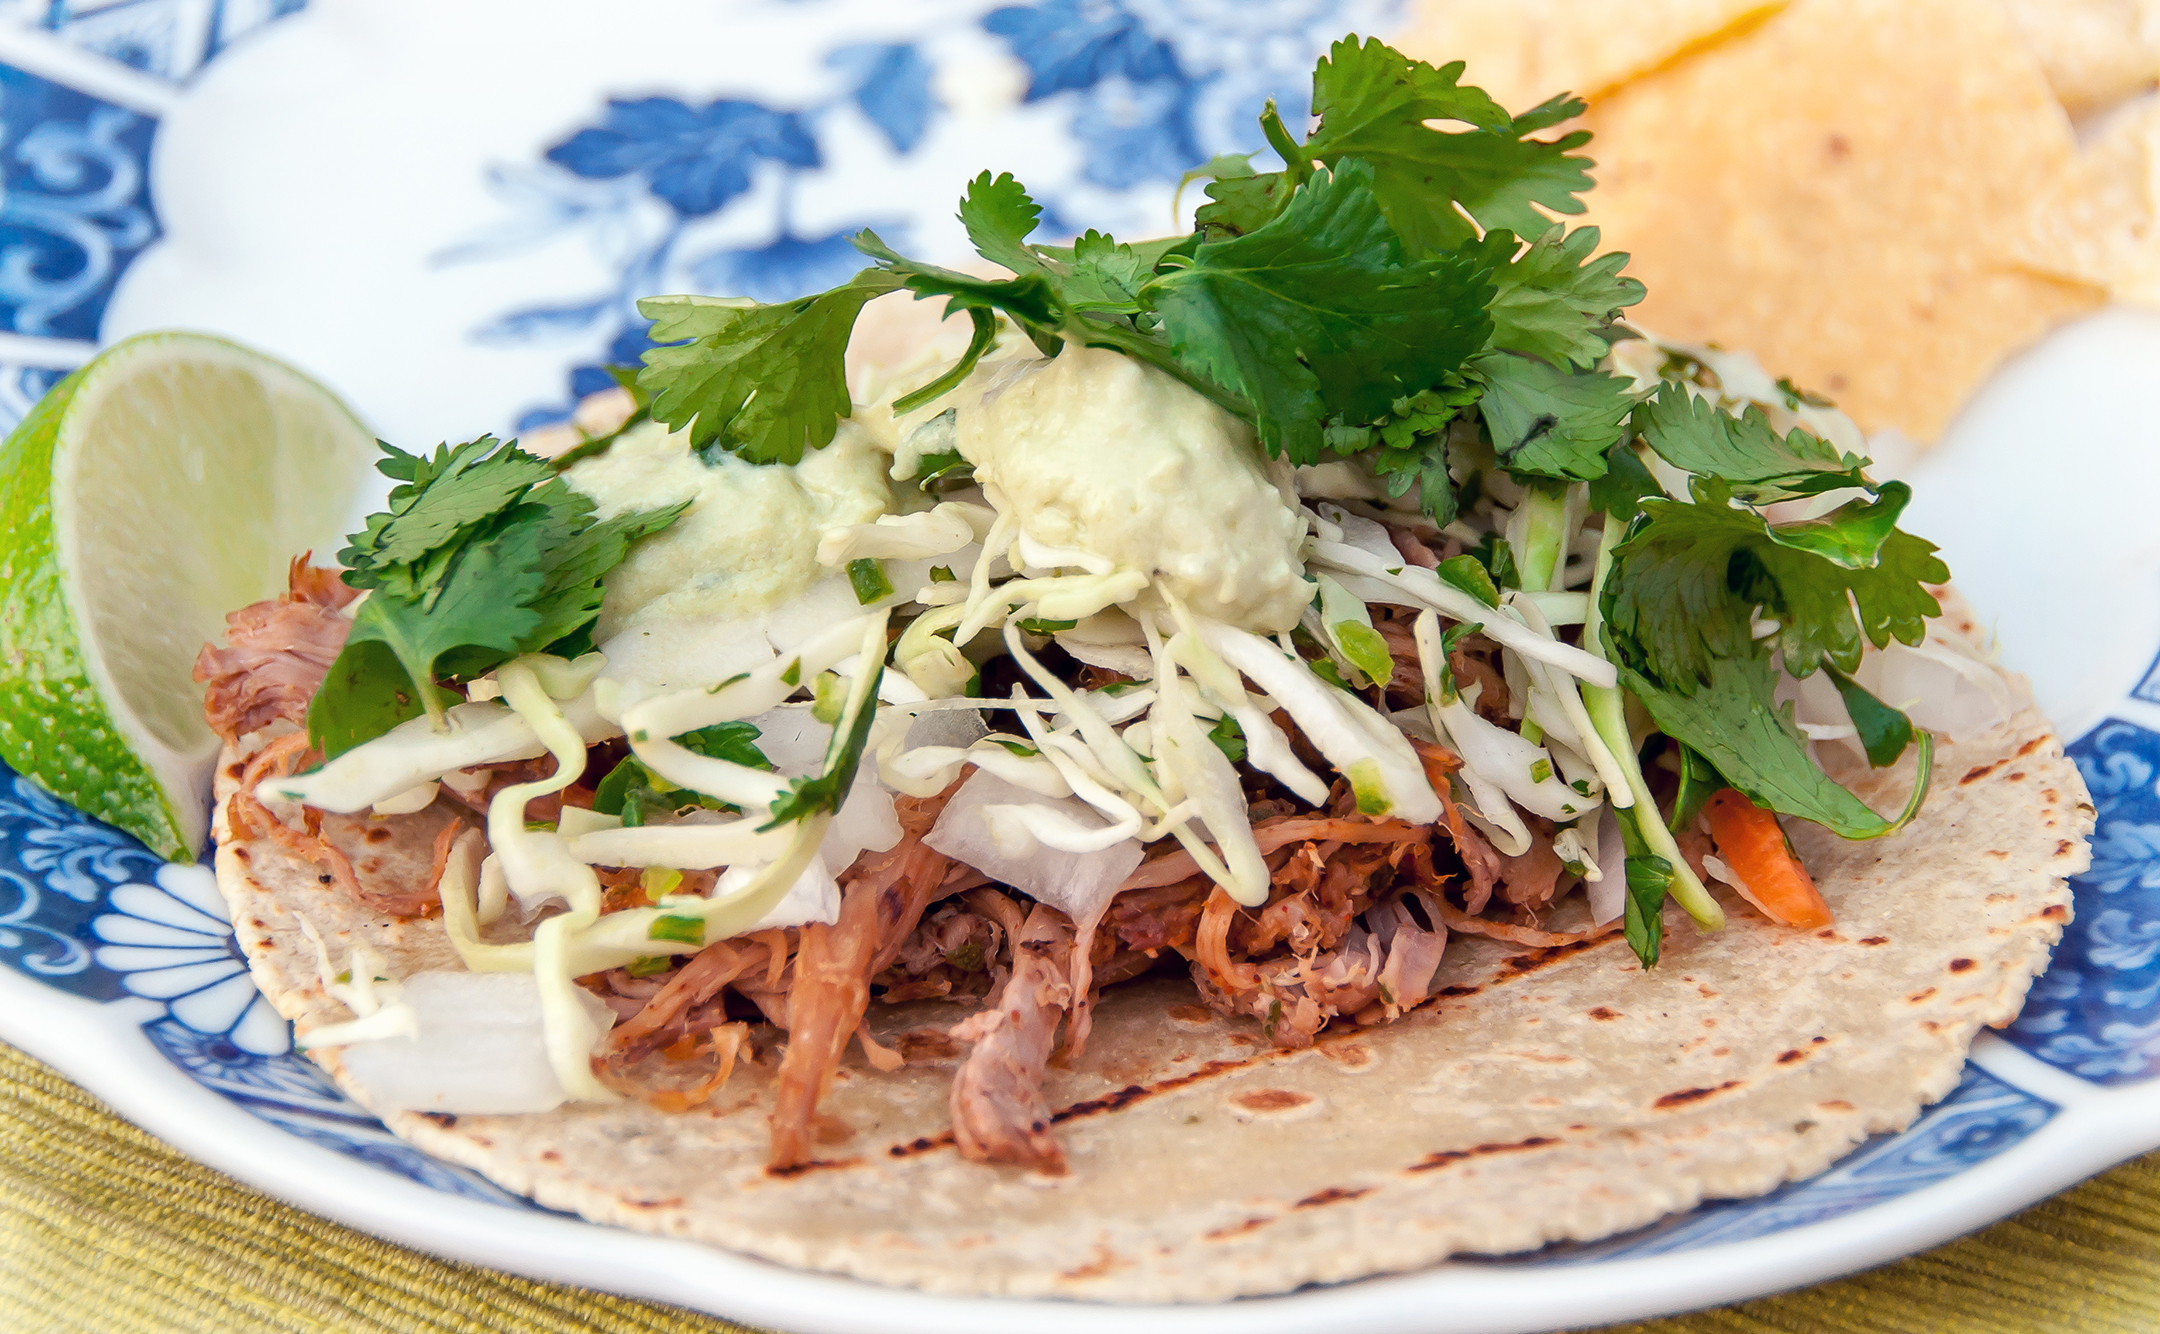
Pork Carnitas Taco… yum!

Slow-Cooked Pork and Grilled Tortillas

Jalapeño-Lime Slaw

Grilling the Tortillas

Our engagement session meal!

Matt shows off his carnitas taco.
Our “Engagement Session Meal” consisted of slow-cooked pork carnitas tacos with lots of yummy sides including jalapeño-lime slaw, avocado crema, and fresh cilantro. We also enjoyed a pitcher of mojito limeade and a few cold beers. Yum!
I can’t wait to see how Melissa’s photos turn out. She actually snapped some of me taking pictures of our food before dinner while Matt waited patiently for me to finish which, once again, is a pretty normal part of our daily life together! (Update: You can view one of Melissa’s photos of me taking photos of our carnitas here.)
Slow-Cooked Pork Carnitas Tacos (serves 2 with LOTS of leftovers for 2-3 lunches each!)
For the Pork…
3 ½ – 4 lbs. Bone-In Pork Butt, fat mostly trimmed off and discarded
Salt and Pepper
3/4 cup Apple Cider Vinegar
1 1/2 teaspoons Cumin
1 teaspoon Chile Powder
1/4-1/2 teaspoon Cayenne Pepper
3 teaspoons Mexican Oregano
Corn Tortillas (approx. 3 per person)
Toppings/Sides…
Jalapeño-Lime Slaw
Avocado Crema
Chopped White or Yellow Onion
Fresh Cilantro
Guacamole
Rice (or, better yet, Cilantro-Lime Rice!)
Lime Wedges
Tortilla Chips
Directions:
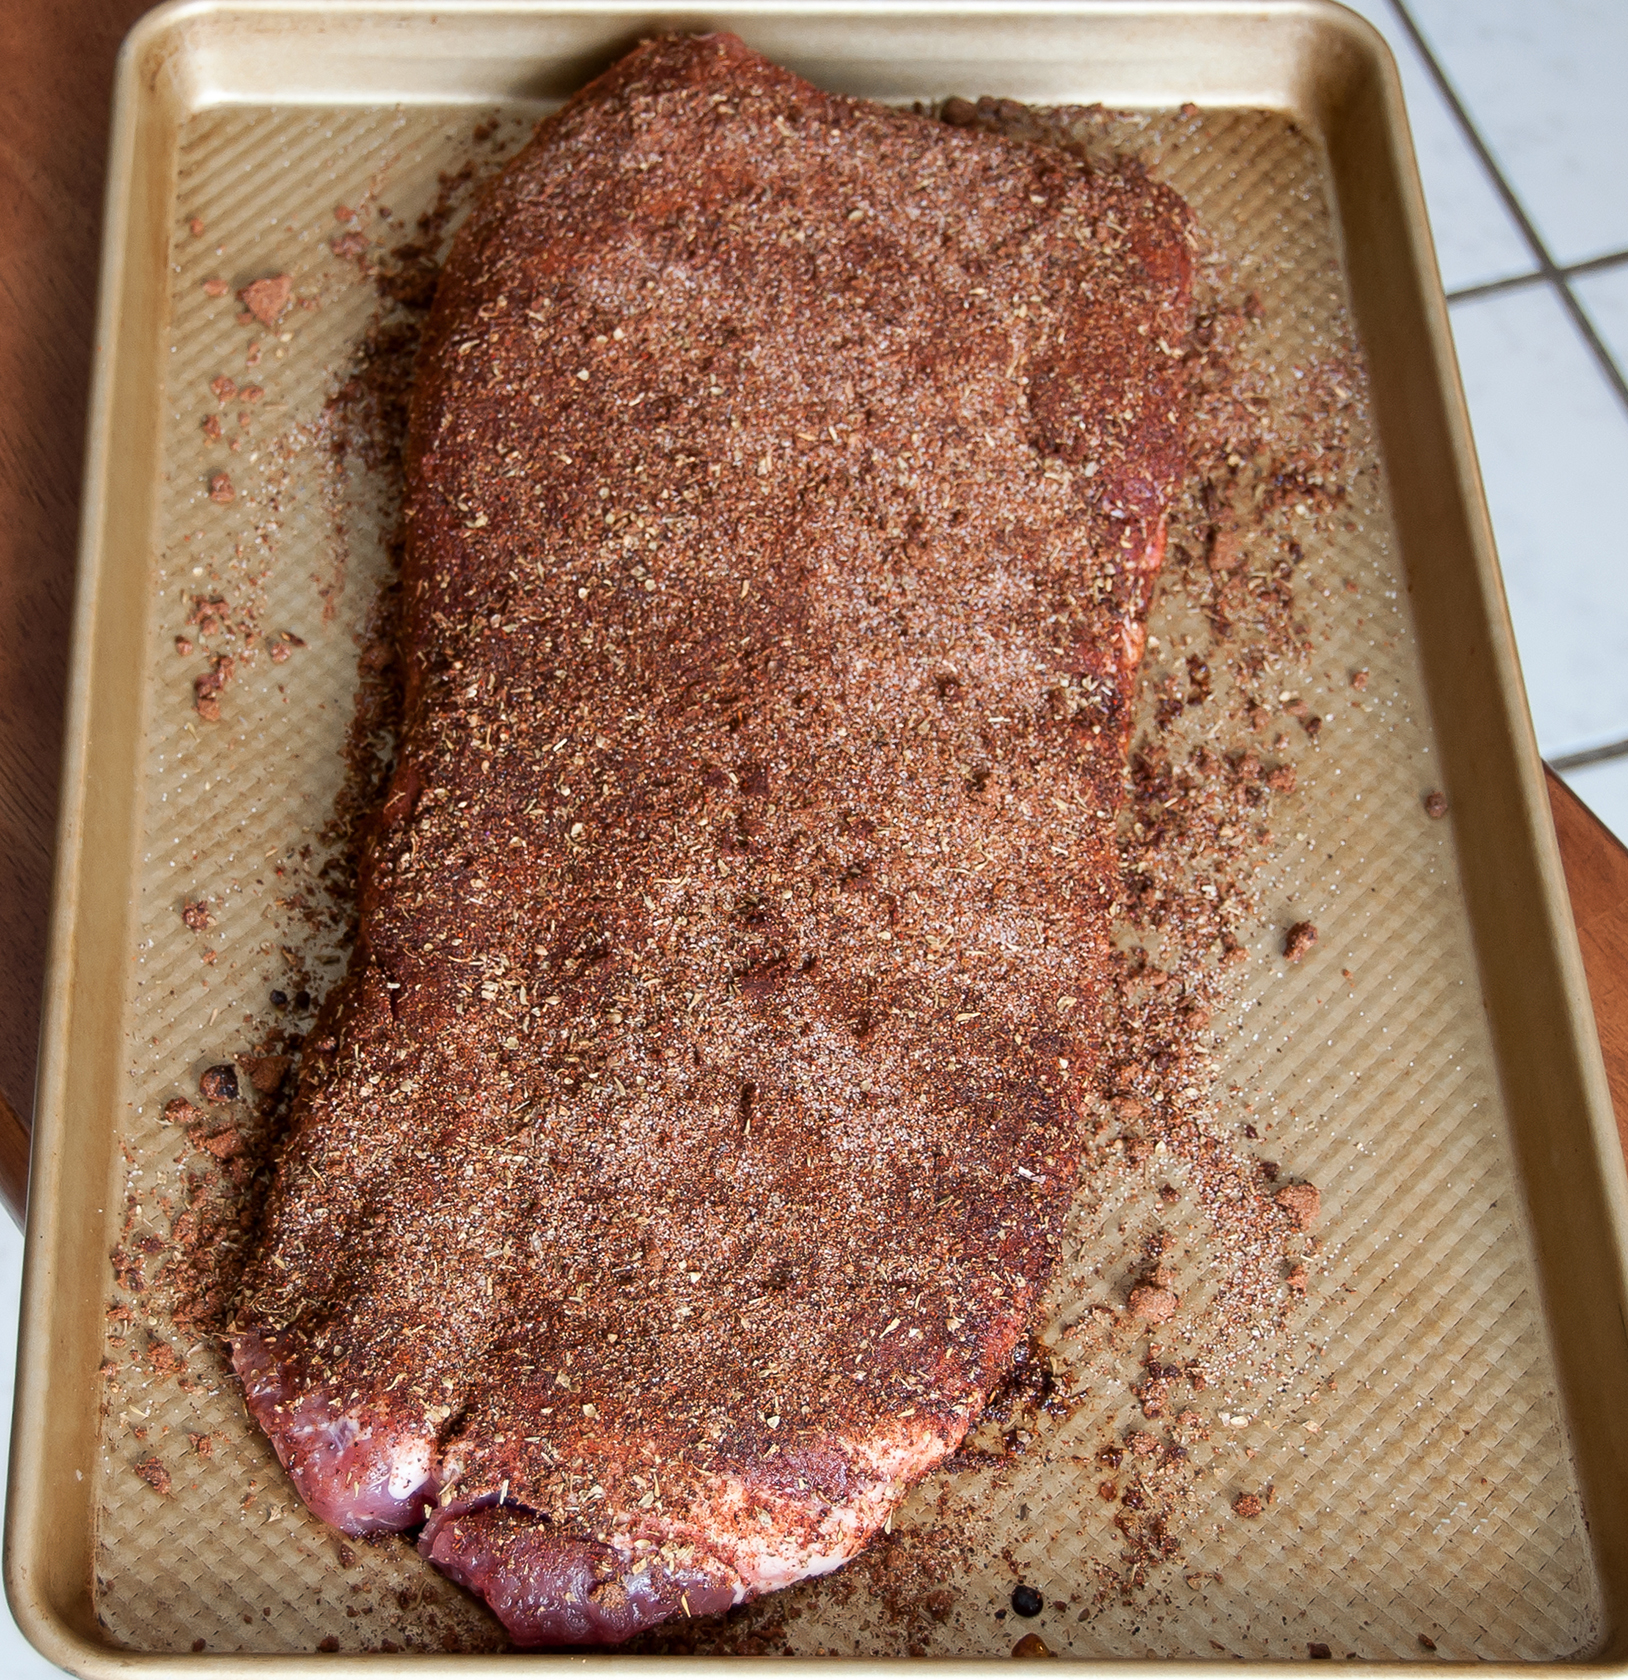
Generously salt and pepper both sides of the pork butt and place the meat into a slow cooker. Pour the vinegar into the slow cooker, cover, and cook on high for 8-10 hours.
When pork is finished cooking, remove the pork from the slower cooker and transfer to a large bowl. Pull the pork apart with two forks (or your fingers!) and discard the bone. Stir in the cumin, chile powder, cayenne pepper and more salt and pepper — feel free to adjust the seasonings to taste. Spread the seasoned meat out on a large baking pan and broil in the oven for 5-6 minutes until the edges start to get crispy.
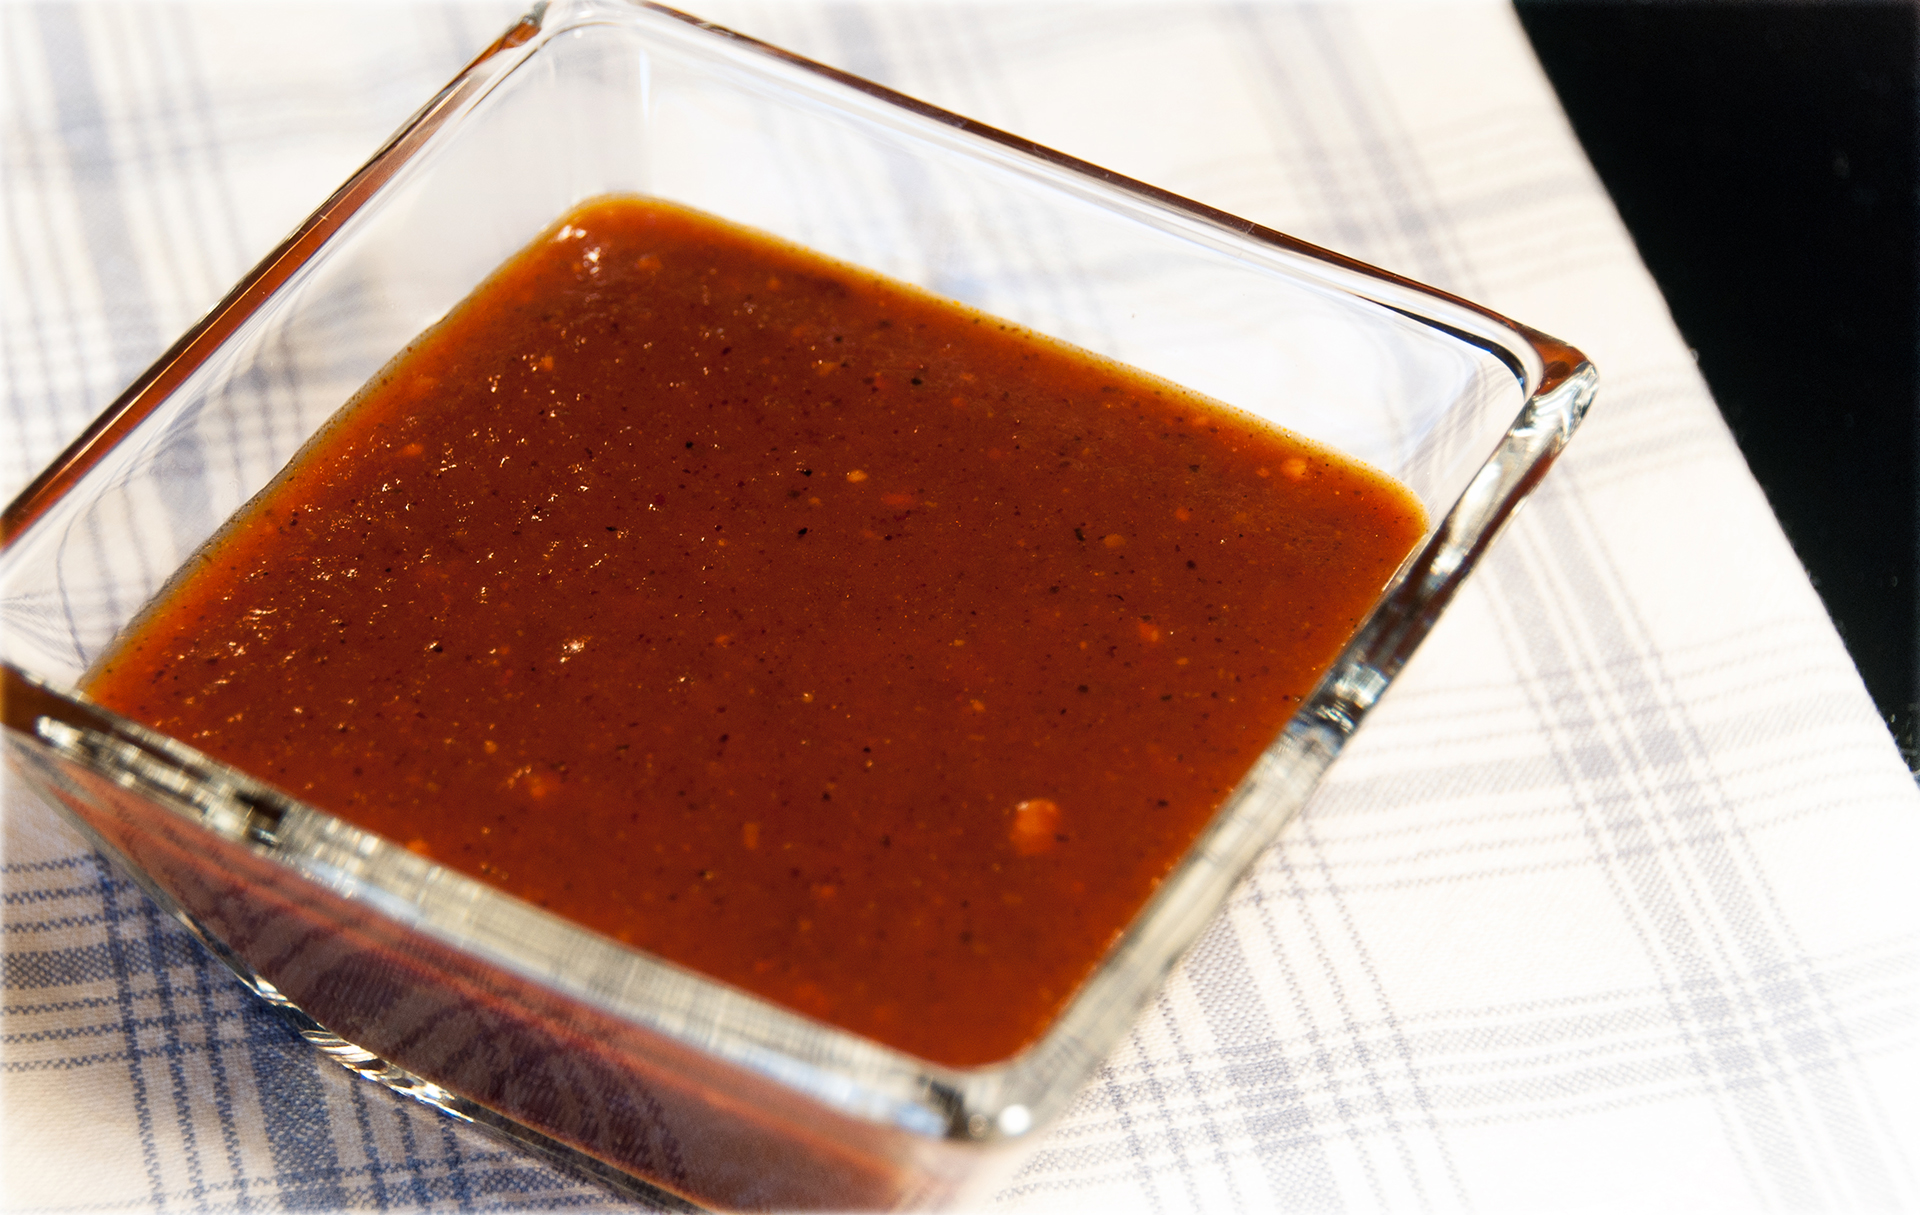
Pour the cooking liquid from the slow cooker into a large measuring cup and then return the broiled pork to the slow cooker. Mix in the oregano, then pour some of the cooking liquid into the slow cooker and stir until the pork absorbs it. Keep adding more liquid and stirring until the pork reaches your desired moisture level. (We skipped this step yesterday and thought that our pork was a little dry but we’ll definitely do it next time!) Discard any leftover liquid and keep the pork warm until you are ready to serve it.
Meanwhile, prepare your toppings and sides as per their respective recipes. Just before serving, heat up the corn tortillas to make them pliable and yummy. Either microwave them in a damp paper towel for approx. 30 seconds or have fun with the grill and grill the tortillas over indirect high heat for 2-3 minutes.
To assemble your pork carnitas taco layer the pork, slaw, crema, onion, and cilantro onto a tortilla and enjoy!