BBQ Baby-Back Ribs

BBQ Ribs

Matt and I made these oven-roasted BBQ baby-back ribs for my family at the Hunting Camp last weekend. This was our first time making baby-backs and they were delicious! I’m pretty sure that my brother single-handedly ate an entire rack… (But it technically wasn’t single-handedly because he totally had to use two hands to really dig into these saucy, meaty ribs!!) 😉I’d recommend lots of napkins and maybe some wet wipes when serving these!

When researching recipes for this meal, we originally thought that it would be neat to cook the ribs entirely on the grill, but we were doubling the recipe and quickly realized that 6 full racks of ribs would never fit comfortably on a standard grill.  With this in mind, Matt opted to do most of the “slow and low” cooking on rimmed baking sheets in the oven and simply finished the ribs on the grill for that final grilled flavor.  This made for an easy afternoon with very little hands-on work required up until the final grilling and cutting steps.

RIBS!

BBQ Baby-Back Ribs (serves 6; adapted from Williams Sonoma Grill Master)

Ingredients:
4 chipotles in adobo, seeded & chopped
4 cloves garlic, minced
2 tablespoons tomato paste
2 tablespoons balsamic vinegar
2 tablespoons brown sugar
4 1/2 teaspoons sweet paprika
4 1/2 teaspoons cumin
4 1/2 teaspoons dried oregano
4 1/2 teaspoons dried thyme
1 teaspoons ground cloves
Coarse salt

3 slabs baby-back ribs (6lb.)
1 cup of your favorite store-bought barbecue sauce

Directions:
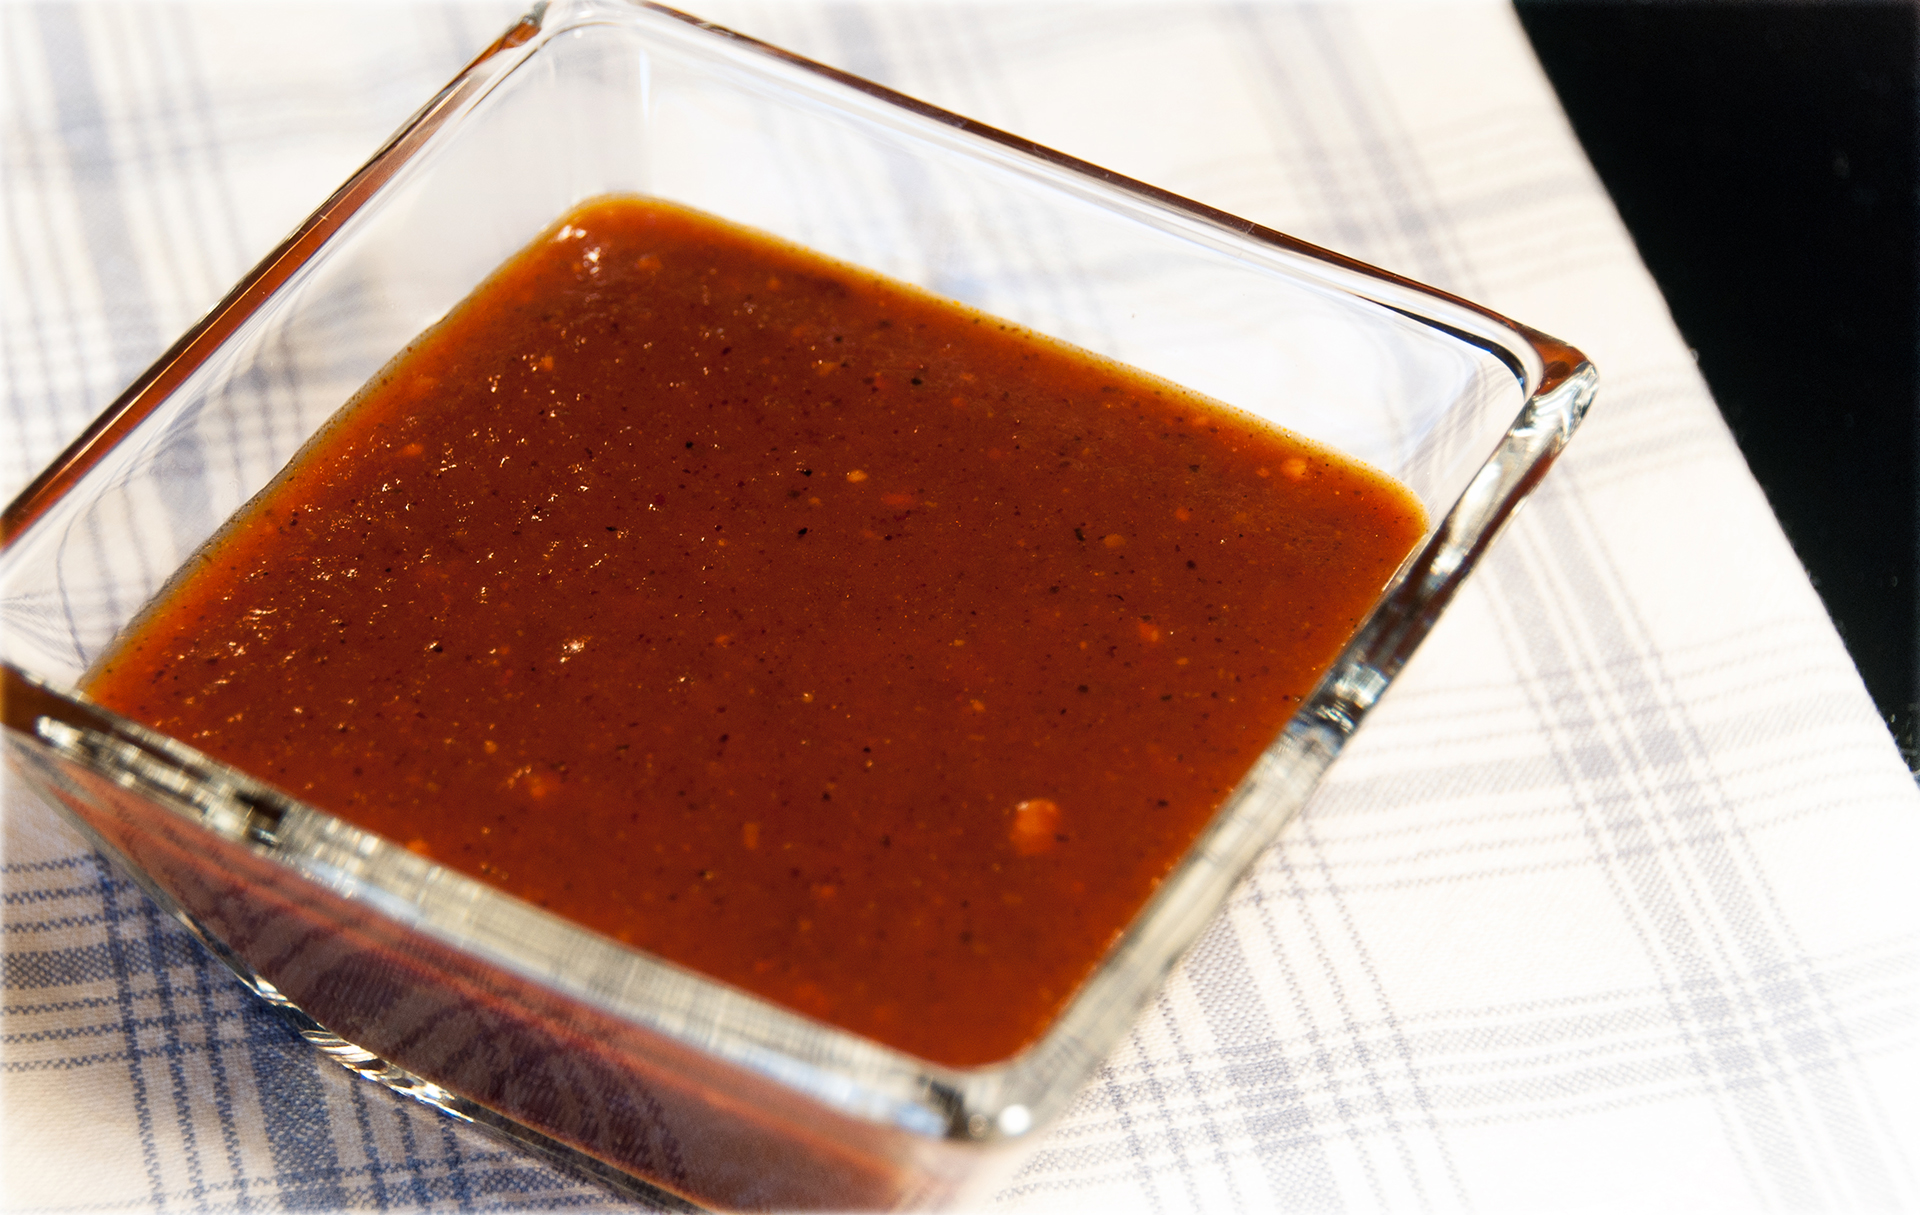
To make the rub, combine the chipotle chiles, garlic, tomato paste, balsamic vinegar, brown sugar, paprika, cumin, oregano, thyme, cloves and salt in a food processor. Pulse until a smooth paste forms. If the rub is too dry, add 1-2 tablespoons water and continue to pulse. The rub may be refrigerated in an airtight container for up to two days.

On the morning before you serve the ribs, begin by removing the silverskin (membrane) off of the bone-side of the ribs.  (See here for tips.) Use a sharp knife to carefully trim any large sections of fat from the meat, then use your hands to slather the ribs with the rub.  Coat both sides of each slab evenly, then place the ribs bone-side down on a rimmed baking sheet, cover tightly with plastic wrap, and refrigerate for 4-6 hours or as long as overnight.

Flipping the ribs during roasting

Approximately 3 hours before dinner, preheat the oven to 275°F and allow the ribs to sit out of the refrigerator for 15 minutes. Transfer one rack of ribs to a second rimmed baking sheet (also bone-side down), then pour approximately 1/2 cup of water around the outer edge of each baking sheet. Cover the pans tightly with foil and place them in the oven. Roast for one hour, then remove the foil and flip the ribs over.  Continue to roast uncovered for another 1 1/2 hours, flipping every 30 minutes. The ribs can be prepared to this point a day in advance, then covered and refrigerated.

Ribs on the BBQ

Prep a gas grill for direct grilling over medium-high heat. Brush the roasted ribs with half of the barbecue sauce. Grill the ribs, turning once, until heated through, about 5 minutes per side. Transfer to a cutting board and cut into 1-rib portions. Arrange the ribs on a platter and drizzle with the remaining 1/2 cup sauce. Serve and enjoy!

BBQ Baby Back Ribs close

Quick and Easy Barbecue Sauce

Last weekend I made oven-roasted pork spareribs and, since I time to kill during the 4 1/2 hours that the ribs were cooking, I also made a batch of homemade barbecue sauce.  This sauce is “quick and easy” because it uses ketchup as the tomato base rather than whole canned tomatoes which would take hours to break down into sauce.

Homemade BBQ Sauce

Quick and Easy Barbecue Sauce (from The New Best Recipe)
Makes about 2 cups of delicious, tangy sauce!

You will need…
1 Yellow Onion, peeled and quartered
1/4 cup Water
1 cup Ketchup
2 tablespoons Apple Cider Vinegar
2 tablespoons Worcestershire Sauce
2 tablespoons Dijon Mustard
5 tablespoons Molasses
1 teaspoon Hot Pepper Sauce (I used Cholula)
1/4 teaspoon Ground Black Pepper
1 1/2 teaspoons Liquid Smoke
2 tablespoons Olive Oil
1-2 Cloves Garlic, minced
1 teaspoon Chili Powder
1/4 teaspoon Cayenne Pepper

Directions:
Place the onion and water in a food processor and blend for about 30 seconds until the mixture looks like a slushy.  Use a mesh strainer to strain the mixture into a bowl or measuring cup until you have 1/2 cup of onion juice.  Discard the solids.

Mix the onion juice and the next 8 ingredients (vinegar thru liquid smoke) together in a bowl.  Heat the oil in a saucepan over medium heat until it is shimmering, then add in the garlic, chili powder and cayenne pepper.  Allow to cook for 30 seconds, then stir in the ketchup mixture.  Bring to a boil and then reduce heat and simmer the sauce for 25 minutes, stirring occasionally.  Allow the sauce to cool to room temperature before using.

Pork Spare Ribs with Homemade BBQ Sauce

BBQ Chicken Quesadillas

Over the holidays I discovered a blog called Natural Noshing while searching for a gluten-free meatball recipe to serve to our extended family.  Although I didn’t end up making the specific turkey meatball recipe that I found on Nora’s blog, I was enthralled by her beautiful photographs and delicious, clearly-laid out recipes.  I began to daydream about creating my own blog and, although I don’t have very much cooking experience and my photography has primarily been limited to dogs flying through the air, I eventually got up the nerve to start this blog!

I had originally planned to make Kung Pao Chicken in our wok tonight since this is one of our favorite meals and it hasn’t yet appeared on TheLittleGSP.  I had, in addition to the many sauces and oils needed for Kung Pao, some chicken breast and red bell pepper, and, as of 8:32am that’s what was for dinner.  That all changed at 8:33 when I got my automated WordPress notification that a new recipe was up on Natural Noshing.  The recipe?  BBQ Chicken Quesadillas with (you guessed it!) chicken and red pepper.  Perfect!

Before you read any further, you should definitely check out the original recipe and beautiful photos on Natural Noshing.  I am pretty stubborn about never quite following recipes exactly (I always tend to add extra onions, extra garlic and a shake or two of crushed red pepper for good measure…) so when in doubt follow Nora’s recipe, not mine!  🙂

BBQ Chicken Quesadillas  serves 2-3

You will need…
2 Chicken Breasts
1/2 Red Bell Pepper, diced
1/2 Red Onion, diced
Olive Oil
Salt and Pepper
1/3 cup Chopped Cilantro (apparently I like to be heavy-handed with Cilantro as well!)
Approx. 1/2 Cup Monterey Jack Cheese, shredded (I didn’t have the sharp cheddar that the original recipe called for)
6 Corn Tortillas (ours were Green Chile Corn Tortillas)
Approx. 3 Tablespoons of BBQ Sauce (we are using Homestyle Black Cherry Smokehouse BBQ Sauce from Whole Foods)
Sour Cream and Guacamole (optional but highly recommended!)

Directions:

Bring a large pot of water to a boil and add the uncooked chicken breasts.  Boil the chicken breasts for 10-15 minutes or until they are fully cooked through.  (I actually lost track of time as my chicken was boiling.  This is usually Matt’s job but he was at lacrosse practice so I did it myself.  He tells me that you cook them “until they are done” so just do that and you’ll be fine…).  Alternatively, you can avoid this chicken-boiling step by just using pre-cooked rotisserie chicken.

Remove the chicken from the water and shred it with two forks until it looks something like this:

Sauté the pepper and onion in a tablespoon or two of olive oil over medium heat until tender.  Salt and pepper to taste and then transfer the pepper and onion mixture to a bowl.

To assemble your quesadillas, place a corn tortilla in the pan that you just sautéed the peppers and onions in.  You’ll want the tortilla to sizzle in the oil without burning (this is a very fine line on our not-so-sensitive electric range).  Top the tortilla with cheese and pour a few drops of BBQ sauce evenly around the tortilla.  When the cheese starts to melt place a few pieces of shredded chicken and a thin layer of the pepper/onion mix on one half of the tortilla.  Sprinkle with cilantro and fold the “empty” side of the tortilla over onto the full side.

Allow the quesadilla to continue sizzling until the tortilla reaches your desired level of crispiness.

Serve with guacamole and sour cream!


BBQ Pulled Pork Sandwiches

When you hear “slow cooked pulled pork” do you think about state fairs and BBQ joints in the deep south?  I love pulled pork and when I learned that we could make our very own version of this delicious summer treat with only a crock pot, apple cider vinegar, and a bottle of BBQ sauce I was thrilled!

This is probably one of the easiest and most rewarding recipes that I’ll share on TheLittleGSP.  We put the pork in the crock pot before work and come home to the aromas of slow-cooked meat.  5 minutes of “pulling” later and the pork is ready to enjoy on a nice soft sandwich bun.  This recipe is adapted from instructions that I found on about.com.


Slow-Cooker BBQ Pulled Pork Sandwiches
(makes 6-8 sandwiches)

You will need…
3-4 lbs. “Pork Butt” (also called “Boston Butt” or Pork Shoulder)
3/4 cup Apple Cider Vinegar
Salt and Pepper
A Bottle of BBQ Sauce (our current favorite is Sticky Fingers Carolina Sweet)
6-8 Sandwich Rolls (we love the burger rolls from The Fresh Market)

Directions:

Trim any excessive fat off of the pork and place the meat in your slow cooker.  Season the pork with salt and pepper on both sides.  Pour the apple cider vinegar into the slow cooker around the pork (don’t pour it directly over the top of the pork or you will wash the salt and pepper off).  Set the slow cooker to High and put the lid on.  Allow the pork to cook for approximately 10 hours.

Pork Butt ready to be cooked for 10 hours

After 10 hours have elapsed, use two forks to transfer the pork to a plate (it will be falling apart at this point so you may have many little pieces of pork already).  Dump the apple cider vinegar and juices out of the slow cooker, then return the pork to the pot.  If your pork butt had a bone, locate and discard the bone.  Use the two forks to pull the pork apart into several large pieces (but don’t completely shred the pork yet).

Add the bottle of BBQ sauce to the pork.  If your piece of meat was on the smaller side you may want to only add about 3/4 of the bottle first (you can always add more later if you want a wetter sandwich).  Use the two forks to mix the BBQ sauce into the pork and pull the pork until it reaches your desired texture.

BBQ Sauce Added and Pork Pulled!

Slice open the sandwich rolls.  If you want, broil them face-up in the oven for 3-4 minutes until golden brown.  Place a heaping mound of pulled pork onto your roll and enjoy!

Best Sides to Eat with your Pulled Pork Sandwich:

  • Baked Beans (I recommend Bush’s Southern Pit BBQ Baked Beans)
  • Corn and Black Bean Salad (I’ll post the recipe next time I made this!)
  • Corn on the Cob
  • Macaroni and Cheese
  • Apple Crisp