A Review of 2014 (Plus, what didn’t make it on the blog the first time around!)

Happy New Year!  My 2014 was bookended by two huge events. In January Matt and I suddenly lost our beloved Bailey, the affable, energetic, wonderful dog that was the original inspiration for this blog. Then, in late October, we brought home Piper, a wacky, awesome little GSP puppy who, of course, will never replace Bailey but nevertheless immediately made us feel whole again.

Although I spent much of the days between January 30th and October 26th mourning Bailey’s loss and awaiting Piper’s arrival, I still managed to find time for a healthy dose of running, cooking, photography and adventures. Here’s a recap of my year.

JANUARY

Matt and I froze our way through the coldest January ever, blissfully unaware that we were enjoying our last days with Bailey.  We kicked off the month by running a 5K in 10° temps (and kudos to both of our little brothers who still showed up – and beat us – on race morning!).  Then Matt, my brother and I headed to Las Vegas for a work trip.  We returned to freezing Pennsylvania in mid-January and, twelve days later, had our hearts utterly broken when Bailey died.

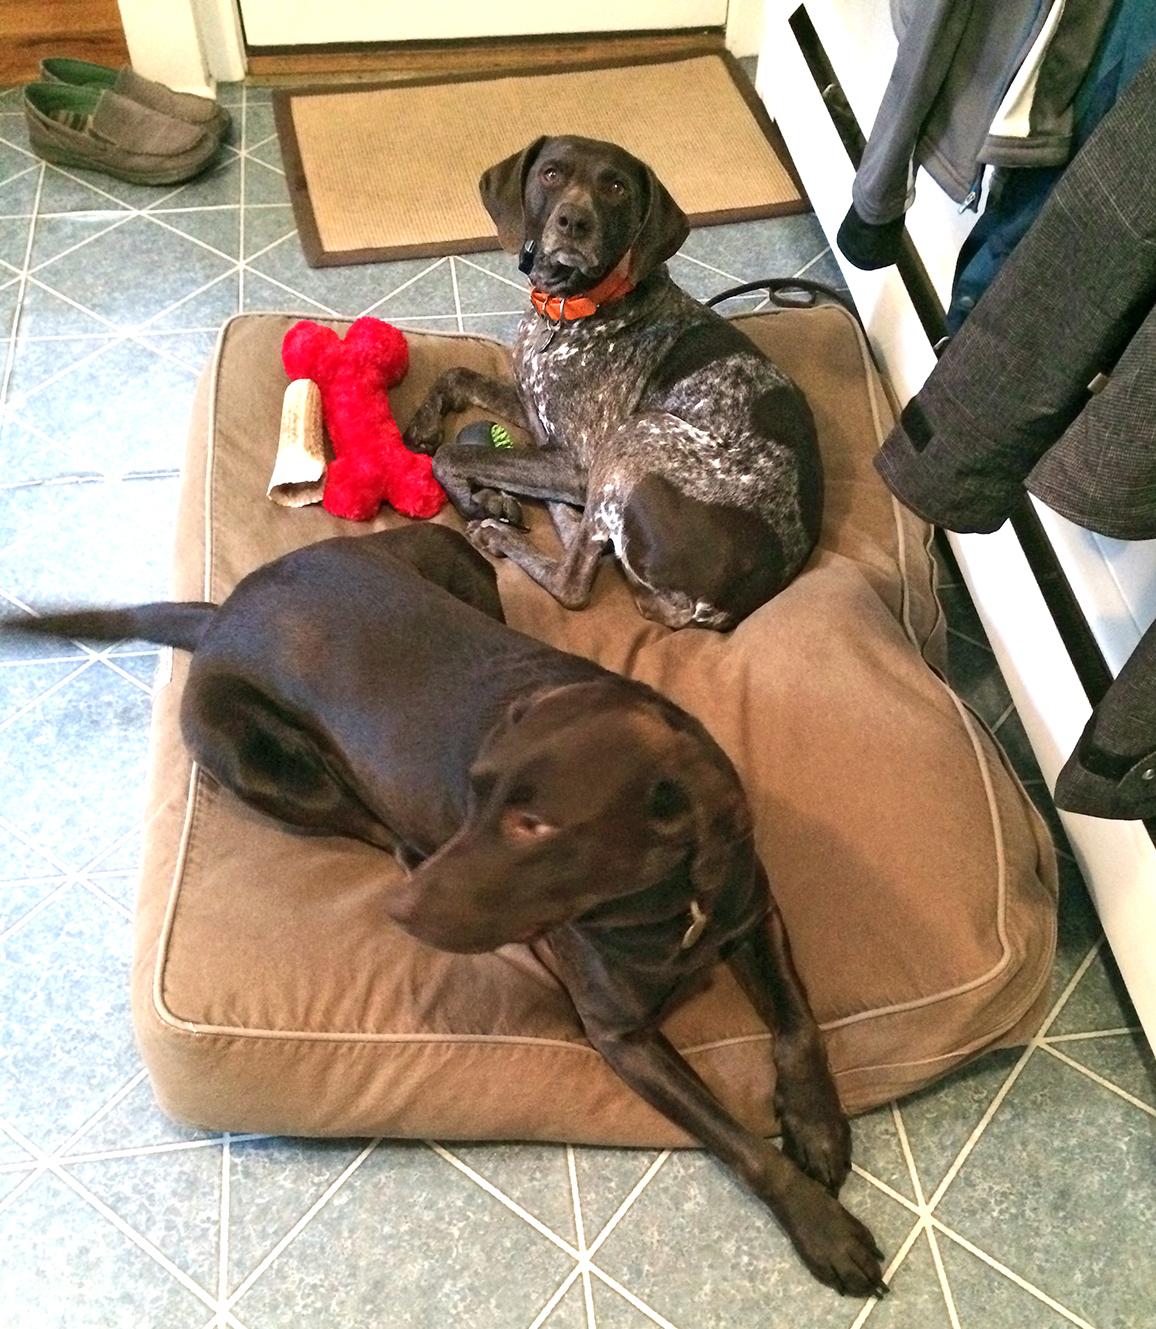
What didn’t make it on the blog? The last photo I ever took of Bailey.  This was January 26th and she was hanging out with her best buddy, Hershey, on Hershey’s extra-large bed in our mud room.  When I went through my iPhone camera roll last night to find this photo it still made me so sad to see Bailey’s beautiful little face.  😦

Bailey and Hershey (1/26/14)

January Races: Just one, the Athlete’s Closet January 5K (26:19)
January Miles: 153.3

FEBRUARY

February began in a dark, cold, snowy blur.  An ice storm hit eastern PA early in the month, knocking out power for days and severely damaging several of our trees.  There were, however, two silver linings to the ice storm.  First, it gave Matt and me a reason to take refuge at my mom and stepfather’s house (yay for back up generators!) where we got to spend some much needed time around loving family.  Secondly, all of the ice and snow DID make for some cool photo ops.  The goose photo is still one of my favorite shots of the year.

After the ice and snow melted Matt and I enjoyed a wonderful getaway on Virginia’s eastern shore with friends for an all-you-can eat Oyster fest.  After weeks of frigid temps I was very grateful for this mini vacation and the chance to stretch my legs with some outdoor running.  A good end to the month!

What didn’t make it on the blog?  This photo of our mailbox, obscured by a ridiculous amount of snow… all personally shoveled by myself and Matt!  (It still makes me tired thinking about it.)

Snowy Mailbox

February Races: One again, the Athlete’s Closet February 5K (26:02)
February Miles: 144.9

MARCH

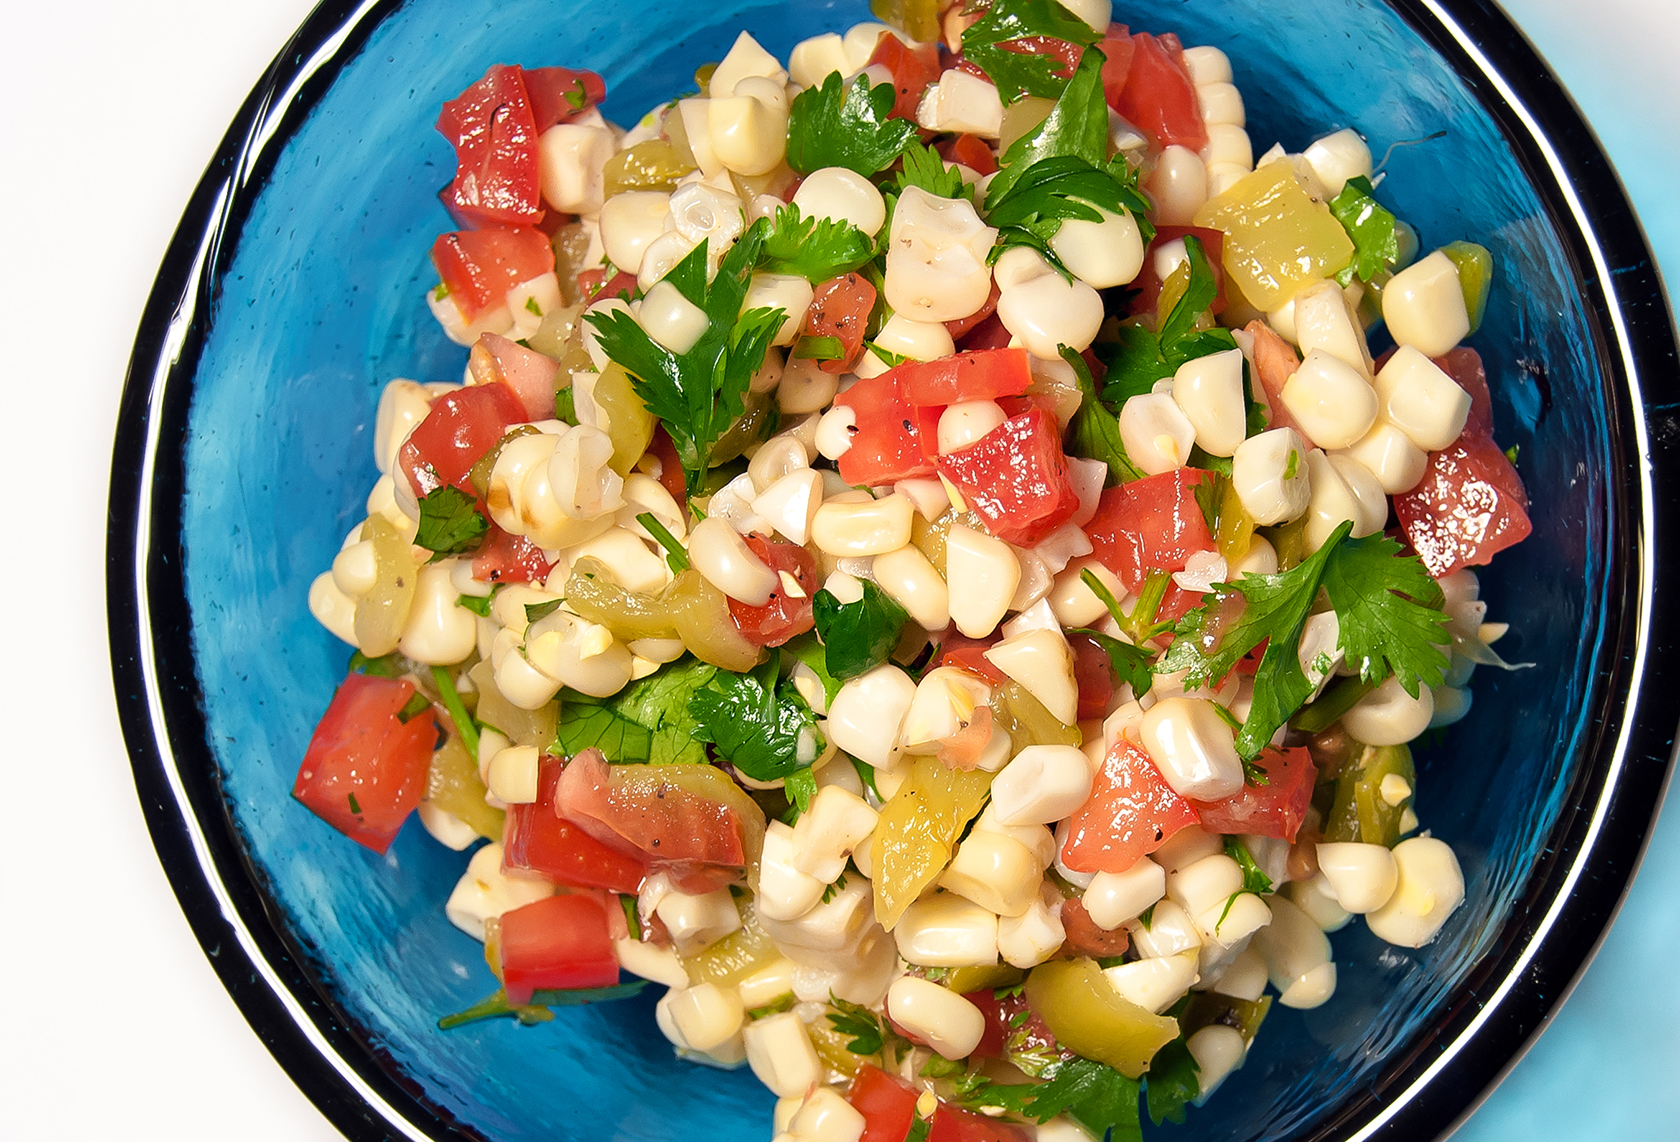
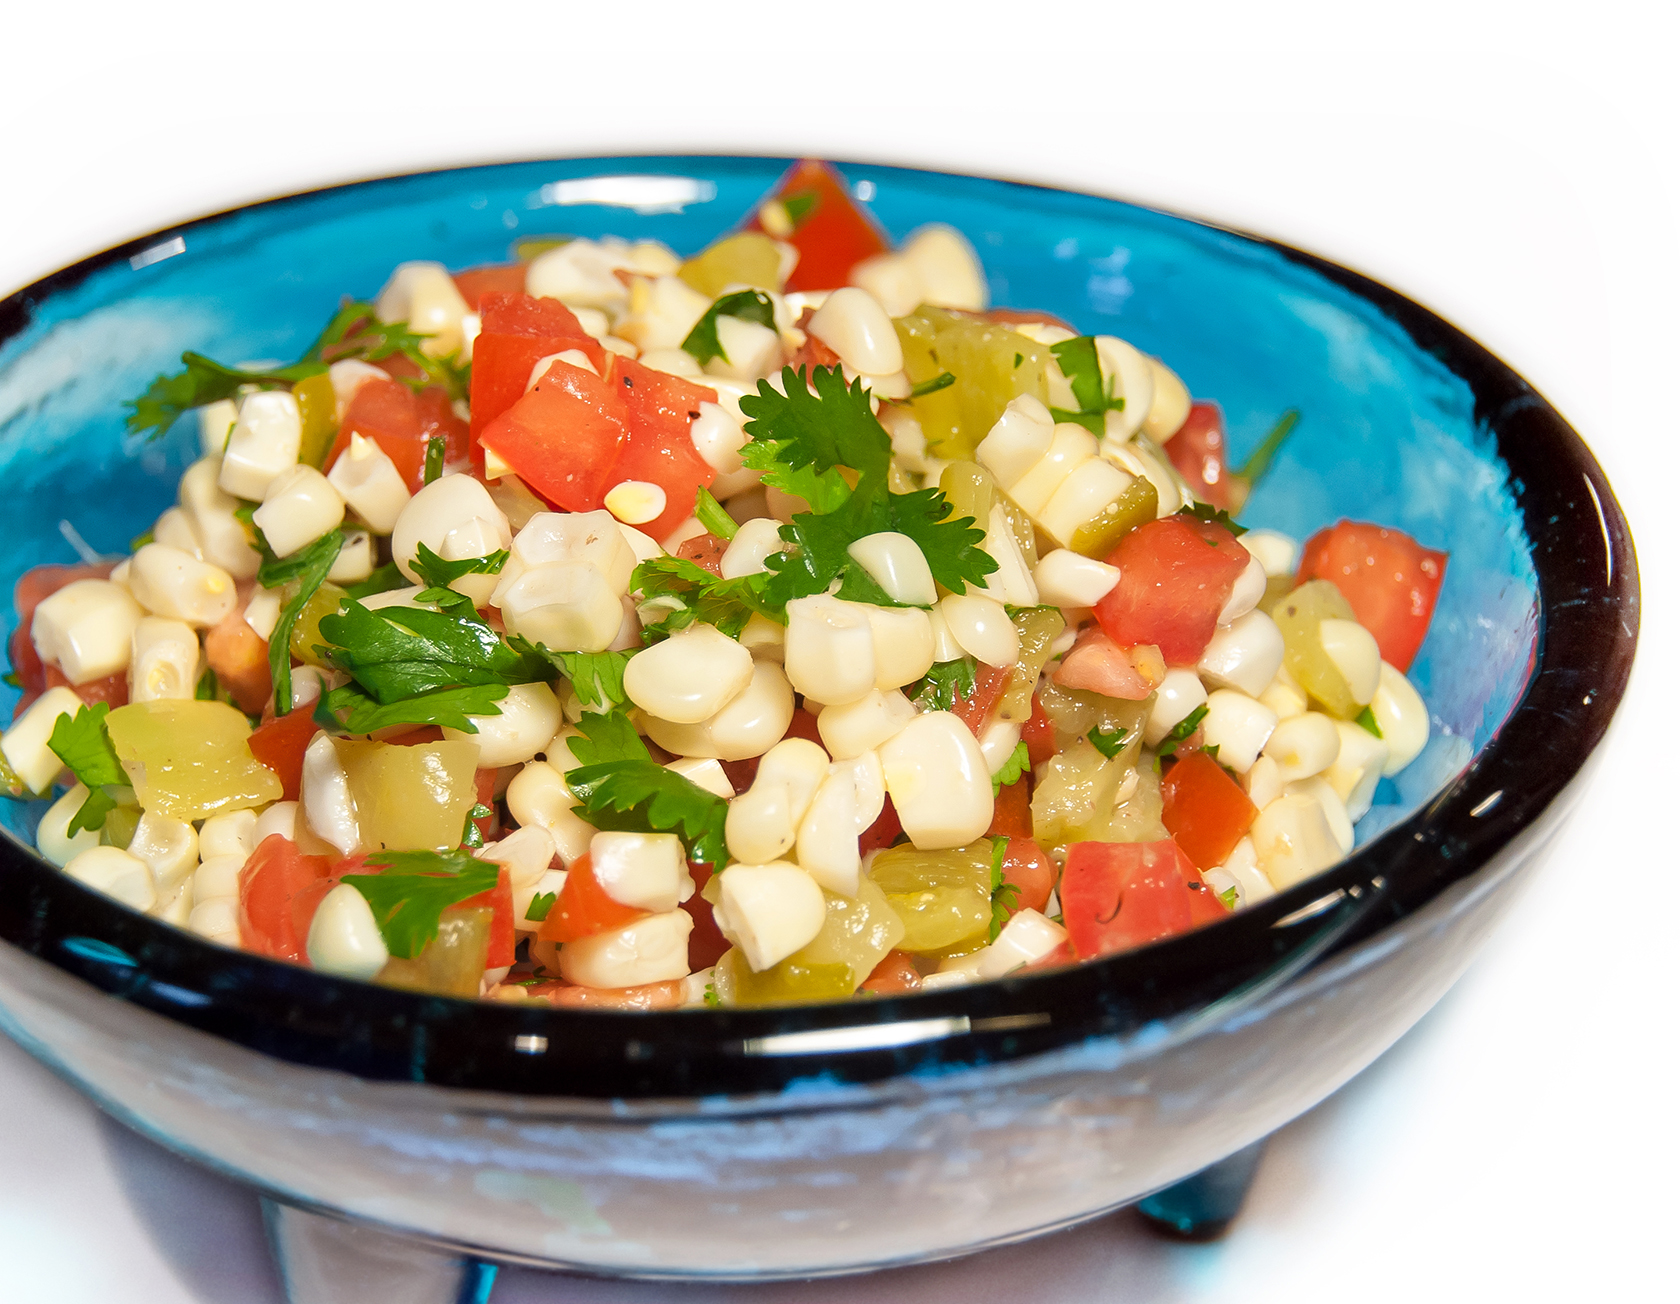
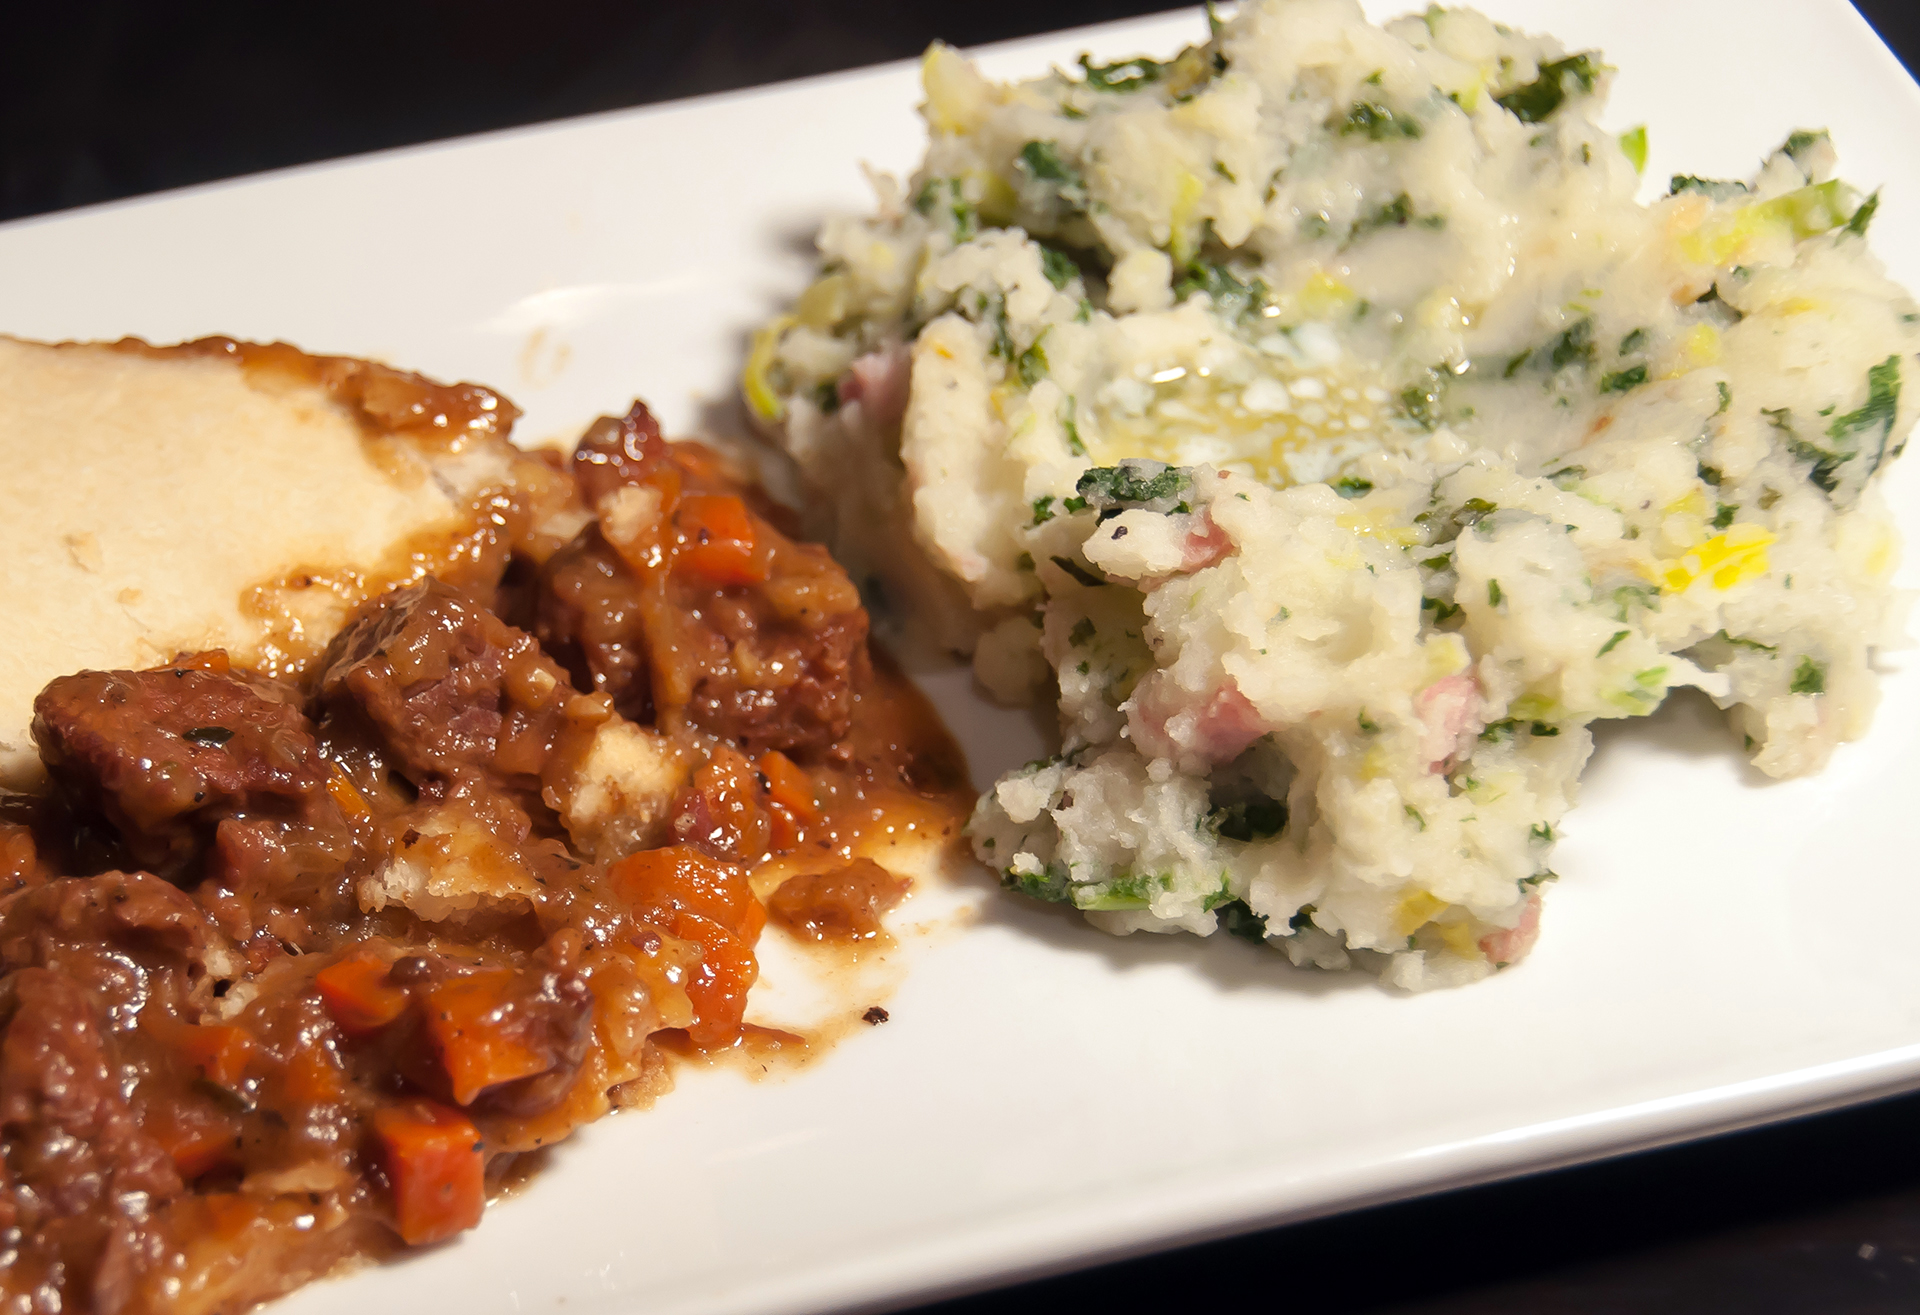
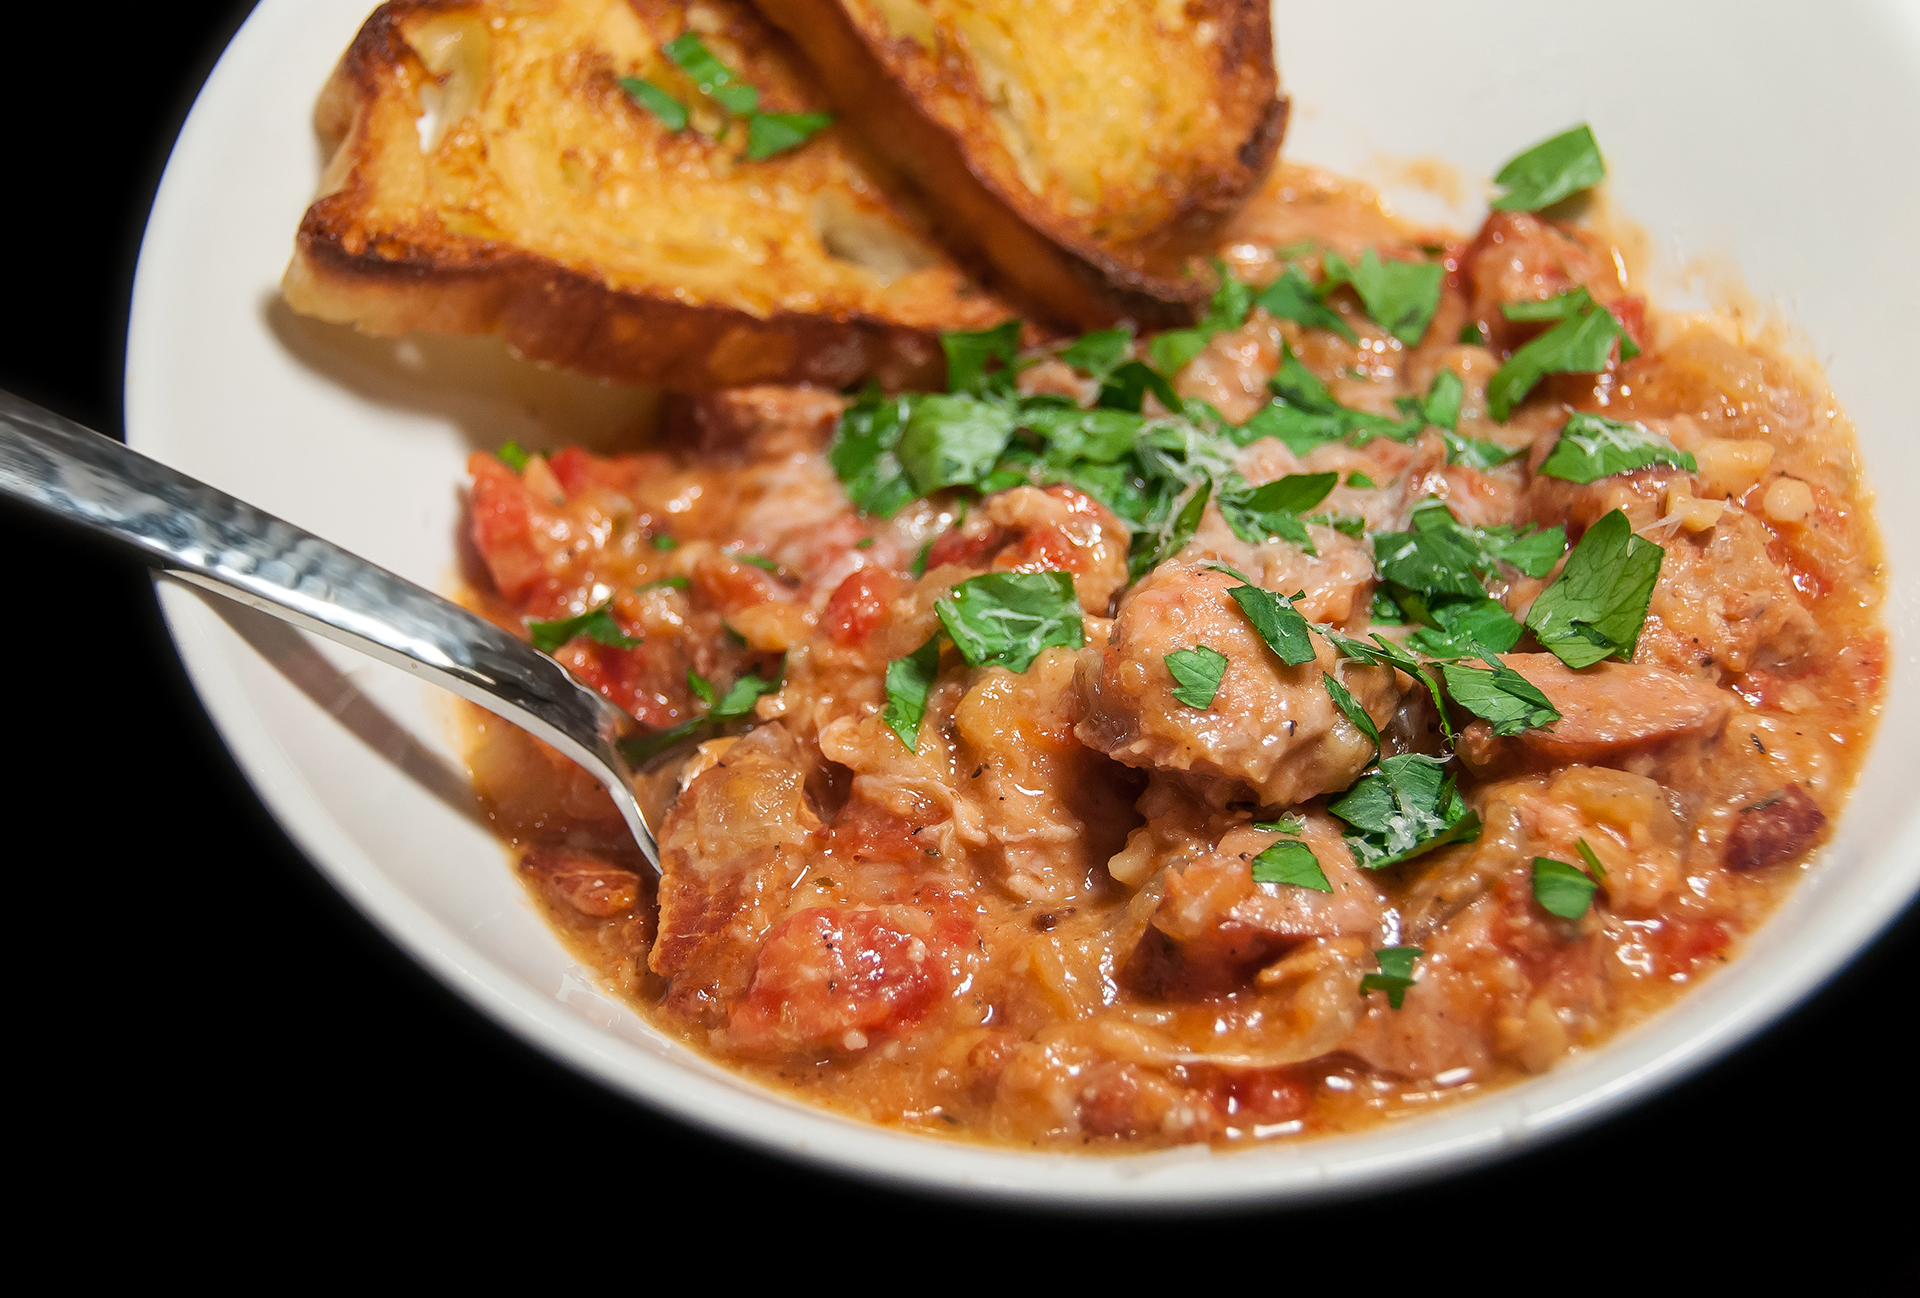
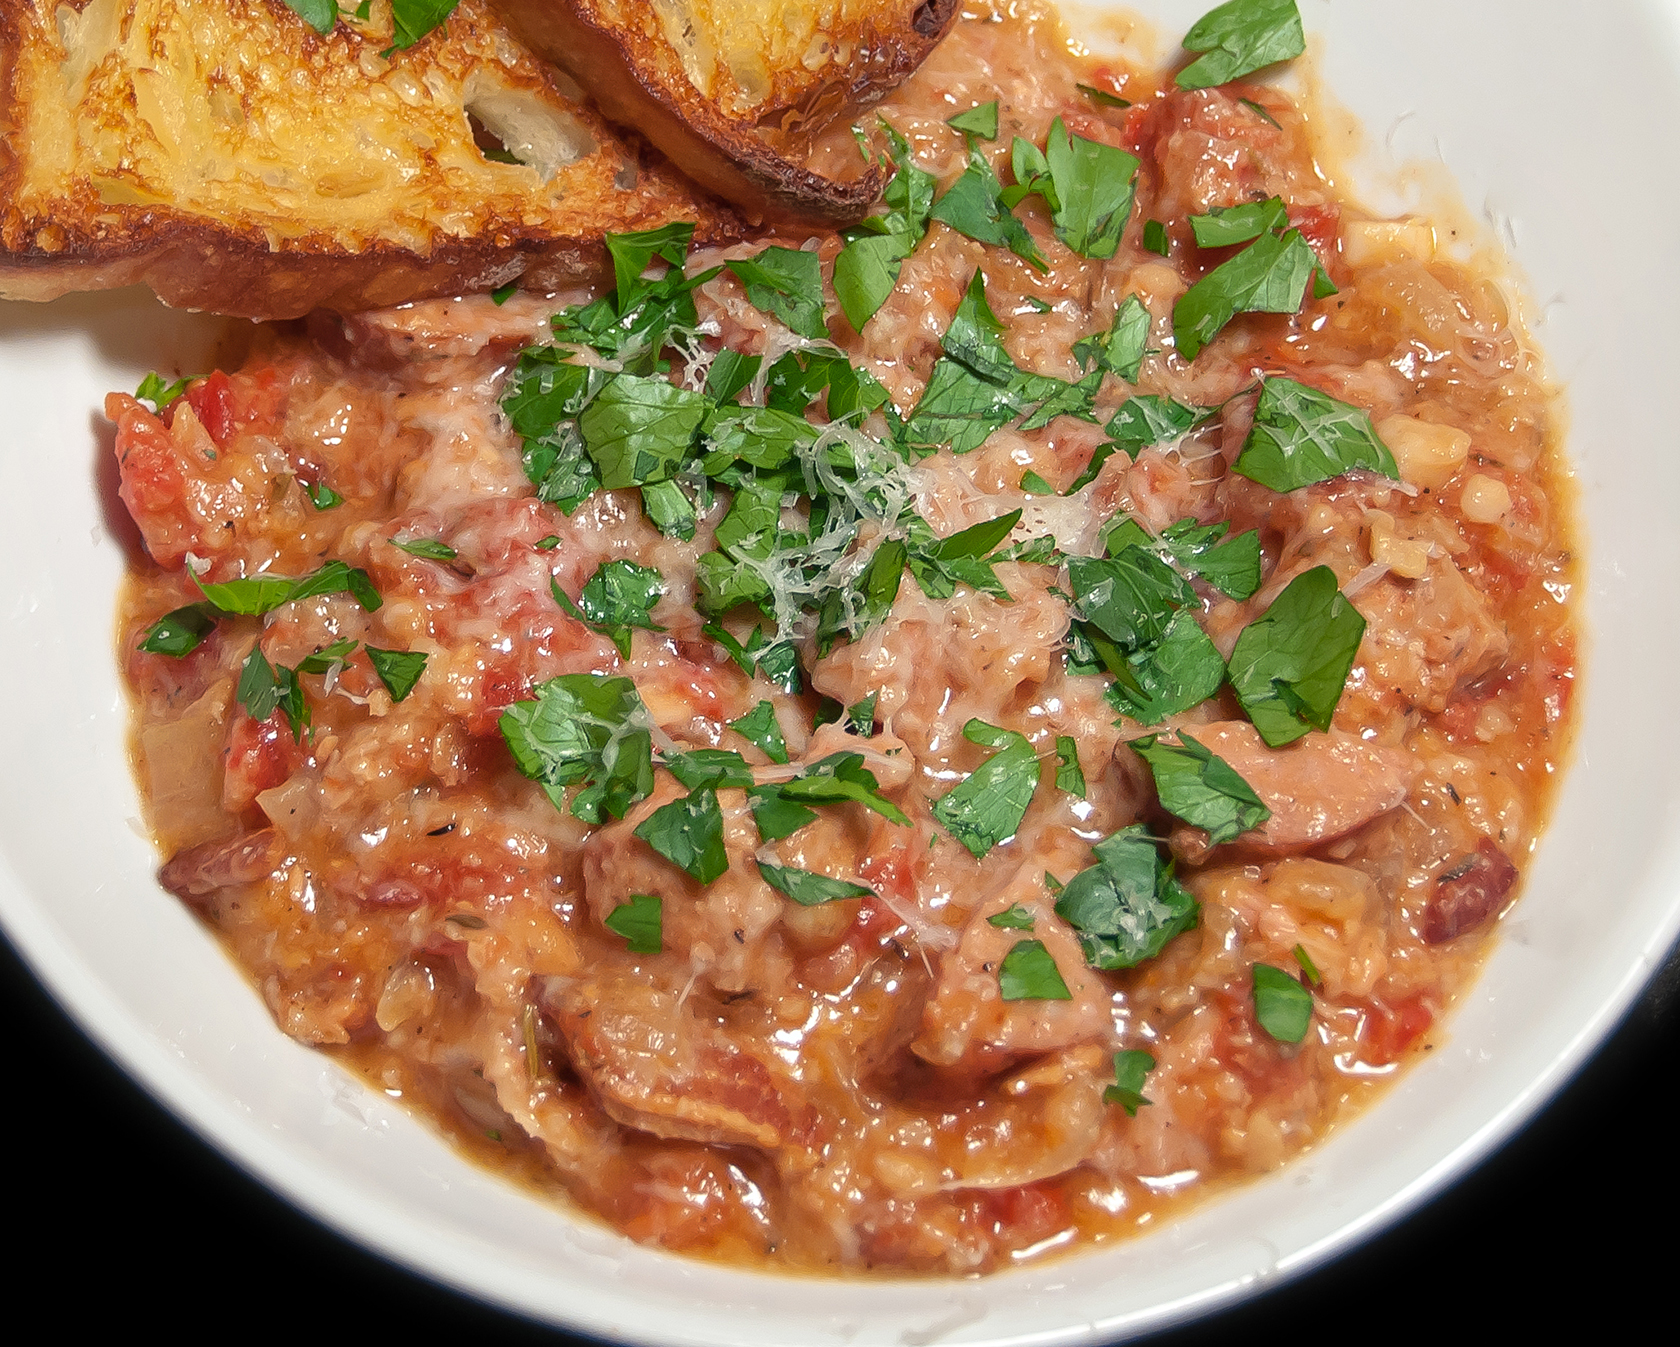
I kicked off March with my first 5 mile race ever, then ran 10 miles in mid-March (still my longest run to date!) and finished the month with another local 5K.  Matt and I also ate like kings this month.  We enjoyed Shrimp Scampi (which first made an appearance on the blog in February but was too good not to make again immediately!), Chicken and Shrimp Jambalaya and, perhaps my favorite stew ever, Cassoulet.  YUM!

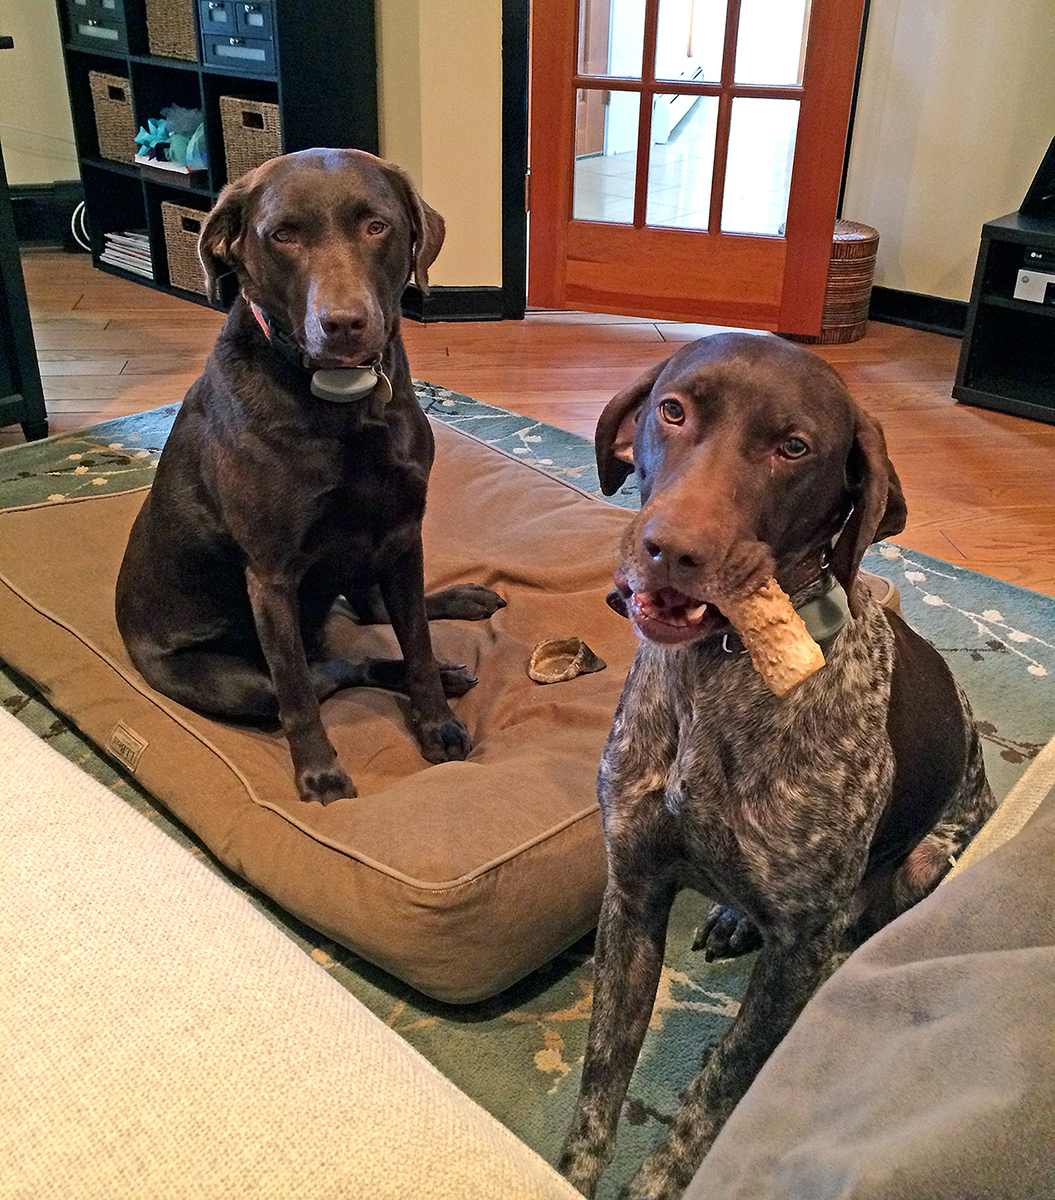
What didn’t make it on the blog?  Matt flew up to Montreal for a weekend bachelor party in late March (lucky him!) and I spent a quiet weekend at home with both of our parents’ dogs, Hershey the Chocolate Lab and Bella the GSP.  After being dog-less for several weeks it was nice to have four-legged companions in the house again.

Hershey and Bella

March Races: Two official, the Athlete’s Closet 5 Miler (42.47) and the Color Out Cancer 5K (28:13).  I should have run a third race, the Pickle Run, except that I got the time wrong and showed up several hours late!!
March Miles: 143.1

APRIL

In early April Matt and I escaped from the east coast’s terrible winter weather with an 8-day work trip that took us from sunny Las Vegas to the L.A. area.  We spent a blissful, amazing, perfect weekend in Temecula, California, a mini wine country paradise not far from L.A. and San Diego.  I would go back in a heartbeat.

What didn’t make it on the blog? We roasted an entire chicken… on the grill!  For some reason this Tex-Mex recipe never appeared on the blog (I guess I was still in a post-California haze?) but believe me, it was delicious!

Grilled Chicken

April Races: Three, the Security 5K in Vegas (25:26), Rick’s Run 5K (25:56) and St. Tim’s 5K (26:22)
April Miles: 136.9

MAY

In May Spring finally arrived.  FINALLY!  Matt and I spent a few days in Baltimore for work where we ran in the Inner Harbor and enjoyed a complementary 5PM happy hour wine reception at Hotel Monaco.  I also ran a huge new personal best at the Victory Brewing Company 5K in mid-May.  Woohoo!

What didn’t make it on the blog? In May we fell madly in love with an $8 bottle of oaky Chardonnay, only to find out shortly thereafter that it was a special Pennsylvania Liquor Control Board “Chairman’s Selection” that had subsequently sold out throughout the entire state.  Apparently the PLCB buys up the complete year’s worth of wine from the vineyard so our new favorite wine was no longer available anywhere in the world after it sold out in PA.  Boo!  But at least I learned that if I like a PLCB selection wine I should buy ALL OF IT!

Aura Chardonnay

May Races: Three, the Elwyn 5K (26:17), Run for Victory 5K (24:17… NEW PR!), and Rocky Run Trail 5K (27:40)
May Miles: 138.1

JUNE

We spent June on the go, traveling to the Hunting Camp with family before heading out on a work trip in western PA and then journeying east to New Jersey for a friend’s wedding.  In the middle of all of this road-tripping we still found time to celebrate our first anniversary over a glass (or two) of wine at Sweetwater Farm’s Grace Winery.

What didn’t make it on the blog? On June 3rd I took Bella out for a jog and discovered that she clearly had previous experience running in a perfect heel position.  Matt’s parents rescued Bella so we don’t know much about her history, but she definitely was somebody’s running partner in the past!  Following this discovery I happily took Bella on several runs while she was staying with us in early June.

Bella

June Races: Two, the Radnor Conservancy 5K (25:49) and the Media 5 Miler (42:57)
June Miles: 142.8

JULY

July marked the completion of several of our household projects.  Matt and I had spent much of the spring and summer digging up and replacing all of the shrubs and perennials in front of our house as well as repainting and fixing up our living room.  Everything came together perfectly just in time for the fiesta-themed bridal shower that we hosted in late July.

With the household projects finally out of the way, I started focusing more on running.  I began doing group runs with The Running Place on Mondays and joined the West Chester Running Club for their speed workouts at a local track on Tuesdays.  The extra running work started paying off quickly, which brings me to what didn’t make in on the blog for this month… on July 26th I ran the entire 4.3-mile Ridley Creek multi-use trail loop without stopping!  This loop includes an enormous uphill section so I was extremely excited to finally be able to run all the way up it!

July Races: Two, Cam’s Moonlight 5K in the rain (24:46) and the Swarthmore Independence Eve 8K (40:28… NEW PR!!)
July Miles:  148.4

AUGUST

I kept busy in August with lots of running, participating in three 5Ks (including a huge PR!) and more group runs and track workouts.  I also spent a weekend in Philadelphia and managed to drag myself out of bed early enough to get in a great 5 mile city run that included the section of the Schuylkill River Trail that passes by Philly’s famed boathouse row near the Art Museum.  Although I’ve walked up the Art Museum’s steps many times I took this opportunity to run up them and then took pictures of the city stretched out before me like a total tourist.  😉

What didn’t make it on the blog?  My brother and his fiance got a puppy in August!  She is a German Shepherd named Lady and she’s beautiful.  She and Piper have played together several times and really seem to feed off each other’s endless puppy energy.

Lady Puppy

August Races: Three, the Riddlewood 5K (25:01), the Radnor Red Steeplechase (27:49) and the prediction-style Pickle Run 5K (23:41… NEW PR!!)
August Miles: 157.5

SEPTEMBER

September was much like August except with nicer weather.  I ran in three more 5Ks and Matt and I spent a lot of time outdoors.  We also hosted an epic Beer Tasting Party mid-month, which only didn’t make it on the blog because we were too busy having fun and drinking beer to take a single photo of the event.  We had a blind IPA tasting, 20+ types of beers, soft pretzels, sausage, pepper & onion sandwiches, and lots of friends and family there to enjoy everything with us… it was great!

September Races: Three, the TALK 5K Trail Run (25:40), the much-anticipated Run-A-Muck Trail Run (28:08 on a long course), and the Haverford Township Day 5K (23:50)
September Miles: 158

OCTOBER

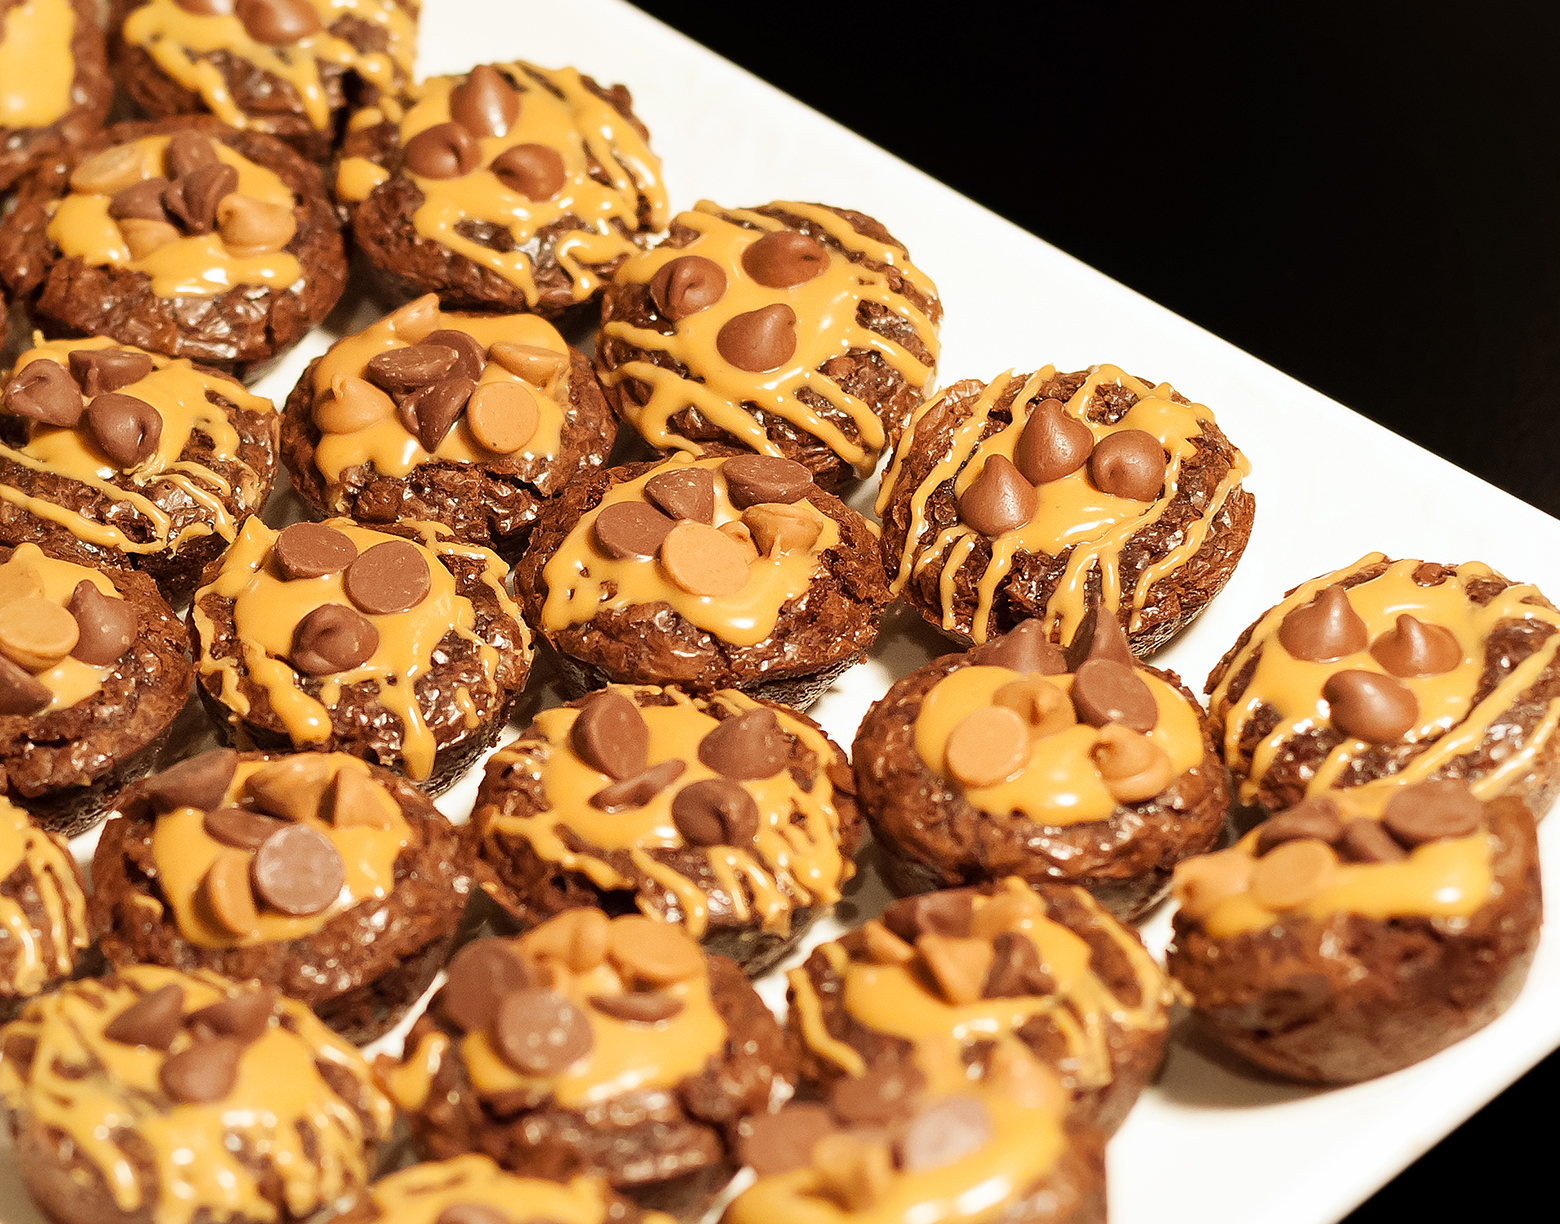
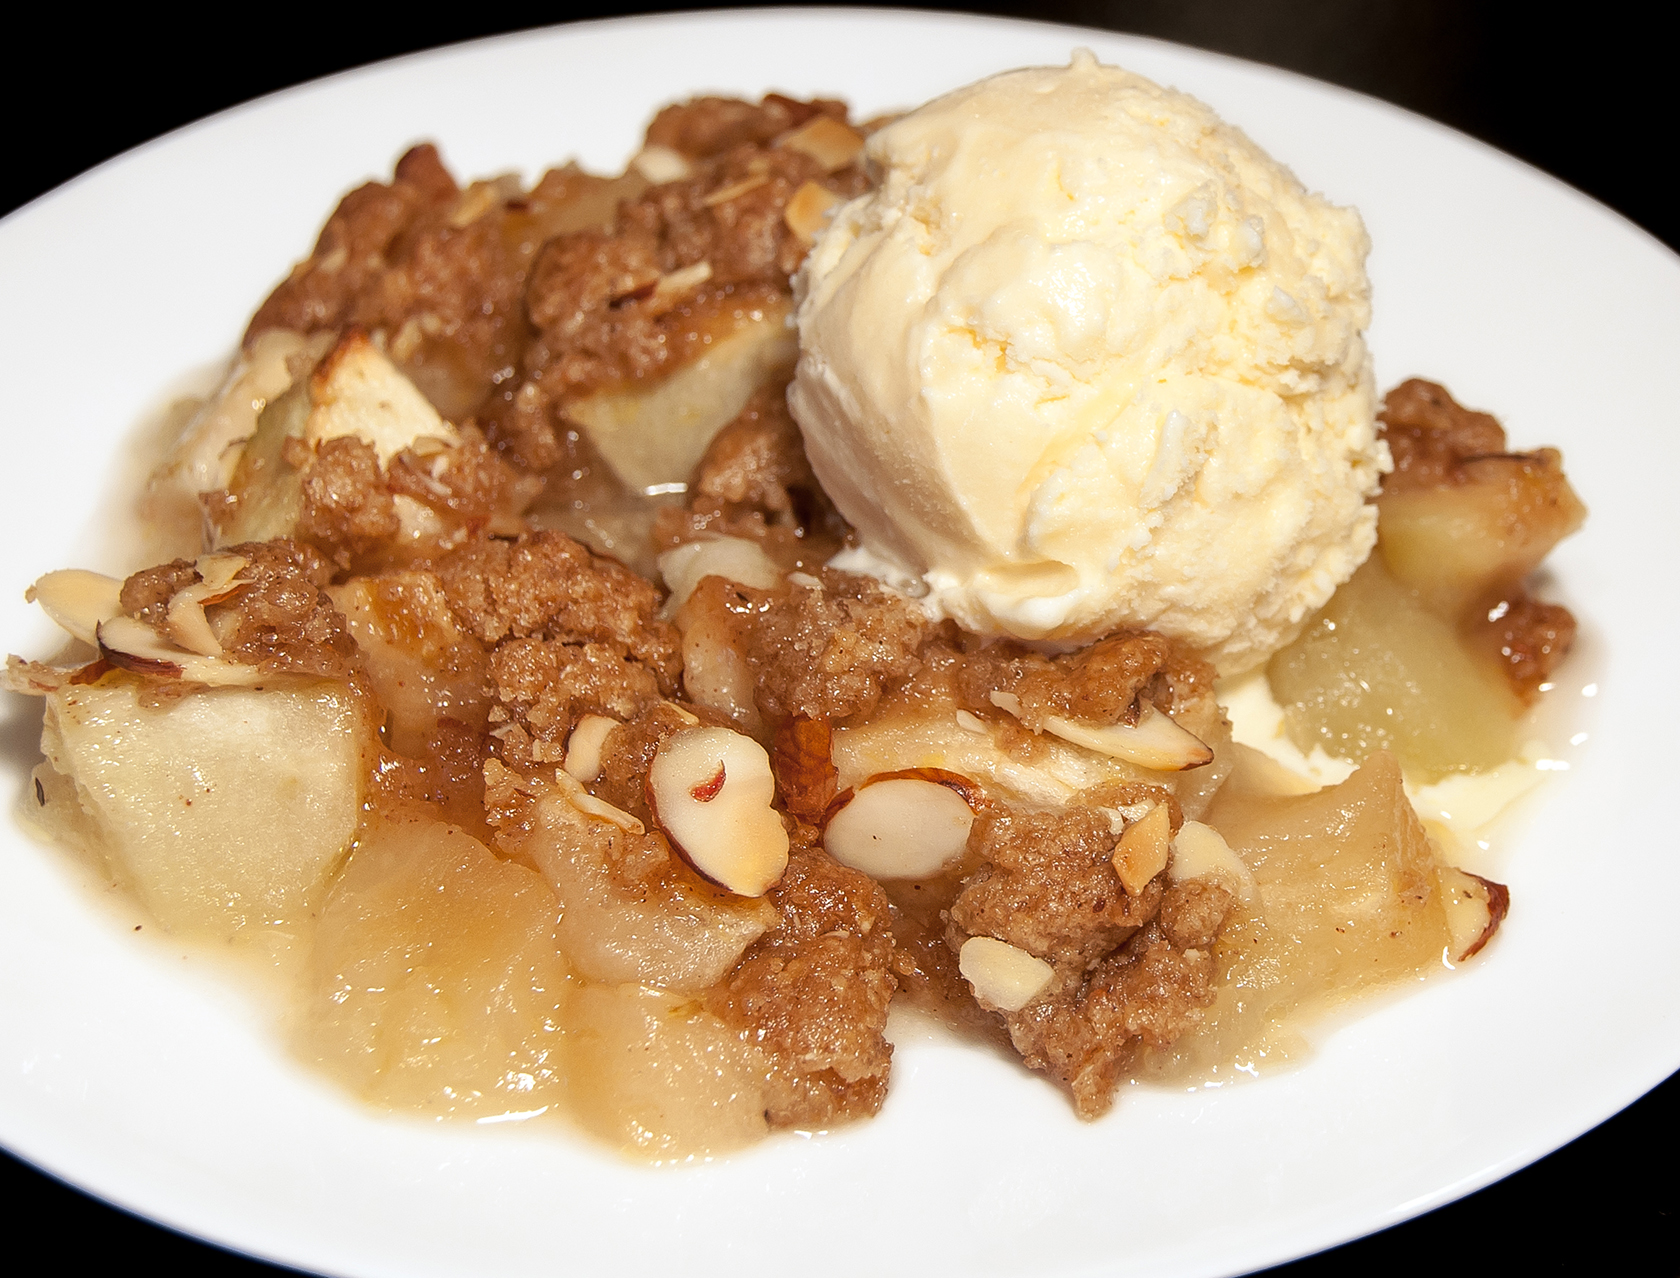
In October we drove to Wisconsin and brought Piper home!! That was at the very end of the month, so first we had to make it through a few more long weeks of waiting for our little pup.  I kept myself busy by making delicious Italian White Bean Hummus (I made more last week… so good!) and Apple Crisp.  I also ran in a few more races, including a dog-friendly 5K with Hershey in tow.

What didn’t make it on the blog?  After logging hundreds of miles in three different pairs of Mizuno Wave Rider 16s I finally took the plunge and upgraded to the new WR 18s.  I love them!!!  I now have 200 running miles on my October pair and they still feel as springy and supportive as the day I first put them on.  Yay for new shoes!

Mizuno Wave Rider 18s

October Races: Three, Martin’s Run 5K (23:54), the Fueled Up 5K (23:56), and the Bark in the Park 5K (26:21)
October Miles: 158.6

NOVEMBER

Piper kept us very busy in November.  Crate training proved to be a challenge, resulting in us having to let her out to do her business pretty much once every 3 hours, be that during the work day, night, or anytime in between.  Needless to say, all of this was totally worth it and we didn’t need potty training as an excuse to spend every possible moment with Piper.  We hiked, trained, snuggled, and even got to play in the snow with her in November.  A good month!

What didn’t make it on the blog?  Matt got me a Garmin Forerunner 220 which replaced my ancient Timex stopwatch.  My birthday was a few days after we brought Piper home so I joke that I got a GSP and a GPS for my 30th… ha.  Anyway, my new Garmin is awesome and so far I’m really enjoying having more pace and distance data available to me during runs and races.

Old Watch and New Garmin FR 220!!!

November Races: Three, the Trinity Berwyn 5K (23:32… NEW Birthday PR!), the Metal Run 5K (24:18) and a local Turkey Trot 5K (23:40).
November Miles: 149.4

DECEMBER

Our adventures with Piper kept getting better and better this month.  She is growing up FAST and she’s clearly enjoying hiking and exploring the parks, preserves, and trails we’ve been taking her to.  Piper also started Puppy Class and is eagerly soaking up every new command as quickly as we can teach it.  She takes “down” very seriously, making a big deal of dramatically flinging out her front paw as she descends from a sit to the down position.

What didn’t make it on the blog?  For the past week Piper has been sharing her car, kitchen and yard with Hershey while my mom and stepfather are out of town.  Piper has adjusted to this change well and seems very content to go quietly to her crate when it’s time for the two dogs to be separated.  Hershey has also been doing a great job of tolerating Piper’s nonstop puppy antics.  What good pups!

December Races: Three, the Jingle Elf 2 Miler (14:33), Brian’s Run 5 Miler (39:11… NEW PR!!!) and an unofficial prediction fun run at The Running Place (2.8 miles/20:54).  I was planning to run a NYE 5K but just learned that the race I did last year is not happening this year.  Therefore the fun run was my 30th and final race of 2014!  I’ll pick things right back up again in 2015 with a New Year’s Day race tomorrow morning.
December Miles: 142

~

So yeah, that was pretty much how my year went!  I should probably change my blog tagline to “Dogs, Races, Food, and Photos,” don’t you think? 😜  Thank you to all of my readers for following along with my adventures.  Here’s to even more fun in 2015!

Peanut Butter Brownie Bites

Still don’t know what you’re going to bring to that holiday party this weekend?  Try these super simple and delicious bite-sized peanut butter brownie bites!  They’re made using a regular boxed brownie mix (because being homemade doesn’t mean that it has to be labor intensive) and then topped with melted peanut butter and chocolate chips.  Yum!!

Peanut Butter Brownie Bites r

Matt and I made these for a party last weekend and they were a hit.  We actually overheard someone exclaim “Ooh! These brownie things are REALLY good!” and, since no one really knew who brought what to the potluck Matt and I just exchanged a happy glance from across the room, acknowledging our boxed brownie mix success.  We will definitely make these again!

Overhead Peanut Butter Brownie Bites

Peanut Butter Brownie Bites
(makes 30 bites; recipe adapted slightly from Family Friendly Frugality)

You will need…
1 boxed Brownie Mix (we used Betty Crocker Supreme Triple Chunk!)
Brownie Mix Ingredients (in our case, 1/4 c Water, 1/3 c Vegetable Oil, & 1 Egg)
3/4 cup Creamy Peanut Butter
Mini Chocolate and Peanut Butter Chips

Directions:
Preheat oven to 325°F and lightly grease a 24-ct mini-muffin pan.  Mix up the brownie batter according to the mix’s instructions, then spoon batter into the muffin pan until each cup is about 3/4 full.  Bake for approximately 14 minutes, just until the centers of the brownie bites have set.  A toothpick inserted into the center of a bite should come out slightly coated in batter.  Remove from the oven and allow the bites to cool for 15 minutes.  Carefully extract the brownie bites from the muffin pan and repeat the above process to finish baking the rest of your batter.

Line up your cooled brownie bites on a large tray or cutting board and gently press the center of each bite down to create a well.  Microwave the peanut butter for 30-60 seconds until melted, then spoon a small amount in the center of each bite.  Top with chocolate and peanut butter chips and, if desired, an extra drizzle of peanut butter.  Enjoy!

Peanut Butter Brownie Bites l

Italian White Bean Hummus

If you’ve ever eaten at an Italian restaurant I’m sure that you’ve enjoyed a nice piece of crusty bread dipped in olive oil.  But have you ever had the pleasure of tasting white bean hummus served with that olive oil?  I was recently at a restaurant where they stirred herby, creamy white bean hummus into the oil and I absolutely loved it.  I liked it so much, in fact, that as soon as the meal was over I decided that I was going to make my own white bean hummus at home so I could eat it by the spoonful!

To be honest, I didn’t actually intend to eat this hummus by the spoonful, but as soon as I blended together the rosemary, beans, garlic and lemon juice I couldn’t help but lick the spoon 2 or 3 or …7? times!  It was just SO delicious!  The rosemary is fragrant, the lemon is bright, the garlic is strong (as it should be!) and the white beans are blended into a smooth, creamy consistency perfect for dipping.

Italian White Bean Hummus with Rosemary, Garlic and Lemon.  Delicious and so easy to make!!


Italian White Bean Hummus
(Recipe from Racheal Ray)

You will need…
1 – 15oz. can Cannellini Beans, drained and rinsed
3 sprigs Rosemary, leaves removed from the stem and roughly chopped
Juice of 1 Lemon
3 cloves Garlic, minced
2 tablespoons Olive Oil (approximately)
Salt, to taste
3 tablespoons Tahini

Directions:
Add all ingredients to the bowl of a blender or food processor.  Blend together until smooth, adding more olive oil as you go if needed.  I used a Vitamix and found that blending on low between speed settings 2-4 while using the tamper to push the ingredients into the blades worked well.  Once the hummus has reached a creamy consistency use a spatula to scrape the dip into a bowl.  (Don’t leave any hummus behind… you’re going to want to eat every last drop!)  Serve with crackers, crusty Italian bread, or just a spoon.  🙂

Italian White Bean Hummus 2-

Apple Crisp

It’s October, which means that mornings are starting out clear and cool, evenings are getting darker sooner, leaves are changing colors, and we finally closed the windows in our bedroom (but don’t worry, the heat won’t be on for another few weeks!).  You know what else happens in October??  APPLE CRISP SEASON!!!  Yes, it’s officially the best time of year to enjoy warm, cinnamon-y baked apples with a sugary, spice-filled topping and a scoop of creamy vanilla ice cream on top.  YUM!!

Apple Crisp

Matt’s dad visits up state New York every fall and inevitably returns with dozens of freshly picked McIntosh apples.  When we were at Matt’s parents’ house last weekend we loaded up a big grocery bag full of apples and then set about finding an apple crisp recipe worthy of the season.

Like many of my favorite recipes, the recipe below is from our trusty cookbook, The New Best Recipe.  I can’t stress enough how fantastic this cookbook is.  It has detailed, easy to understand instructions, long intros about how and why the authors chose certain ingredients or cooking methods, and tons of illustrations.  Not that you really need an illustration for apple crisp, but that feature has definitely come in handy for some of the more complicated recipes that we’ve attempted.

Apple Crisp

With this back story in mind, it should come as no surprise that this recipe for apple crisp turned out perfectly.  The McIntosh apples melted into a flavorful, applesauce-like filling and the firmer Granny Smiths held their shape and gave the crisp a good texture.  There’s just the right amount of tart lemon to offset the sweetness of the apples and the topping was absolutely delectable.  In fact it’s making my mouth water right now just looking at the photos!!! 🙂

Apple Crisp (serves 5-6, from The New Best Recipe)

For the topping…
6 tablespoons Flour
1/4 cup Light Brown Sugar, packed
1/4 cup Granulated Sugar
1/4 teaspoon Cinnamon
1/4 teaspoon Ground Nutmeg
1/4 teaspoon Salt
5 tablespoons cold, unsalted Butter, cut into 1/2-inch pieces
3/4 cup coarsely chopped Almonds, Pecans, or Walnuts (I used sliced almonds)

For the filling…
3 McIntosh Apples, peeled and cut into 1 inch chunks
3 Granny Smith Apples, peeled and cut into 1 inch chunks
1/2 teaspoon Grated Zest and 1 1/2 tablespoons Lemon Juice
1/4 cup Granulated Sugar

Vanilla Ice Cream

Directions:
Start by making your topping.  Combine the flour, sugars, spices and salt in the bowl of a food processor.  Blend for a few seconds to mix.  Add in the pieces of butter and pulse the food processor 10 times for 4 seconds each.  Don’t overmix the topping.  Accordingly to the original recipe, your topping will first look like dry sand, then like coarse cornmeal.  Add in the nuts and pulse again 4-5 times for 1 second each.  Refrigerate the topping for at least 15 minutes while you prepare the filling.

To make the filling, combine the apples, zest, lemon juice and sugar in a large bowl and mix well to coat the apples.  Use a spatula to transfer the apple mixture to a 9-inch deep dish pie plate (make sure to scrap the sides of the bowl to get all of the sugar and lemon flavor!). 🙂

Sprinkle the chilled topping evenly over the apple mixture.  Bake the crisp in a preheated 375° oven for 40 minutes, then increase the heat to 400° and bake for another 5 minutes until the topping is golden brown.  Remove the crisp from the oven and allow it to cool slightly for 10-15 minutes or as long as you can wait… it will smell GREAT at this point!  Serve warm with a scoop of vanilla ice cream on top.

1171 Apple Crisp

Peach and Blueberry Crumble

Back in June Matt and I were on a fruity dessert kick. We made apple and blackberry crumble for my mom and stepfather, strawberry-rhubarb crisp for the entire crew at the hunting camp, and, my favorite, peach and blueberry crumble for Matt’s parents. I would have shared these delicious desserts on the blog as soon as we made them, but I’m pretty sure our family members would have killed me if I asked them to sit around waiting for their dessert while I arranged the scoops of ice cream “just so” and took photos for 10 minutes.

So, with the best blogging intentions in mind, last night Matt and I made a batch of peach and blueberry crumble for ourselves just so I could take all the photos I wanted (the things we do for the blog!).  🙂 We used fresh peaches that had been ripening on the counter all week (they smelled SO GOOD!!) and this mouth-watering dessert came together in about 30 minutes plus baking time.

Peach and Blueberry Crumble 1

One note about peeling the peaches – in the original recipe Ina Garten suggests immersing the peaches in boiling water and then putting them in cold water to make the skins easier to peel off. We did this the first time we made this recipe (while Matt’s parents looked on) and the boiling water “trick” didn’t seem to have any effect on our peach skins at all (it just made a mess of my kitchen!). So, this time Matt just peeled the peaches normally and the recipe worked out just fine.

1133 Peach Crumble

Peach and Blueberry Crumble (from Ina Garten / The Food Network)

Filling Ingredients:
6 to 8 Ripe Peaches, peeled, pitted, and sliced into wedges
2 tablespoons Lemon Zest
2 tablespoons Lemon Juice
1/2 cup Granulated Sugar
1/4 cup All-Purpose Flour
1 cup Blueberries

Topping Ingredients:
1 cup All-Purpose Flour
1/3 cup Granulated Sugar
1/4 cup Light Brown Sugar, lightly packed
1/2 teaspoon Salt
1/4 teaspoon Cinnamon
1/4 lb. (1 stick) Cold Unsalted Butter, diced

Vanilla Ice Cream

Directions:
Preheat oven to 350°F.   Combine the peaches, lemon zest, lemon juice, sugar and flour in a large bowl and mix gently until the dry ingredients are completely dissolved. Fold in the blueberries. Allow mixture to sit for 5 minutes, then spoon into ramekins. (We used 2 ramekins and spooned the rest into a larger baking dish.)

Combine the topping ingredients in the bowl of a stand mixer. Mix on low speed for 30-90 seconds until the topping is crumbly. If desired, use your fingers to press the mixture to your preferred level of crumbly-ness (I liked the even texture that came straight out of my mixer.) Sprinkle the topping evenly over the filled ramekins.

Place the ramekins on a parchment-lined baking sheet and bake for 50-60 minutes. Allow to cool for at least 15-20 minutes before serving with a big scoop of ice cream on top. Enjoy!

Ricotta Pizza with Spinach and Roasted Red Peppers

I’ve posted more than a few pizza recipes on my blog, but I’m of the opinion that there can never be too much pizza (especially homemade pizza!!) so I am adding to my pizza repertoire with this delicious white pie that Matt and I made last week.  Look at this feast… ricotta, spinach and roasted red peppers covered in mozzarella cheese.  I wish I was eating this right now!!

Ricotta Pizza with Spinach and Roasted Red Peppers

As you’ll see in the instructions below, I find it really challenging to transfer an uncooked pizza with full toppings from the peel to the stone, so my new tactic is to transfer the dough onto the stone in the oven while it’s still “naked” and then add all of the toppings while it’s in the oven.  Maybe not the most efficient use of electricity, but this method ensures that my pizzas end up (mostly) symmetrical without half of the cheese and toppings sliding onto the stone or, worse, the bottom of my oven during the raw dough transfer process.  Works for me!  🙂

Ricotta Pizza with Spinach and Roasted Red Peppers 2

Ricotta Pizza with Spinach and Roasted Red Peppers

You will need…
1 Red Bell Pepper
2 cloves Garlic, pressed through a garlic press
1/2 Yellow Onion, halved and sliced into very thin rounds
1/2 cup Frozen Chopped Spinach (or 2 cups fresh spinach steamed and chopped with excess water squeezed out)
approx. 2 cups shredded Mozzarella Cheese
approx. 3/4 cup Ricotta Cheese
Semolina Flour
1 package raw Pizza Dough
Salt and Pepper, to taste

Directions:
Start by roasting the red bell pepper.  There are several ways to roast a pepper, but for this particular pizza Matt sliced the pepper into thirds, removed the seeds and ribs, and placed the pepper pieces on a baking sheet in a preheated 400° oven until the skin was wrinkled and starting to blacken.  Then he peeled off the skin, sliced the peppers into 1/2″ strips, and set the roasted peppers aside until it was time to put them on the pizza.

Preheat the oven (with pizza stone inside) to 425°F.  Since I’m incapable of transferring a fully topped, raw pizza from the peel to the stone I put the naked dough on the stone and quickly add all of the toppings once it’s already in the oven.  To avoid wasting too much heat and energy during this process, I prep all of the toppings in advance and set them next to the oven.  With this in mind, arrange the roasted red peppers, minced garlic, chopped spinach and sliced onions on a plate and make sure that the mozzarella and ricotta are open and ready to go.

Next, prep the pizza dough.  Again, there are many ways to do this, but for this pizza I sprinkled a few tablespoons of semolina flour on a pizza peel and stretched the fresh ball of dough into a 15″ diameter circle.  Carefully transfer the dough onto the preheated pizza stone and use your fingers to quickly spread the minced garlic over the top of the dough, leaving a 1-2″ margin on the edges for the crust.  Close the oven.

Working in quick intervals, open the oven, slide the pizza stone rack out slightly, and start adding your toppings and cheese.  Start with the onions along with a thin layer of mozzarella and close the oven.  After few minutes, add the spinach and 8-9 generous spoonfuls of ricotta.  After another 1-2 minutes spread on the roasted red peppers and top with the remaining mozzarella.  Once all of the toppings have been added allow the pizza to cook for another few minutes until the crust is fully cooked and the cheese is just starting to turn golden brown.

Use a pizza peel to remove the cooked pizza from the oven (working with a cooked pizza is so much easier than raw dough!!) and season with salt and pepper.  Cut the pizza into 6-8 slices and enjoy!

Ricotta Pizza with Spinach and Roasted Red Peppers 3

Roasted Corn Salsa

Last night I made my third batch of Roasted Corn Salsa in less than a month which can only mean two things…  One, this salsa is awesome and two, it’s high time it makes an appearance on the blog!!

Roasted Corn Relish 1

This bright, flavorful salsa features grilled corn, roasted peppers, fresh tomatoes, cilantro, and lime juice.  It pairs perfectly with grilled fish and grilled avocado (<– my new favorite way to eat avocados).  We’ve also tried the salsa on shrimp tacos and, although Matt thinks it’s a bit too lime-y for eating straight, I personally really enjoy eating it with tortilla chips.

Last night’s batch of salsa is being refrigerated until we have Matt’s parents over for dinner tomorrow night.  Making it ahead of time will save me prep time on Saturday and the extra hours in the fridge will allow the salsa flavors to fully combine.  I’ll post pictures of the final meal (grilled salmon!) next week.

Roasted Corn Relish 2

Roasted Corn Salsa  (adapted from MyRecipes.com; makes 6-8 servings) 

You will need…
Cooking Spray
4 ears Corn, husked
4 Anaheim Peppers or 4 Cubanelle Peppers (for less heat), or a combination of the 2 types
1 cup diced Tomatoes (from approx. 2-3 Roma Tomatoes)
6 tablespoons freshly squeezed Lime Juice (from approx. 3-4 limes)
1/4 cup chopped Cilantro
1/2 teaspoon Salt
1/4 teaspoon Ground Pepper

Directions:

Lightly coat the grates of a grill* set to medium heat with cooking spray.   Place the corn and peppers directly on the grill.  Allow the corn and peppers to cook, turning occasionally, until the corn kernels start to brown slightly and the peppers become soft and dark splotches start to form on the green skins.  Transfer the roasted corn to a plate to cool.  Place the roasted peppers in a large bowl and cover for 10-15 minutes.

Cut each corn ear in half, then place the flat end down on a cutting board and slice the kernels off of the cobs.  When the peppers are cool enough to handle, peel and discard the skins and remove the stems, seeds, and membranes.  Slice the peppers into 1/4″ pieces.

Combine the corn, peppers, tomatoes, lime juice, cilantro, salt and pepper in a large bowl.  Serve immediately or cover tightly and refrigerate up to 3 days to allow the flavors to intensify before serving.

Serving suggestions:

  • Serve over grilled salmon or another grilled fish (salmon recipe coming soon!)
  • Spoon over grilled avocado (slice avocado lengthwise & remove pit; brush grill with oil and place avocado halves directly on grates for 2-3 minutes until grill marks appear)
  • Serve as a fresh, citrus-y salsa with tortilla chips

Roasted Corn Relish 3

*If you don’t have a grill, use boiled corn on the cob or thawed frozen corn kernels.  The peppers can be roasted in an oven… here are some basic instructions on how to do this from Ina Garten.

What’s Cookin’?

I haven’t posted a new recipe on the blog for a while but, rest assured, Matt and I are eating well!  We’ve been re-making a lot of our favorite recipes and, quite frankly, I’m finding less motivation to try new recipes since we know we can throw together a garlicky pasta dish, flavorful stir fry, or quick rotisserie chicken burrito in less than a hour with delicious results.  Here are some of the dishes that we’ve been enjoying this Spring…  (mouse over for a link to each recipe)

This Spring has been pretty hectic with traveling, racing, and LOTS of yard work, but I have a feeling that things will slow down soon and we’ll find ourselves paging through our trusty cook books in search of new recipes to try.  We’d like to try smoking something (ribs? brisket?) this Summer and maybe try a grilled Romaine recipe.  I also definitely want to make Paella and I’d like to start making more desserts (cobblers and crumbles, anyone?).  I better start looking at those cookbooks!!

Do you have any go-to Summer recipes that you love making at this time of year?  Tell me about them (and feel free to link to them) in the comments!

Colcannon (Irish Mashed Potatoes with Kale, Leeks and Ham)

Happy St. Patrick’s Day!  Matt and I don’t have a specific Irish meal planned for this year but I’ve been saving a yummy Irish side dish from last year’s feast to share on the blog today.

Irish Colcannon

That’s Colcannon, or, as I like to think of it, Irish mashed potatoes with kale, leeks and ham.  Oh, and butter… lots of butter!  Last year this heaping plate of colcannon made the perfect side dish to the Beef and Guinness Pie that Matt and I ambitiously tried to make after work on a Monday (it took much longer to braise the beef than I anticipated!).  Luckily the colcannon came together very quickly so we were able to sneak bites of it while the pie baked.  Here’s a photo of my dinner plate from last year when we finally sat down to eat at 9PM:

Calcannon with Beef & Guinness Pie

YUM.  If you need a side dish for your St. Patrick’s Day dinner I would absolutely recommend colcannon.  And don’t be intimidated by the kale…  once it is steamed, chopped, and stirred into this creamy mixture of leeks, ham and potatoes you won’t even realize you’re eating super healthy leafy greens!

Irish Colcannon (Recipe from Nigel Slater at TheGuardian.com)

You will need…
2 lbs. Baking Potatoes, peeled and cut into large chunks
1 1/3 cup warm Milk (use whole milk for a creamer consistency)
4-5 tablespoons Butter
3/4 to 1 lb. Leeks, washed and chopped
4-5 handfuls of Kale leaves, washed, steamed, drained and chopped
3/4 to 1 lb. Cooked Thick-Cut Ham, chopped (we used a ham steak)
Salt and Pepper, to taste

Directions:
Place the potatoes in a large pot of water and bring to a boil.  Cover and boil for 20 minutes or until easily pierced by a fork.  Drain potatoes and return to pot.  Mash the potatoes with a potato masher until creamy, then add in the warm milk and butter and continue to mash until thoroughly mixed.  Fold in the chopped leeks, kale and ham and gently stir until combined.  Season to taste with salt and pepper and serve as part of a St. Patrick’s Day feast!

Colcannon

Are you making an Irish-themed dish for St. Patrick’s Day?  Maybe Bangers and Mash or Shepherd’s Pie?  Tell me about it in the comments! 🙂

Cassoulet with Smoked Sausage and White Beans

How do you prepare for a snow day?  Do you rush to the supermarket for bread, milk and eggs?  Or maybe turn up the heat so the house feels warm and toasty when you come in from shoveling?  In our house we try to take advantage of being snowed in by planning a big, slow-cooked meal that we normally wouldn’t have time to put together on a regular weeknight.

Flashback to Thursday, February 13th… A huge storm was dumping more than a foot of snow on our already snow-covered region, the local kids were all enjoying yet another snow day, and our office was closed.  Knowing that we’d have lots of time to cook, Matt and I decided to try a new stew recipe… something that required a little prep up front and that would be guaranteed to fill the house with the delicious aroma of slow-cooking meat and herbs as it simmered in the crockpot all afternoon.  I found the perfect candidate on MyRecipes.com… smoked sausage cassoulet!

616 Cassoulet

Cassoulet is a classic french dish that features slow-cooked white beans and meat.  White traditional versions of cassoulet call for duck confit, our snow day version of cassoulet kept things simple.  All of the ingredients were readily available at our local grocery store (on the eve of a snow storm, no less!) and, after being sauteed and slow-cooked all afternoon, they came together to make a delightfully hearty stew with smoky kielbasa, richly flavored white beans, and pork that was so tender you could cut it with a spoon.  Top that off with some freshly grated parmesan and chopped parsley and we had the ultimate culinary reward for all of the shoveling we did on Thursday… and it was a LOT of shoveling: about 14 inches of heavy, wet snow!

February 13 Snow Collage

Cassoulet with Smoked Sausage, Pork and White Beans (adapted from MyRecipes.com; serves 5)

You will need…
2-3 slices Bacon, uncooked, cut into approx. 1″ x 1/2″ pieces
12 oz. Smoked Sausage,* halved lengthwise and cut into 1/4″ slices
2 cups Chopped Onion
1/2 teaspoon Dried Rosemary
1 teaspoon Dried Thyme
3 cloves Garlic, minced
2 – 14.5 oz. cans Diced Tomatoes, drained
1/2 teaspoon Ground Black Pepper
1/2 teaspoon Salt
2 – 15 oz. cans Great Northern Beans, drained and divided
1 lb. Pork Tenderloin, trimmed and cut into 1/2″ cubes
Grated Parmesan Cheese, for garnish
Fresh Parsley, for garnish

*Choose a good quality smoked sausage as this will have a major impact on the overall flavor of the dish.  The first time we made this recipe we used Johnsonville Smoked Pork Kielbasa with great results.  The second time we also added in some spicy Andouille sausage (leftover from Jambalaya) and that added even more flavor.

621 Cassoulet

Directions:
Preheat a heavy-bottomed skillet over medium-high heat.  Cook the chopped bacon bits, stirring occasionally, until crispy.  Use a slotted spoon to transfer the cooked bacon to a bowl and set aside.  Add the smoked sausage to the bacon fat and saute until just starting to brown.  Use a slotted spoon to transfer the sausage to another bowl and set aside.  Add the onion, rosemary, thyme and garlic to the pan and saute until soft, approximately 4-5 minutes.  Add the bacon, tomatoes, salt and pepper to the pan, stir well, then bring to a boil.  Remove from heat.

Meanwhile, place 1 can’s worth of drained Great Northern Beans in a large bowl and mash with a potato masher until chunky.  (I found that doing this in a 3 qt pot worked well since the bottom of the pot is flat.)  Add in the remaining can of beans along with the browned sausage and pork and stir well.

Assemble your cassoulet in layers in a crockpot.  First, spread half of the bean mixture on the bottom of the crockpot.  Then, in layers, add half the tomato mixture, the remaining bean mixtue, and the remaining tomato mixture.  Cover and cook on LOW for 5 1/2 hours.  Stir the cassoulet before serving and top each individual bowl with grated Parmesan and parsley.  Enjoy!

597 Cassoulet

Do you have any go-to recipes that you love to make on snow days?
Tell me about them in the comments section!  🙂